
Other Entity Actions
Entity Actions
On the Entity page, you can perform the following actions:
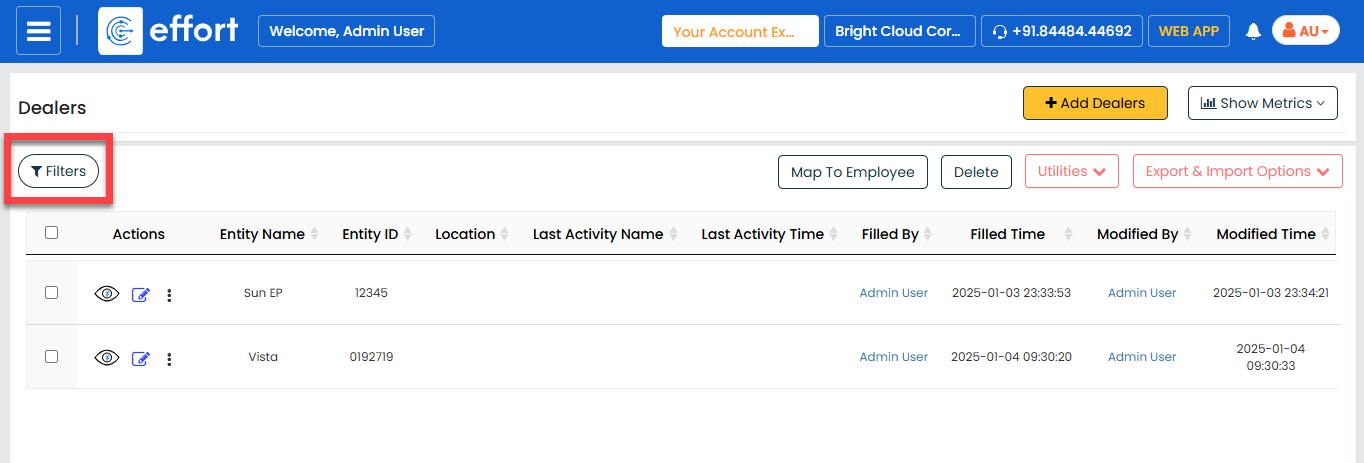
Filters
You can use filters to refine and view entity records based on specific criteria,
such as date, name, or custom fields. This helps you quickly locate and analyze
relevant data without manually searching through large datasets. To filter the
entity records, follow the steps below:
- Navigate to .
- On the Entity Name page, click
Filters.
- Fill in the desired filter criteria in the available fields.
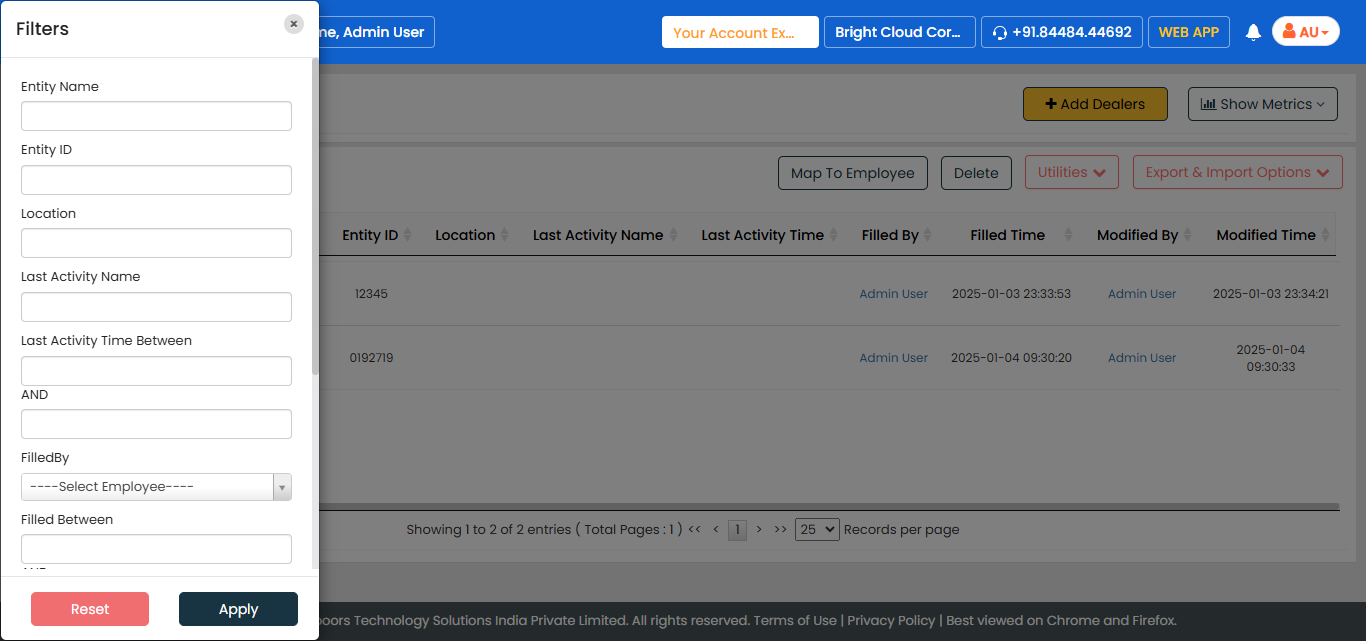
- Click Apply to view the filtered records.
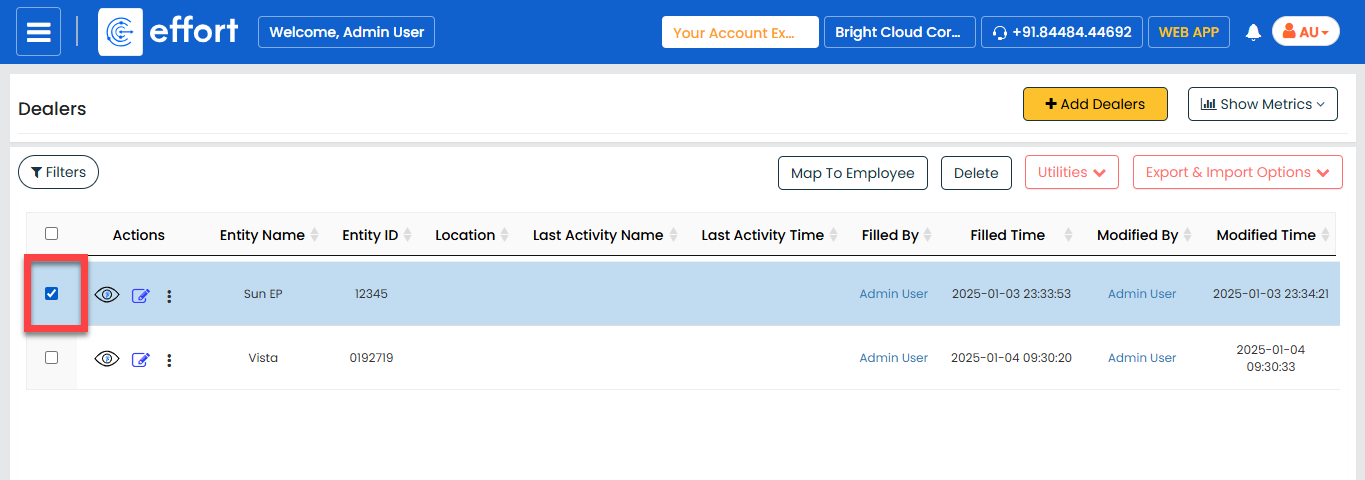
Map to Employee
This feature allows you to map specific entities to employees. To map specific entity
records to employees, follow the steps below:
- Navigate to .
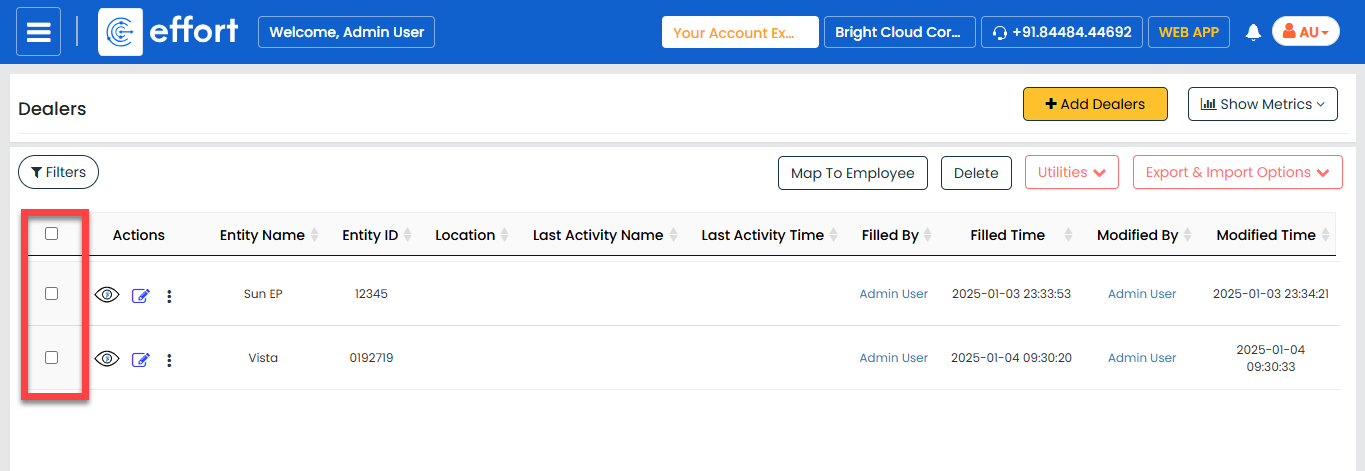
- Select the entity records you want to assign to an employee.
- On the Entity Name page, click Map to
Employee.
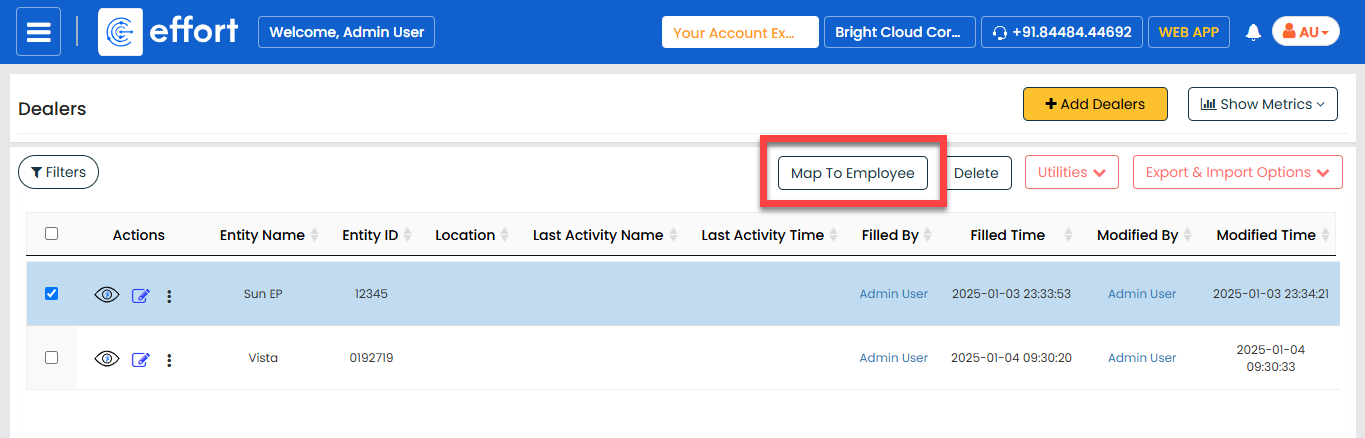
- Select the employee from the Employee Name
dropdown.
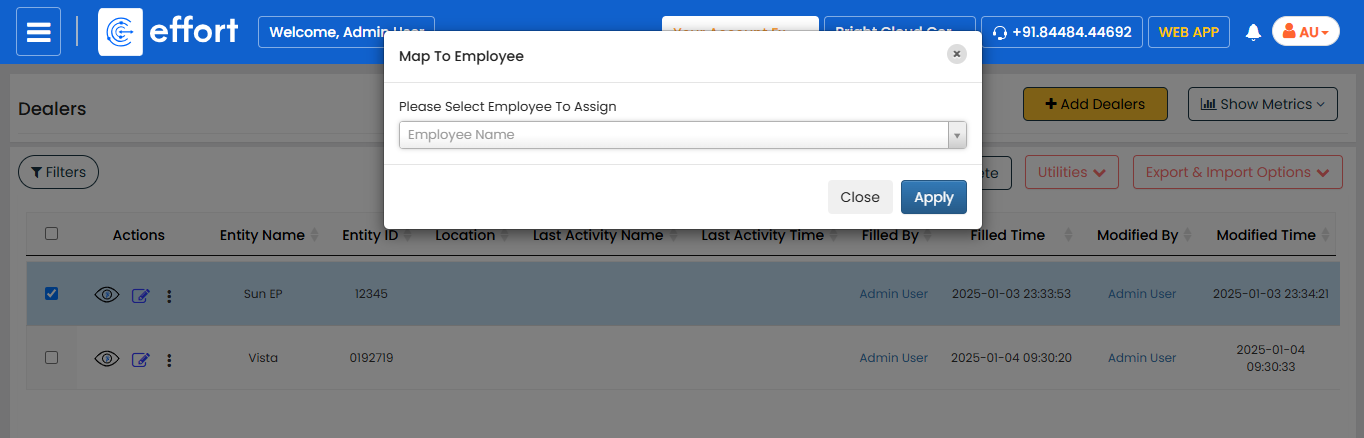
- Click Apply.
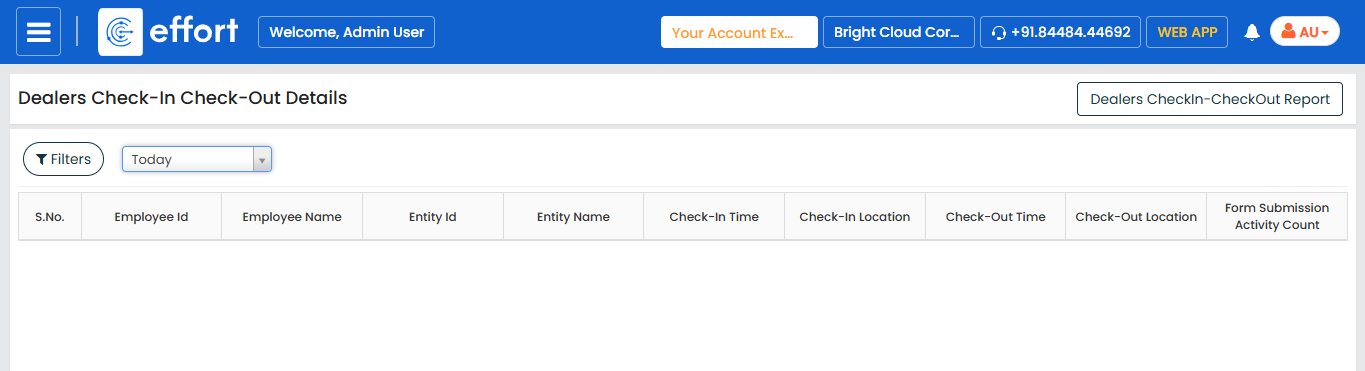
Check-In/Check-Out Details
You can track the check-in and check-out history for entities to monitor activity
logs. To view the details, follow the steps below:
- Navigate to .
- Click the Utilities dropdown, and then select
Check-In/Check-Out Details.
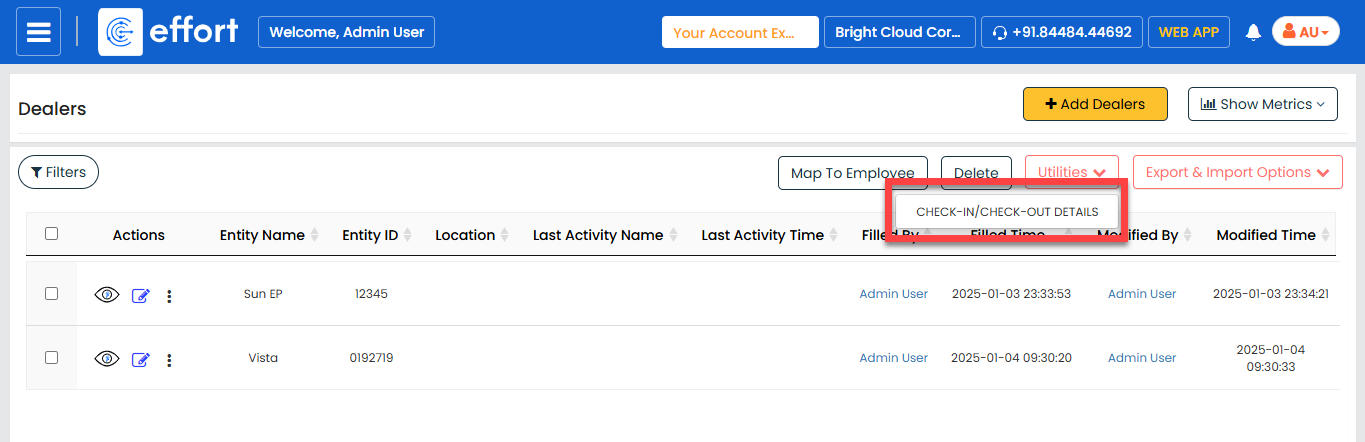
- A new window opens displaying the entity's check-in and check-out details.
You can view details for Today, Yesterday, and the Past 7
Days.
Export Selected
You can use this option to export only the records you select manually. To export
selected records from an entity, follow the steps below:
- Navigate to .
- Select the entity records you want to export.
- Click the Export & Import Options dropdown, and
then select Export Selected.
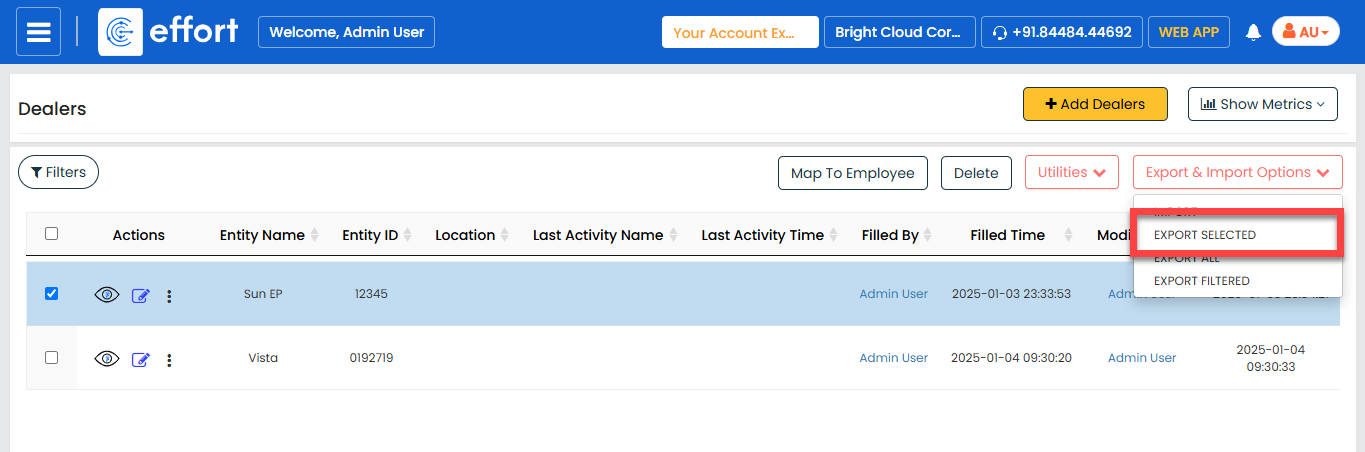
- An Excel file is downloaded. Open the Excel file to review the exported records.
Export All
You can use this option to export all records within the entity. To export all
records from an entity, follow the steps below:
- Navigate to .
- Click the Export & Import Options dropdown, and
then select Export All.
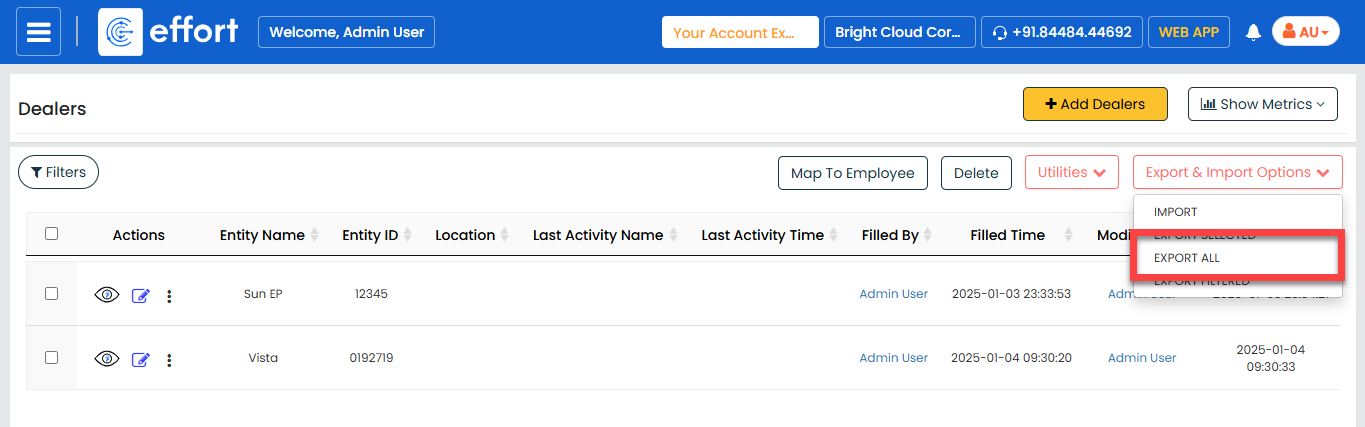
- An Excel file is downloaded. Open the Excel file to review the exported records.
Export Filtered
You can use this option to export records based on applied filters. To export
filtered records from an entity, follow the steps below:
- Navigate to .
- Click the Export & Import Options dropdown, and
then select Export Filtered.
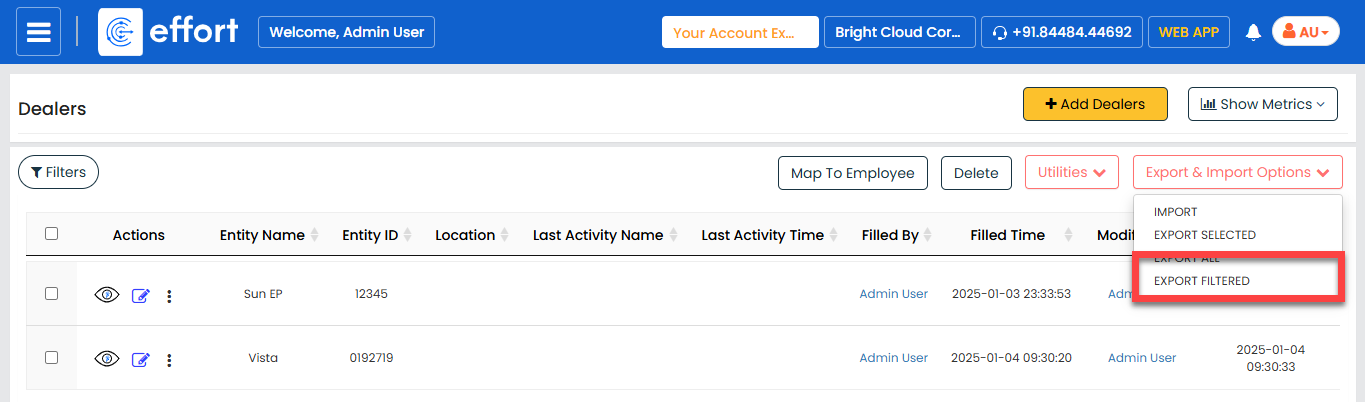
- An Excel file is downloaded. Open the Excel file to review the exported records.