
Integration with External Systems
The EFFORT Integrator is an independent tool that could help in transferring data between Spoors & other client systems through Secured Application Programming Interface (API). You can post the data of the Works and Forms to the configured endpoints using REST API calls.
Step 1. Create Endpoint Configuration
This section helps you to create an endpoint in the Integrator module.
-
Login to EFFORT and click the Integrator card on the welcome
page.

You will see the home page of the Integrator module.
-
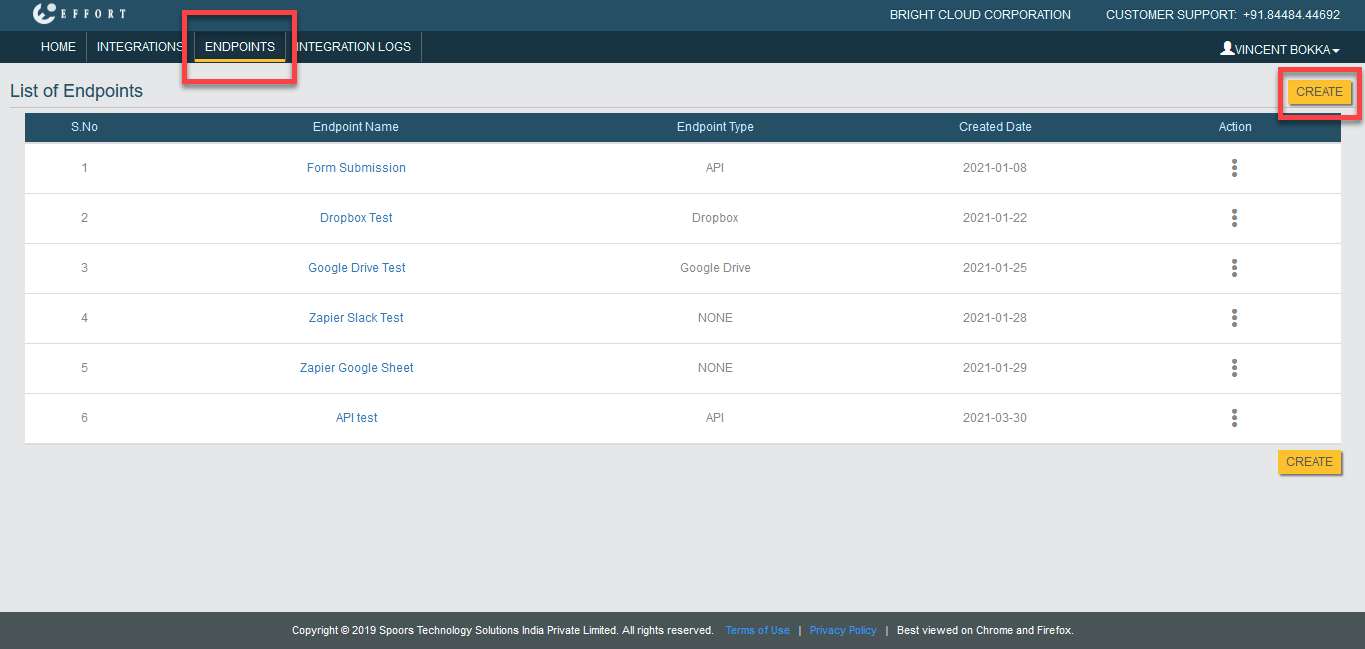
Click on the Endpoints module. You will see the List of
Endpoints page. On this page, click Create button.
-
You will see the endpoint configuration page. Here, you must create an
endpoint to which you want to push the data. Select End Point Type as
API.

-
Enter values in all the fields and save the configuration.
Check out the API Endpoint Configuration Options page to know more about the configuration fields.

In the above screenshot, we have created an endpoint named as API Test. After saving it, you can view the endpoint on the List of Enpoints page.
Step 2. Create Integration Configuration
This section helps you to create an integration configuration. Here, we will configure the trigger source from which data need to be pushed.
-
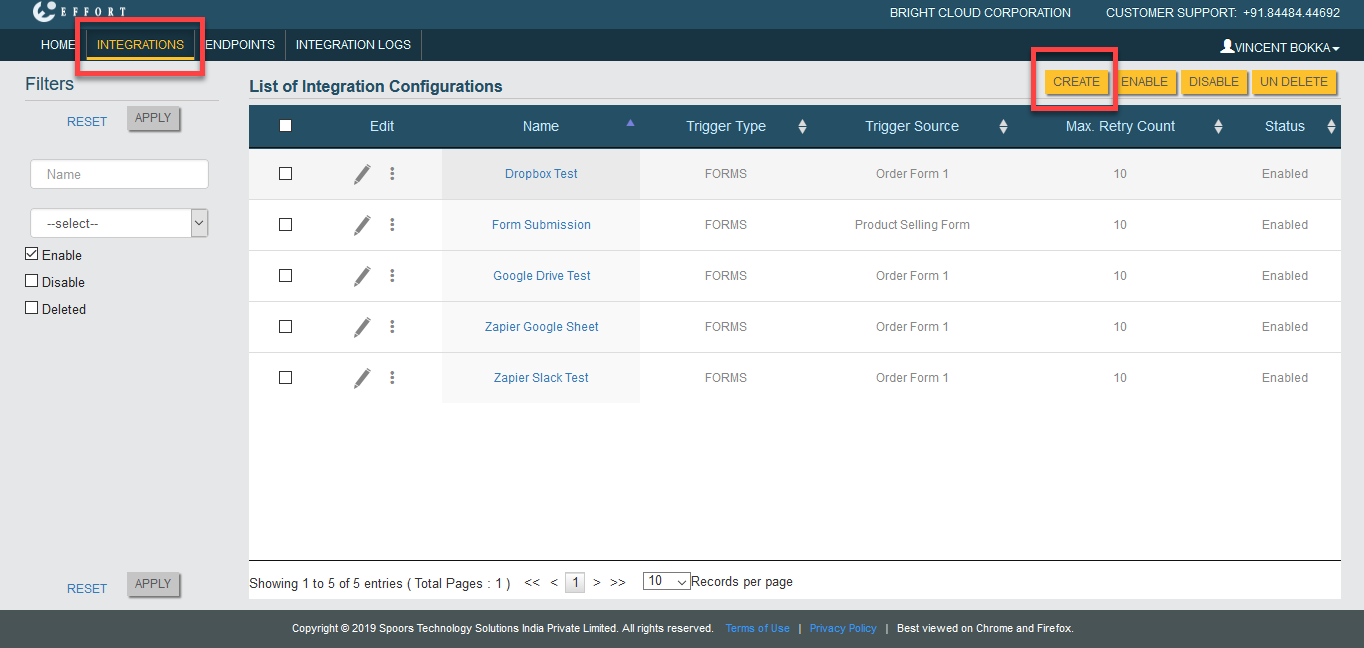
Now, click on the Integrations module. You will see the List of
Integration Configurations page. On this page, click Create
button.
-
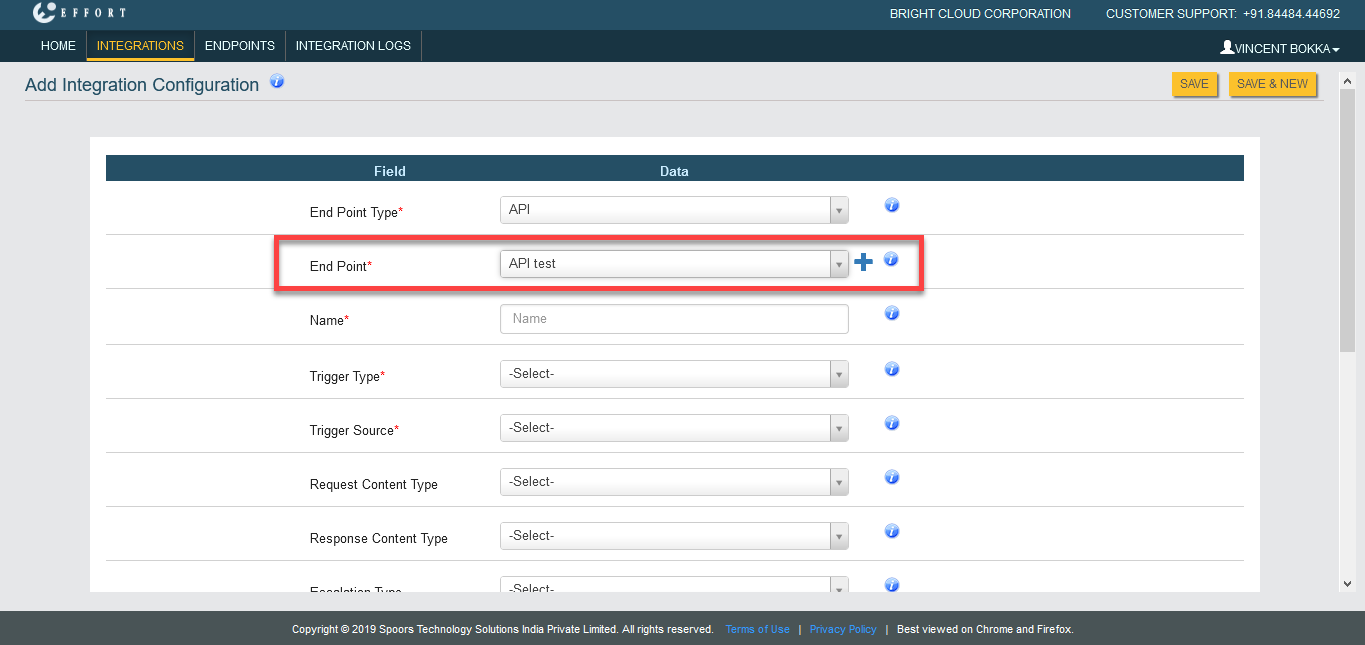
Select End Point Type as API.

-
Select the endpoint which we created earlier from the End Point
dropdown.
-
If you wish to push the forms data, select Trigger Type as
Forms or select Works to push the work data.
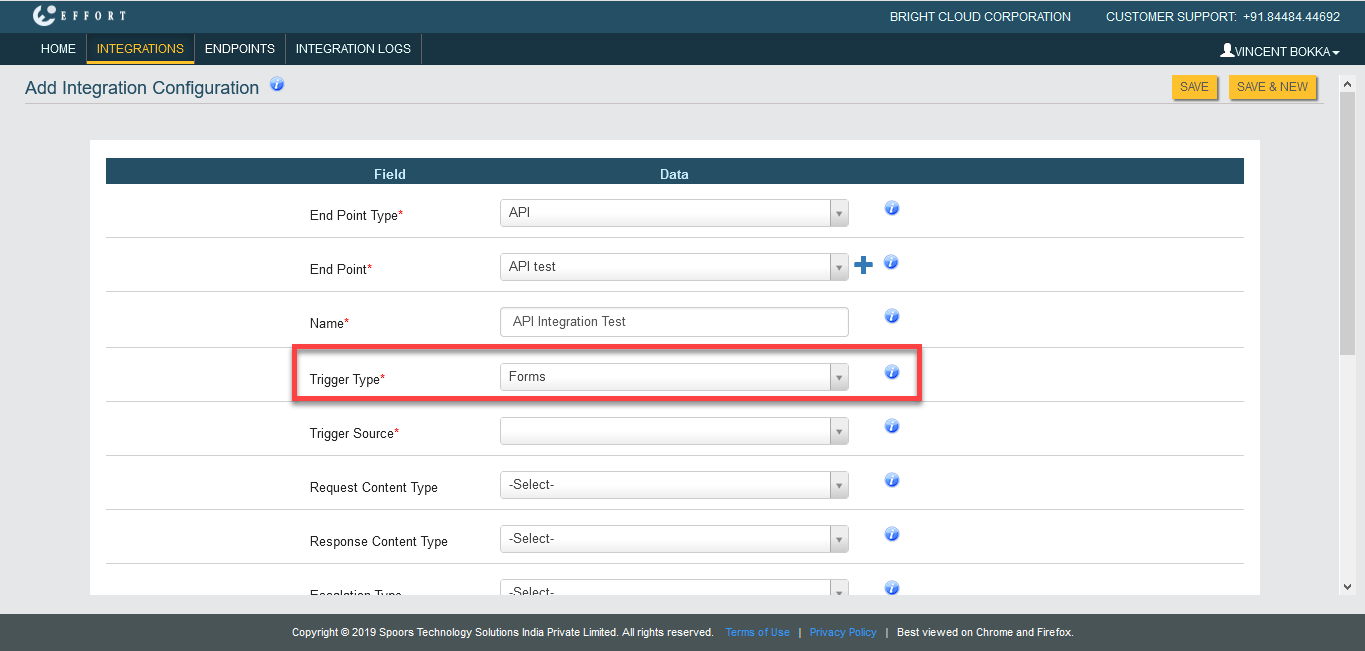
In the above screenshot, we selected Trigger Type as Forms. -
Based on the selection in the Trigger Type dropdown, you will see
either works or forms in the Trigger Source dropdown. Select a form
from which you want to push the data.
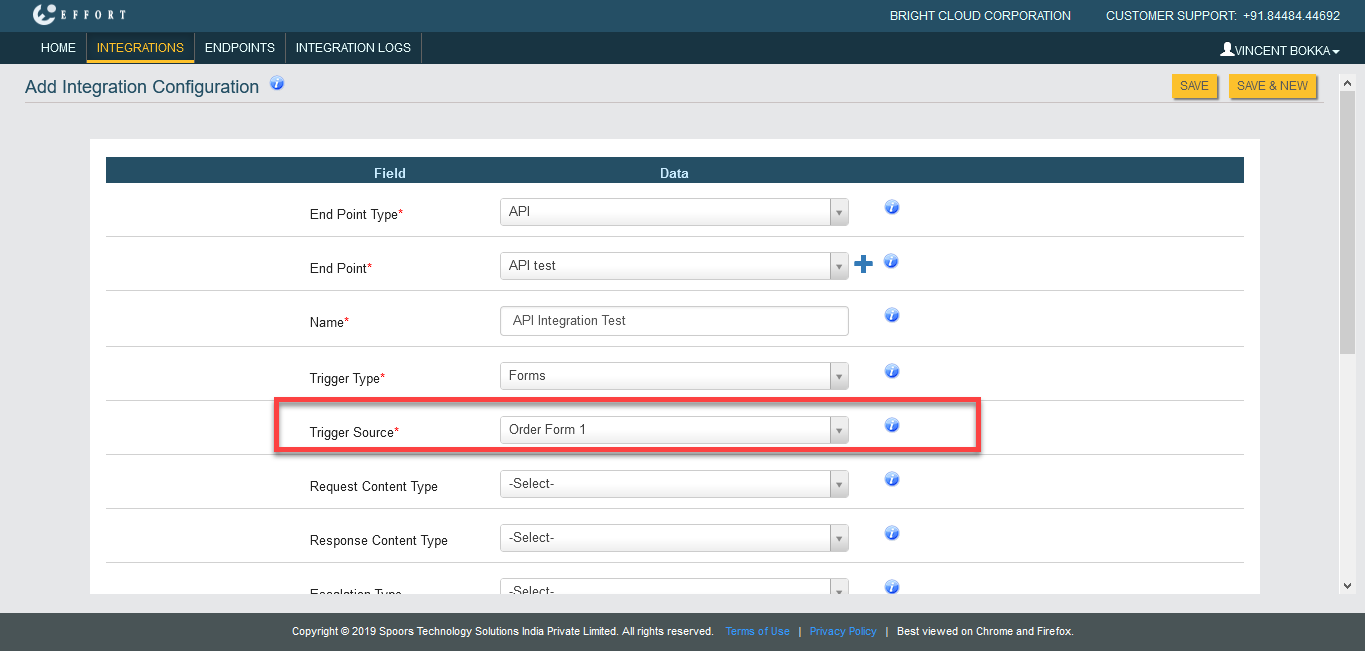
In the above screenshot, we selected Order Form from the Trigger Source dropdown. -
Set up the below fields as per your requirement and save the
configuration.
- Request Content Type
- Response Content Type
- Escalation Type
- Enable
- Retry Count
- Success Key
- Success Key Value
- Avoid Modification
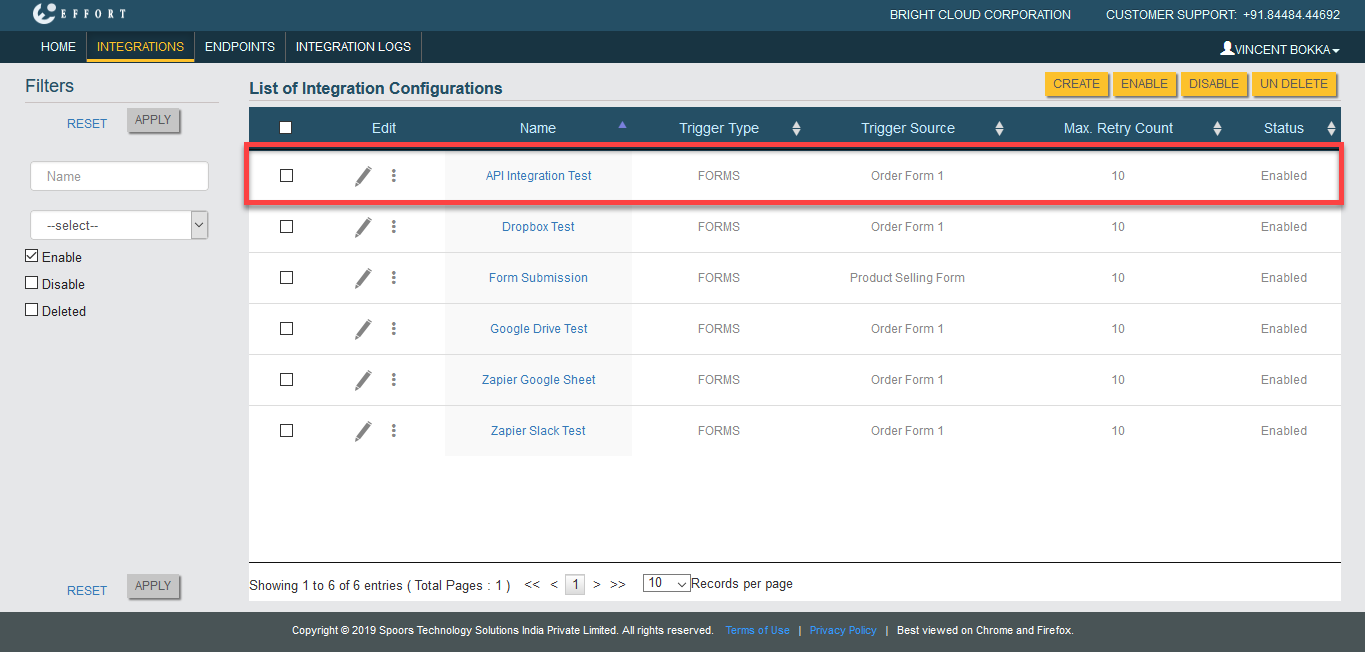
-
Now you can see the API Integration configuration on the
Integrations page.

Step 3. Configure Fields
This section helps you to configure required fields from which you want to push the data. You can add fields and customize the destination keys as per your requirements.
-
Click three dots
 icon
and select Request Mapper.
icon
and select Request Mapper.
-
Click Add Fied button to configure the fields. Configure fields as
per your requirement and save the configuration.
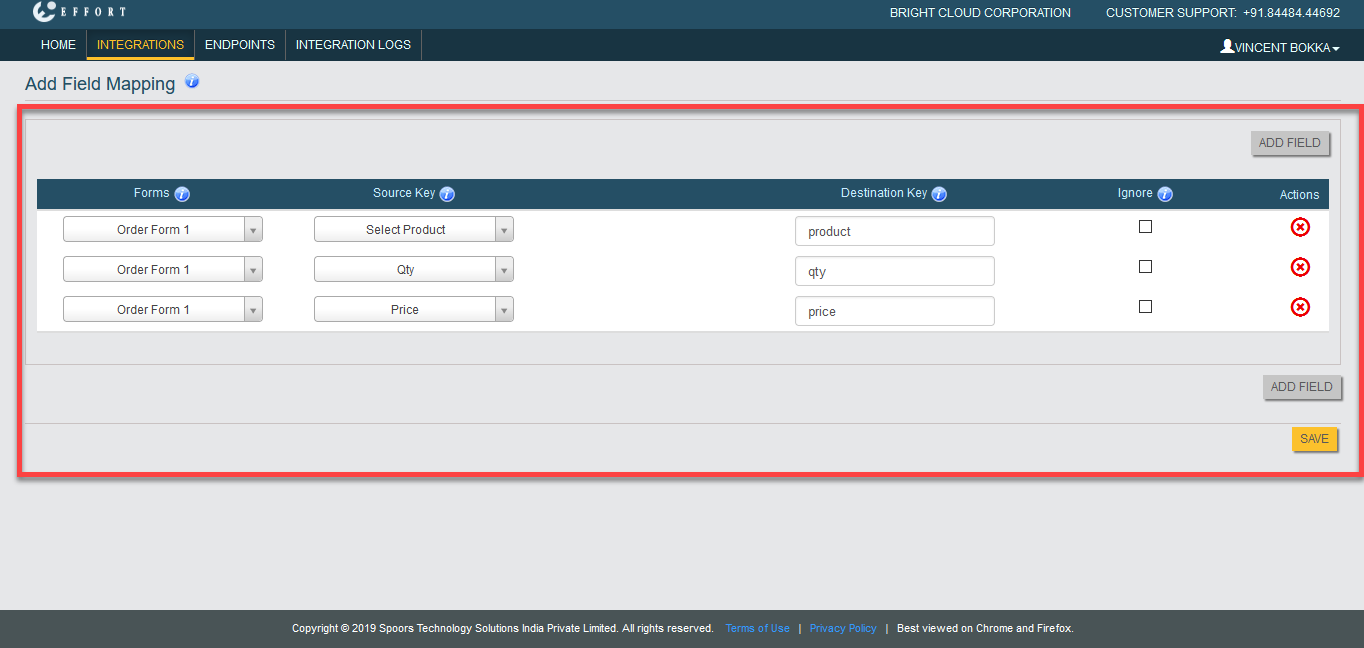
In the above screenshot, we have added only three fields such as Select Product, Qty, and Price from the Order Form 1 form spec. Whenever the user submits the Order Form 1, the data in these fields will be pushed to the endpoint which you configured.
Check out the Configure Fields for Integration page to know more about the Request Mapper configuration.
Check out the Create Notifications for Integrations page to configure notifications for the integrations based on the push status. The notifications will be triggered to the given email IDs when the status of the data push is changed.