Add Targets for Customer Check-Ins
To add targets for customer check-ins, follow the steps below:
-
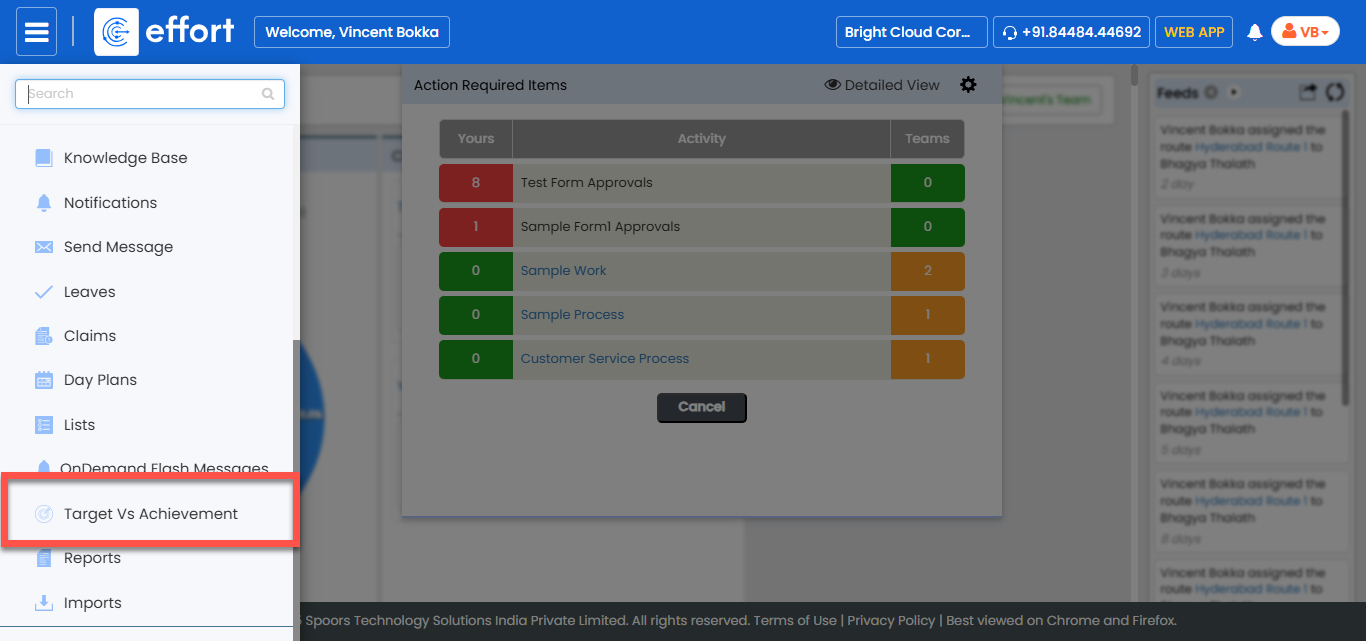
Go to .
-
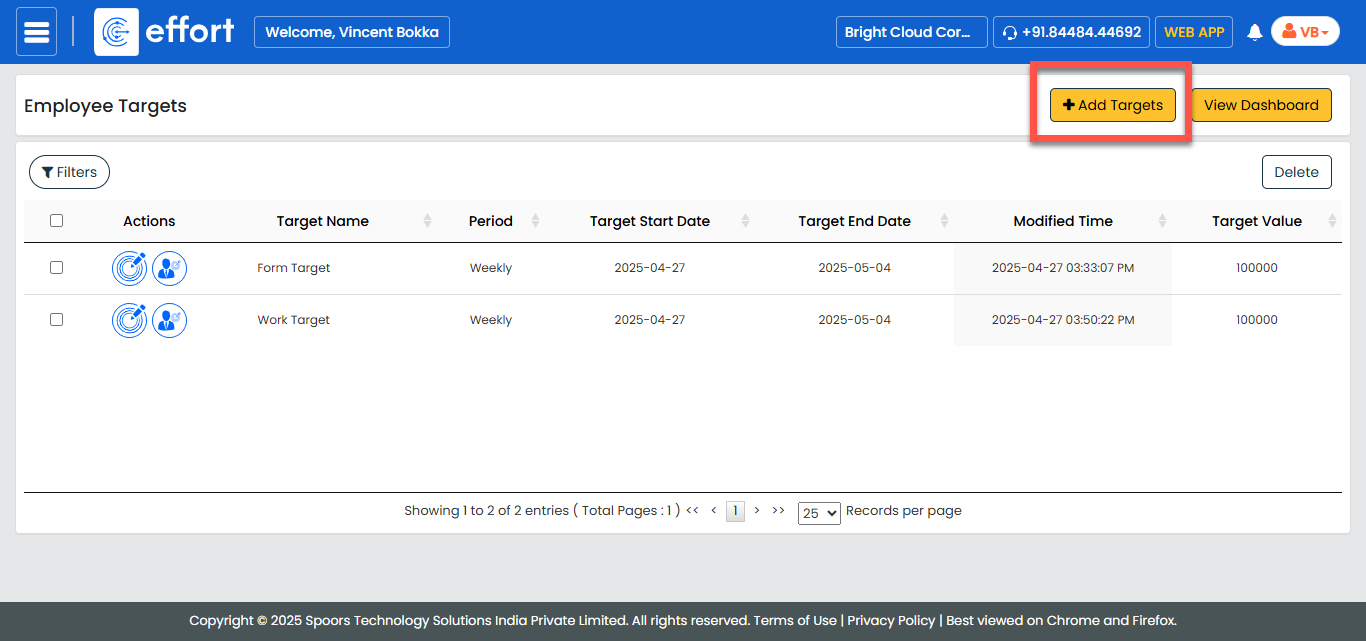
In the Employee Targets page, click Add Targets.
-
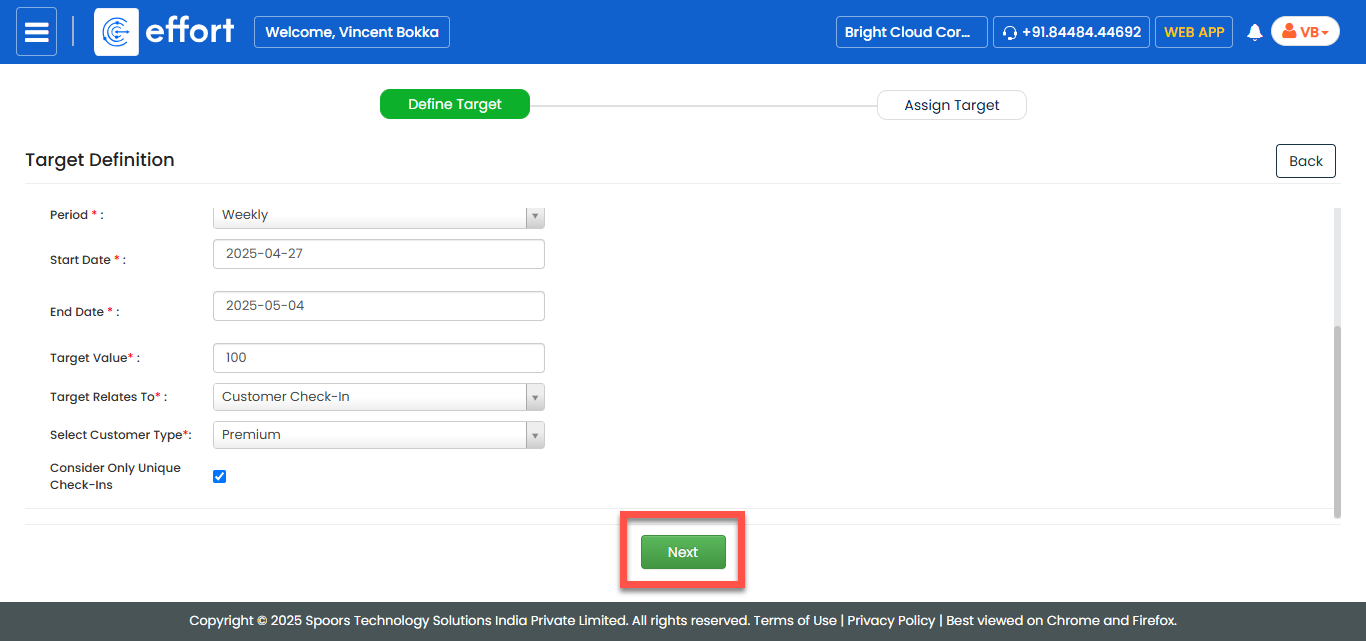
In the Target Definition section, fill in the following fields:
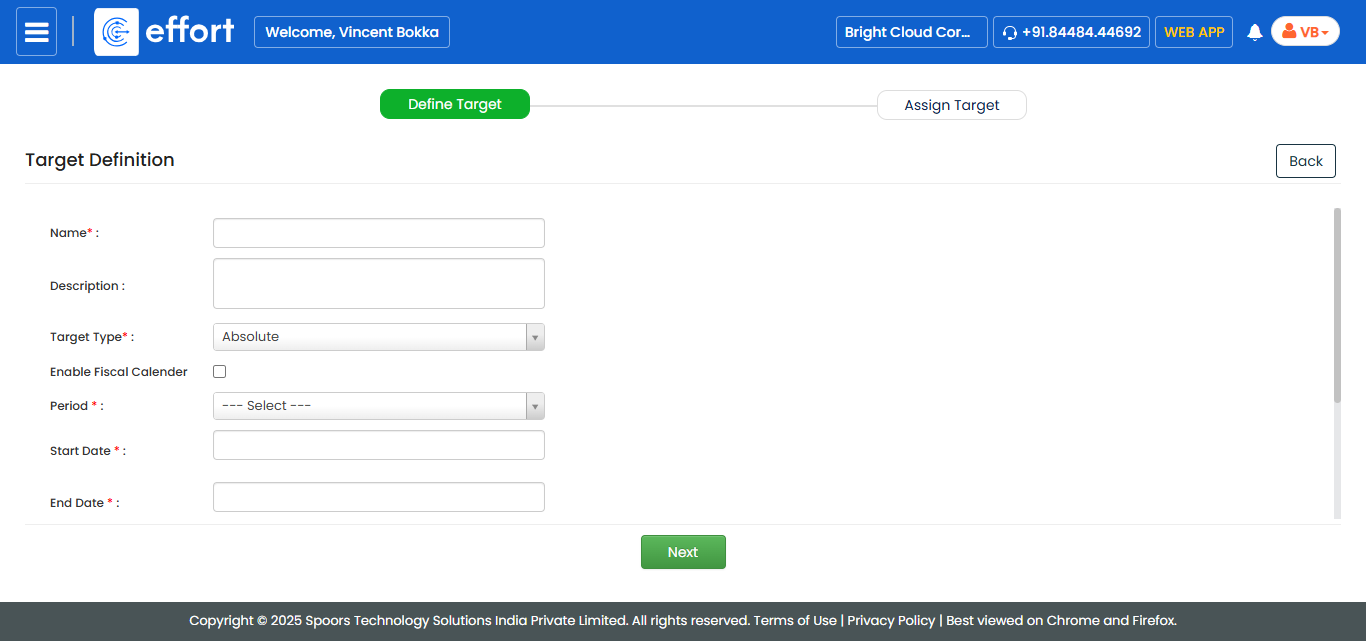
Field Description Name Enter a unique name for the customer check-in target. Description Provide additional information about the check-in target. Target Type Default is Absolute. Enable Fiscal Calendar Enable this option to define targets based on a fiscal calendar instead of standard dates. Fiscal Calendar Select a fiscal year. If not available, create one first under the Settings module. Note: Refer to [Calendar Module Documentation] if needed.Select Quarter Appears if a fiscal calendar is selected. Choose Q1, Q2, Q3, or Q4. Period Select the target period: - Daily: Track daily check-ins.
- Weekly: Track weekly check-ins.
- Monthly: Track monthly check-ins.
- Quarterly: Monitor quarterly check-ins.
- Yearly: Measure yearly check-ins.
- Custom: Set a custom range for special tracking.
Start Date Specify the start date for tracking customer check-ins. End Date Specify the end date for the check-in tracking period. Target Value Enter the numeric goal for customer check-ins. Target Relates To Select Customer Check-In from the dropdown. Select Customer Type Select the type of customer for which check-ins will be tracked. For example, Retail Customer, Wholesale Customer, etc. Consider Only Unique Check-Ins Enable this checkbox if you want to consider only unique customer check-ins for the target calculation. -
Click Next to move to target assignment.
-
In the Target Assignment section, fill in the following
fields:

Field Description Assign Target To Select Individual or Team Members for assignment. Target Value Displays the predefined check-in target value. -
If you select Individual, fill in the following:
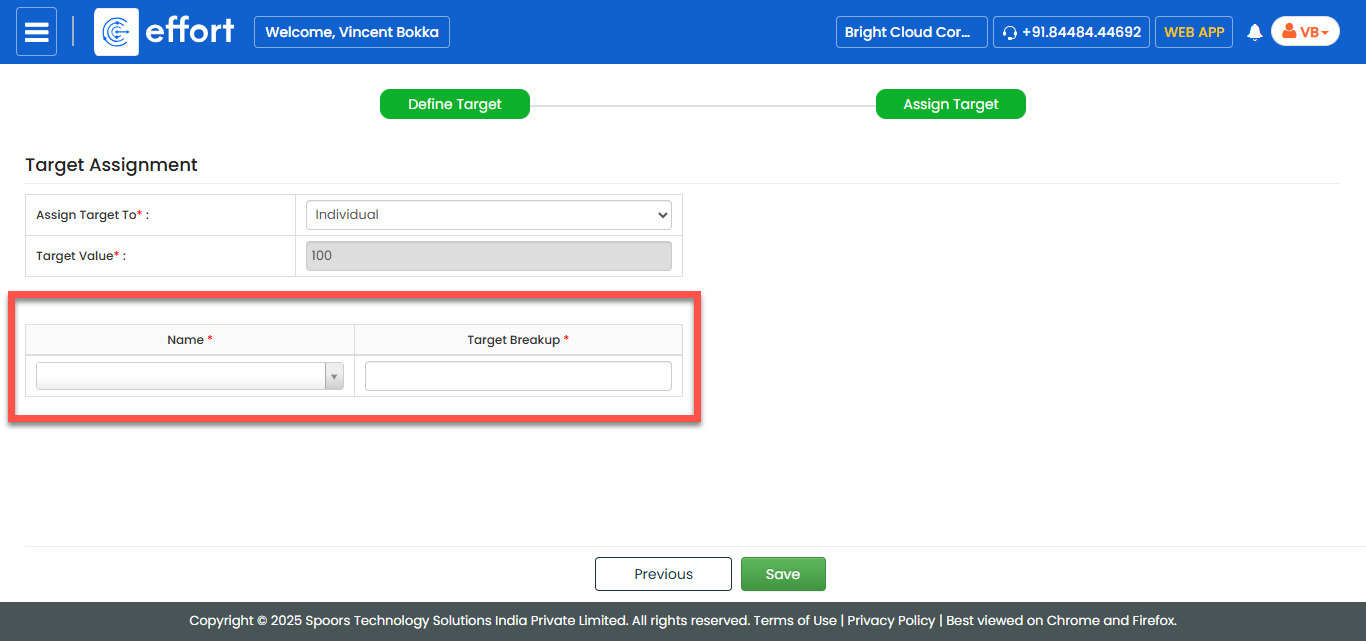
Field Description Name Select an employee from the dropdown. Target Breakup Enter the specific portion of the target assigned to the individual. -
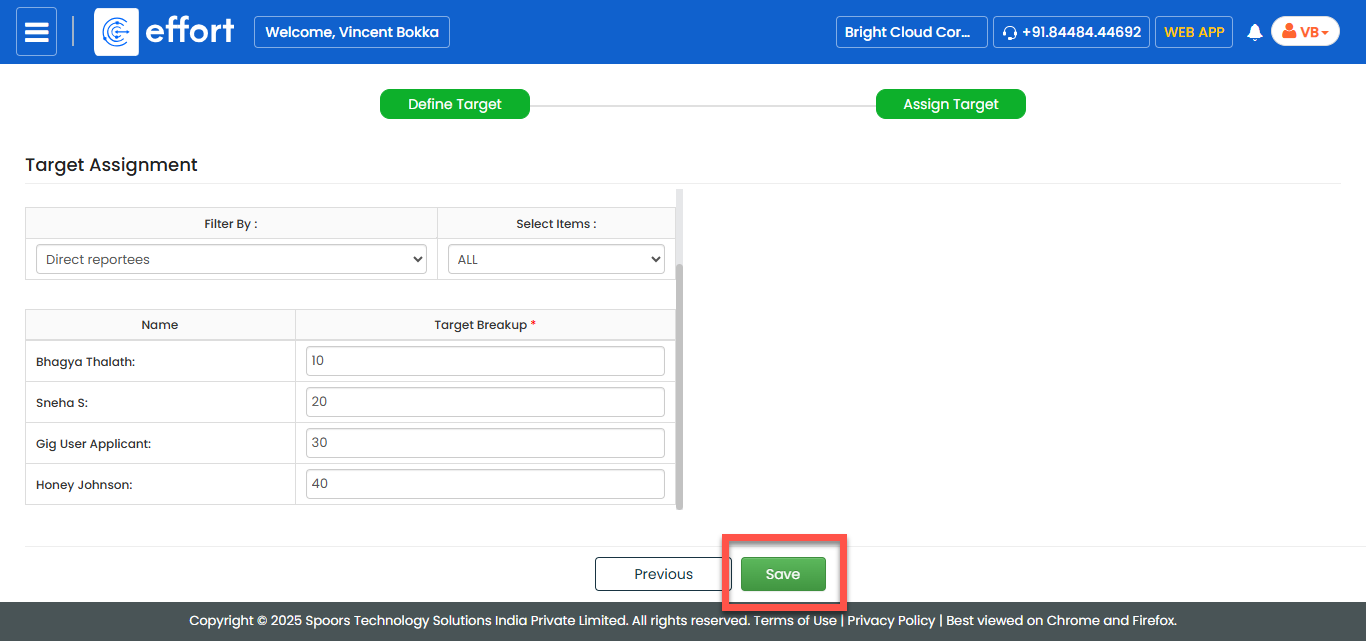
If you select Team Members, configure filters:
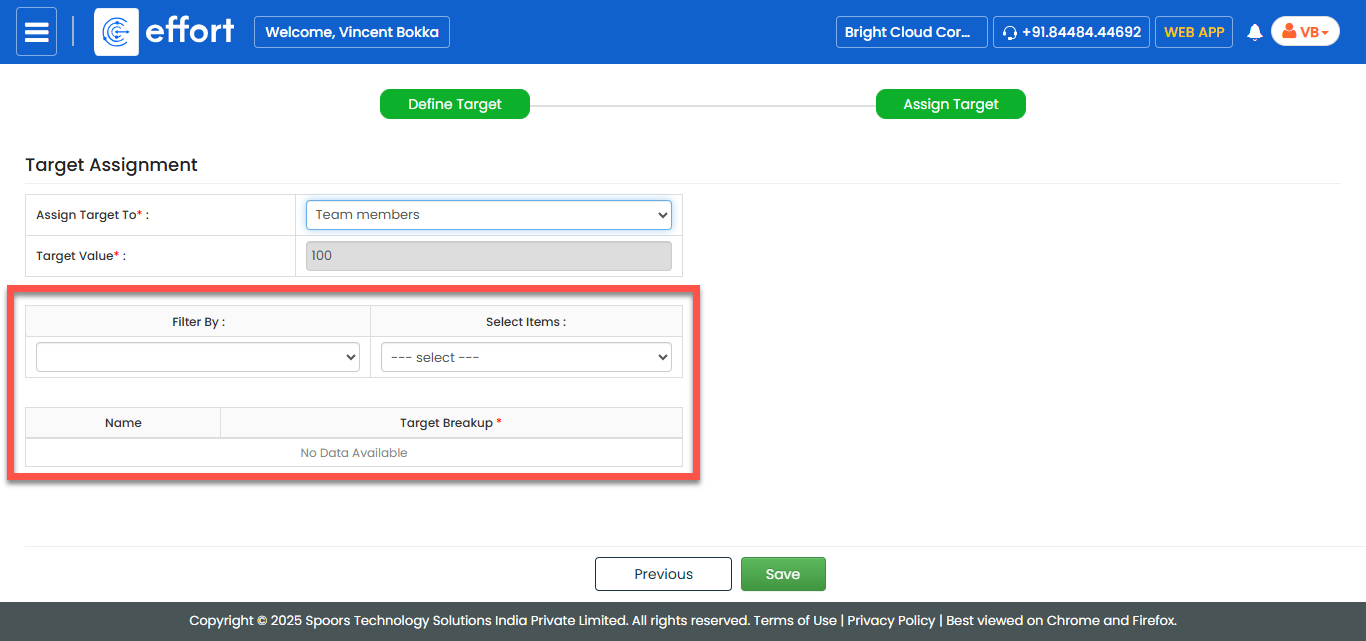
Field Description Filter By Filter employees using Role, Branch, Territory, Groups, or Direct Reportees options. Select Items Select specific employees based on filter criteria. Name Filtered employee list appears here. Target Breakup Specify the target value assigned to each employee. -
After finalizing assignments, click Save to complete the target
setup.