Add Targets for Forms
To add targets for forms, follow the steps below:
-
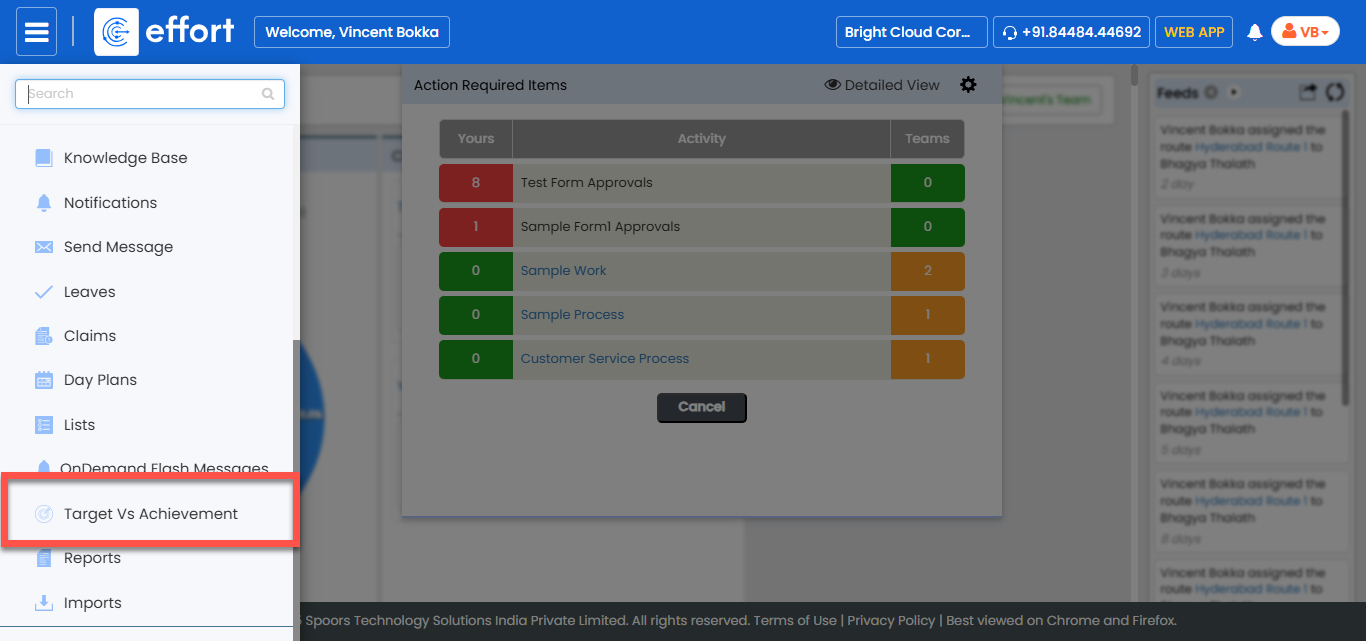
Go to .
-
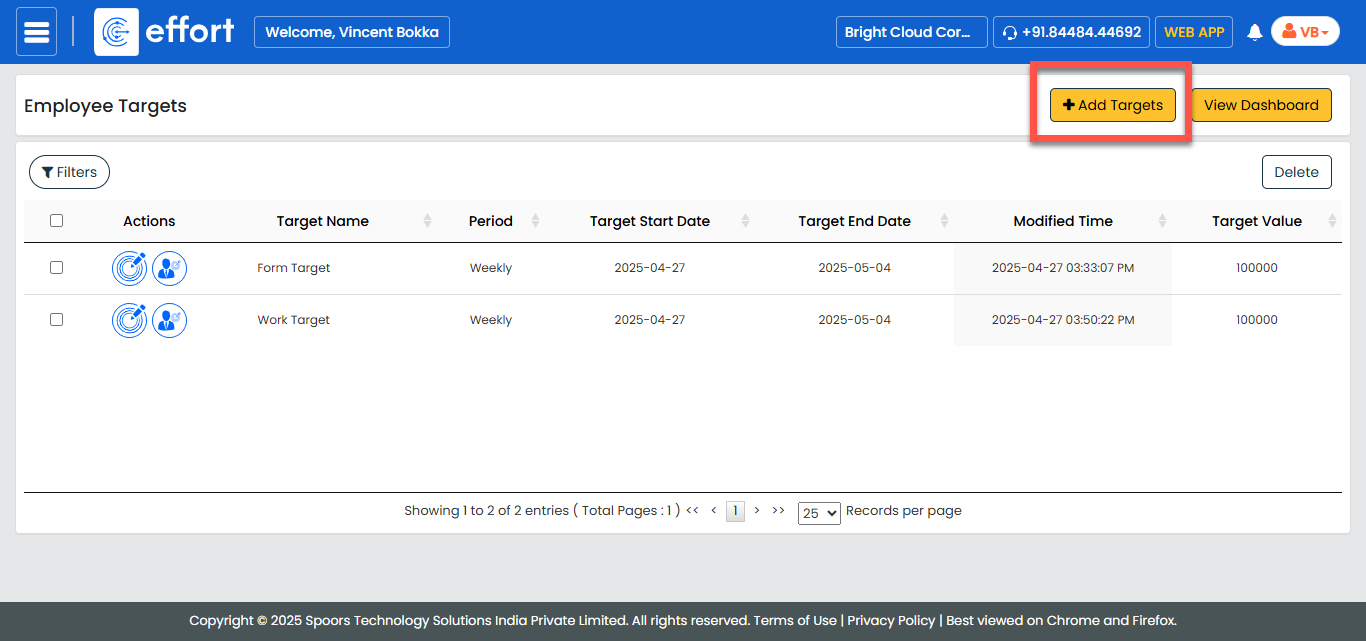
In the Employee Targets page, click Add
Targets.
-
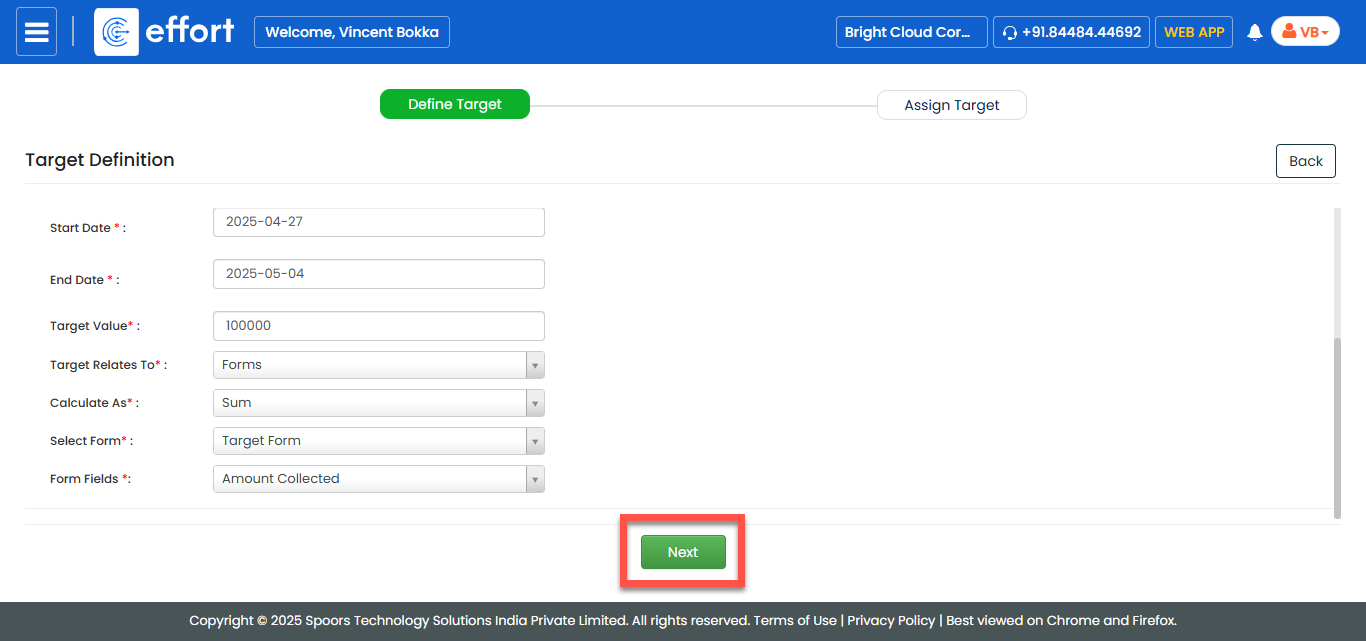
In the Target Definition section, fill in the following
fields:
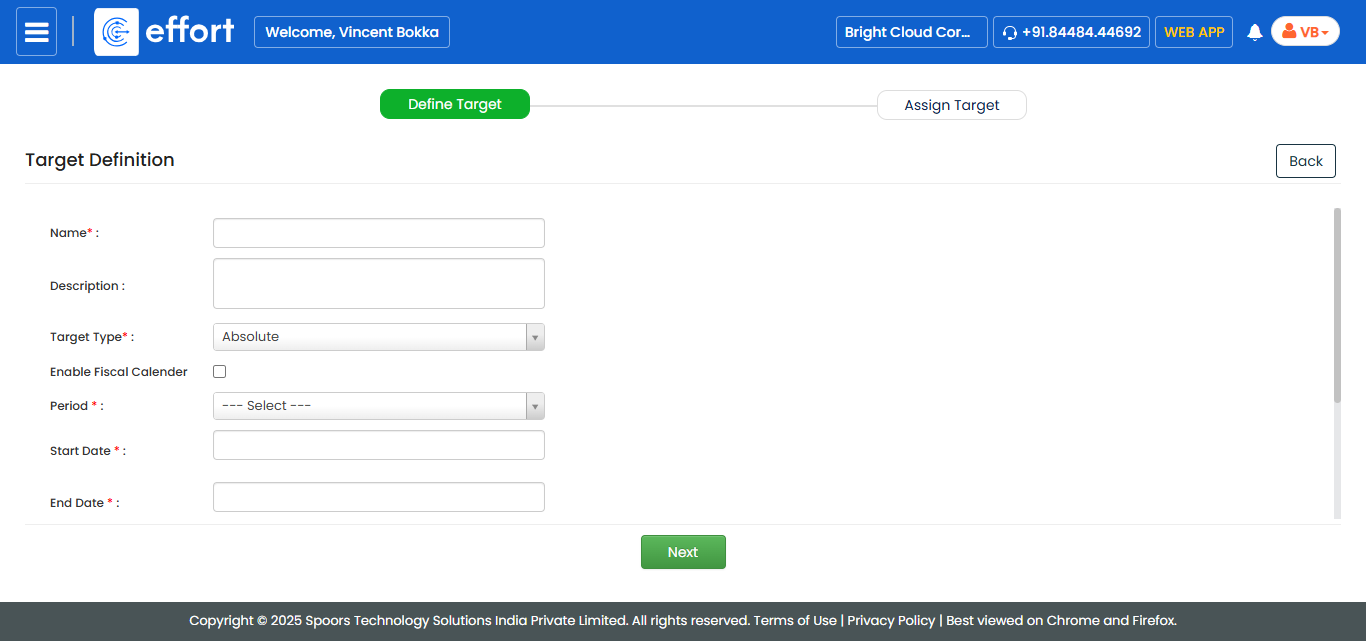
lField Description Name Enter a unique name to identify the target (e.g., "Q1 Sales Goal"). Description Enter additional information about the target. Target Type By default, it is set to Absolute. This means you are setting a fixed value to achieve (like 100 sales or ₹1,00,000 revenue). Enable Fiscal Calendar Check this box if you want to define the target based on a fiscal calendar instead of a regular date range. Fiscal Calendar This dropdown displays a list of fiscal calendars that have been created in the Settings module. Select a fiscal year for which you want to define targets.Note: If no fiscal calendars are available, create one first. For instructions, refer to Create a Fiscal Calendar.Select Quarter Appears when a fiscal calendar is selected. Choose a quarter (Q1, Q2, Q3, or Q4) to define the target.
Period Appears only if fiscal calendar is disabled. Select the time interval for the target. -
Daily: Set targets for each day between Start and End Dates. (e.g., Submit 5 forms daily.)
-
Weekly: Set targets for each week between Start and End Dates. (e.g., Achieve ₹10,000 weekly.)
-
Monthly: Set monthly targets. (e.g., Collect 100 survey responses monthly.)
-
Quarterly: Set quarterly targets. (e.g., Generate ₹1,00,000 per quarter.)
-
Yearly: Set an overall yearly target. (e.g., Acquire 500 customers in a year.)
-
Custom: Define a target for a custom duration. (e.g., 45-day promotional target.)
Start Date Select the starting date of the target tracking.
End Date Select the ending date of the target period.
Target Value Enter the numeric goal to achieve (e.g., 100 submissions, ₹50,000 in sales). Target Relates To Select Forms to base the target on submitted form data. Calculated As Choose how the target should be calculated:- Sum: Calculates the total of a numeric field. (e.g., Revenue amount)
- Count: Counts form submissions matching a specific condition. (e.g., Number of Approved requests)
Select Form Select the form template that contains the data you want to monitor. Form Fields - If Sum is selected: Choose a numeric field to calculate the total (e.g., "Amount").
- If Count is selected: Choose a field and define a filter condition like "Amount > 1000", "Status = Approved", etc. Only submissions that match the condition are counted.
-
-
After defining the target, click Next to define the target
assignment.
-
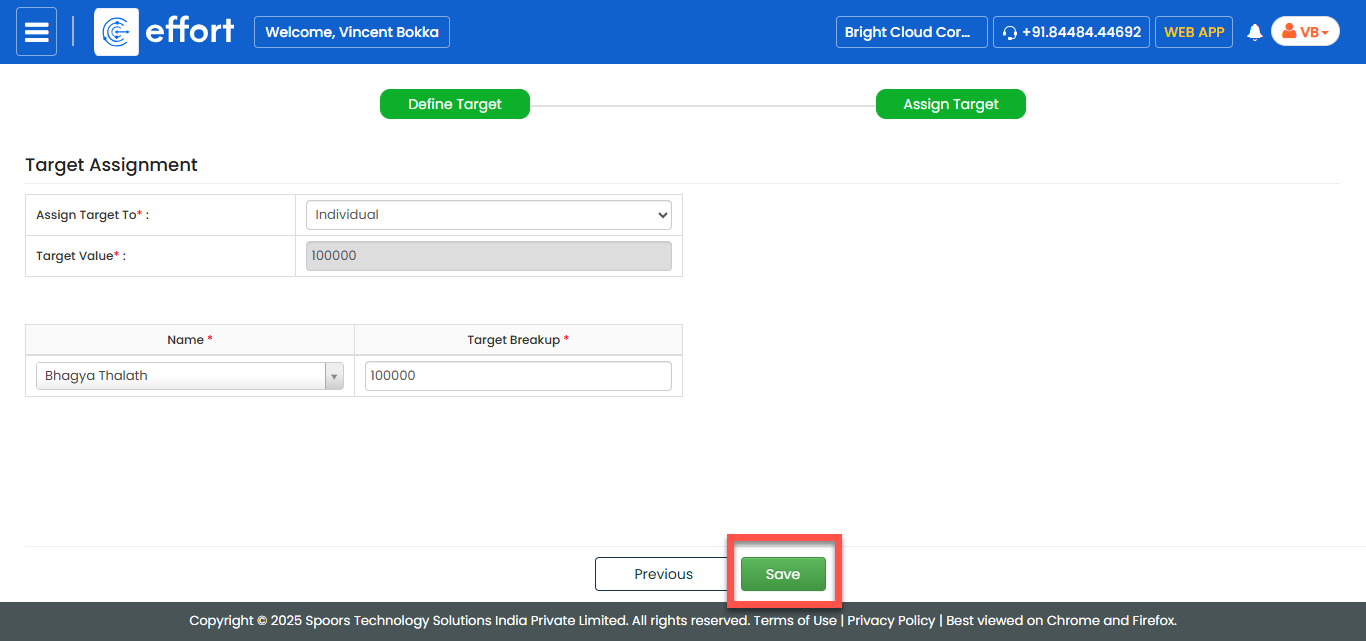
In the Target Assignment section, fill in the following
fields:
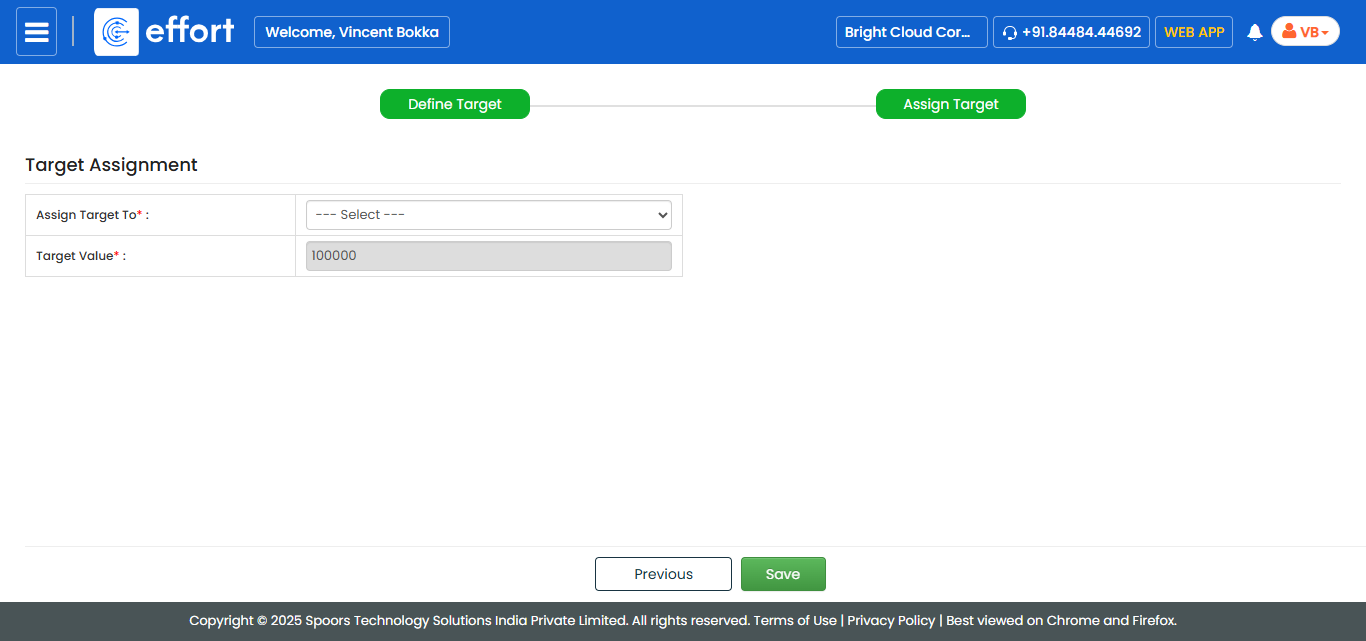
Field Description Assign Target To Select how you want to assign the target based on your requirement:
- Individual: Select this option to assign the target to a single employee.
- Team Members: Select this option to assign the target to multiple employees based on specific filters.
Target Value
Displays the defined target value. -
If you select the Individual option, fill in the following fields:
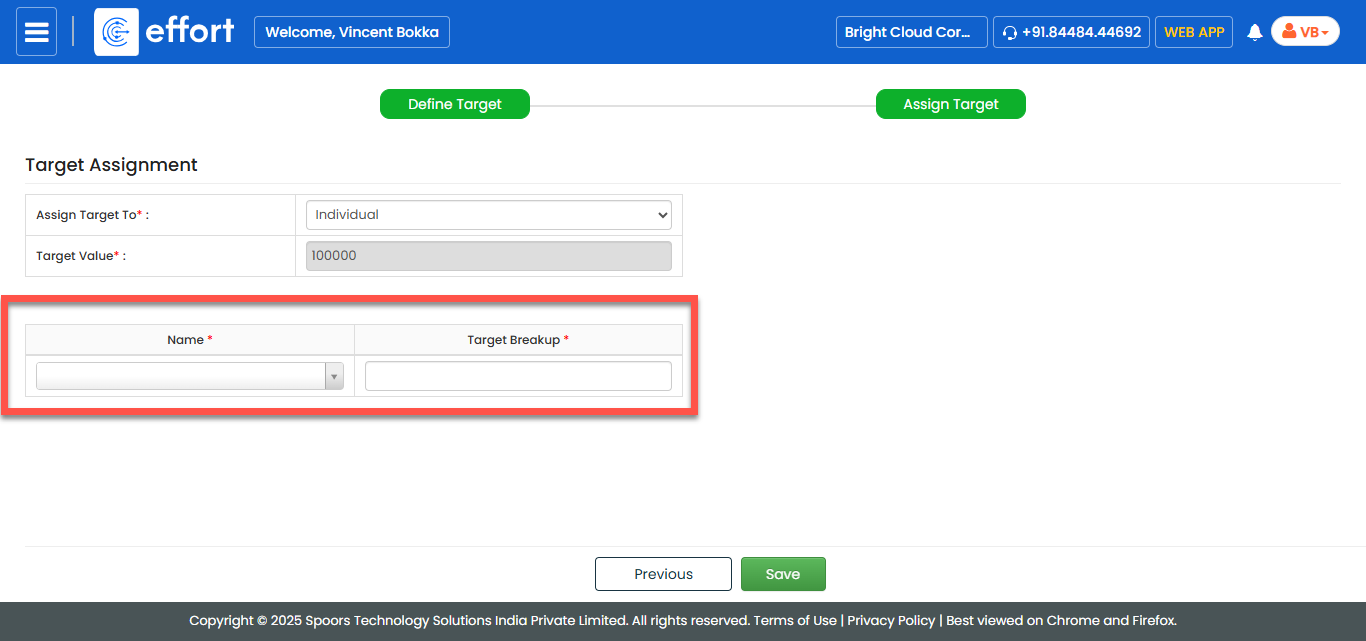
Field Description Name
Select an employee from the dropdown.
Target Breakup
Enter the target breakup (the specific target value assigned to that employee).
-
If you select the Team Members option, provide the following:
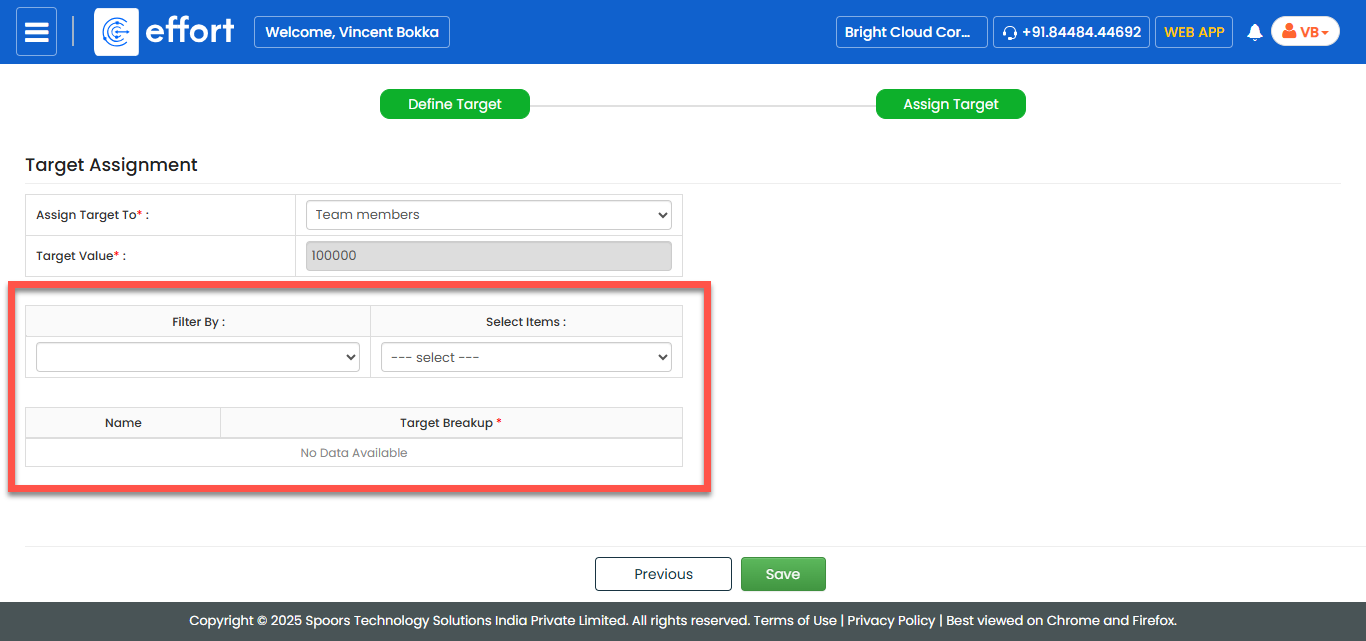
Field Description Filter By
Filter employees using one of the following options:-
Role
Filter employees based on their assigned job roles.
Example: All Sales Executives or Branch Managers.
-
Branch
Filter employees who are working in a specific office branch.
Example: All employees from the Mumbai branch.
-
Territory
Filter employees based on geographical regions or sales territories.
Example: All employees managing the South Zone territory.
-
Groups
Filter employees who are part of a predefined employee group.
Example: All members of the "Retail Sales Team."
-
Direct Reportees
Filter employees who report directly to a selected manager.
Example: All team members reporting to the Regional Manager.
Select Items
Select one or more items based on the selected filter.
Name
All the filtered employees are displayed under this column.
Target Breakup
Enter the target breakup (the specific target value assigned to each employee).
-
-
After defining the assignment criteria, click Save to save the
configuration.