
Tutorial on Decision Providers
Decision Provider lets you integrate the decision models from the decision engine
into EFFORT to create automated decision engines. In this tutorial we will discuss
one specific example of loan application. We will write the rule to decide whether
the user is eligible for loan or not, and how to integrate and execute the things in
EFFORT. The below are the various steps involved.
Step 1. Create Decision Model
-
Log in to Business Central application with
your credentials.
-
The next thing you’ll see is the Business Central welcome page with
the different configuration tools. Click on the Design tool to create
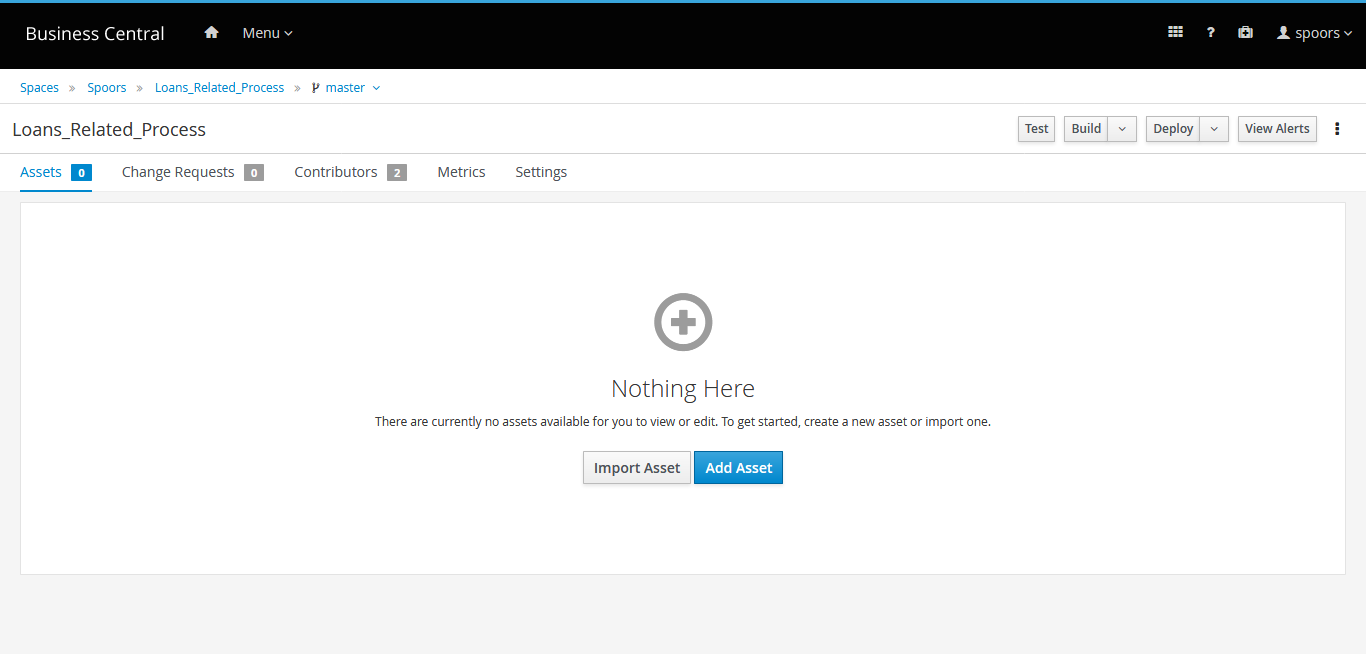
a project. Here we are creating a project with the name
Loans_Related_Process. If you need more information on how to
create a project, refer to Create Project in Business
Central.
-
Now add assets to the project which you created in the above step. We are
adding an asset with the name LoanProcess. Refer to Add Assets to Project for
information on how to add an asset.

-
Now you'll see the canvas on the right side where you can create decision
models. Create a sample decision model that evaluates the loan eligibility
based on two inputs such as Loan Amount and Monthly
Income.

Here the eligibility criteria is defined as shown below. If the loan amount is less than ten times the monthly income, then the user is eligible for a loan. If the above expression is true, the decision will provide the value Approved. If it is false, the decision will provide the value Rejected.
-
Go back to the projects page. You'll see the DMN file which is created
above. Click Deploy button on the top.

-
Click on View deployment details link in the successful
message.

-
You can see the deployed project details.
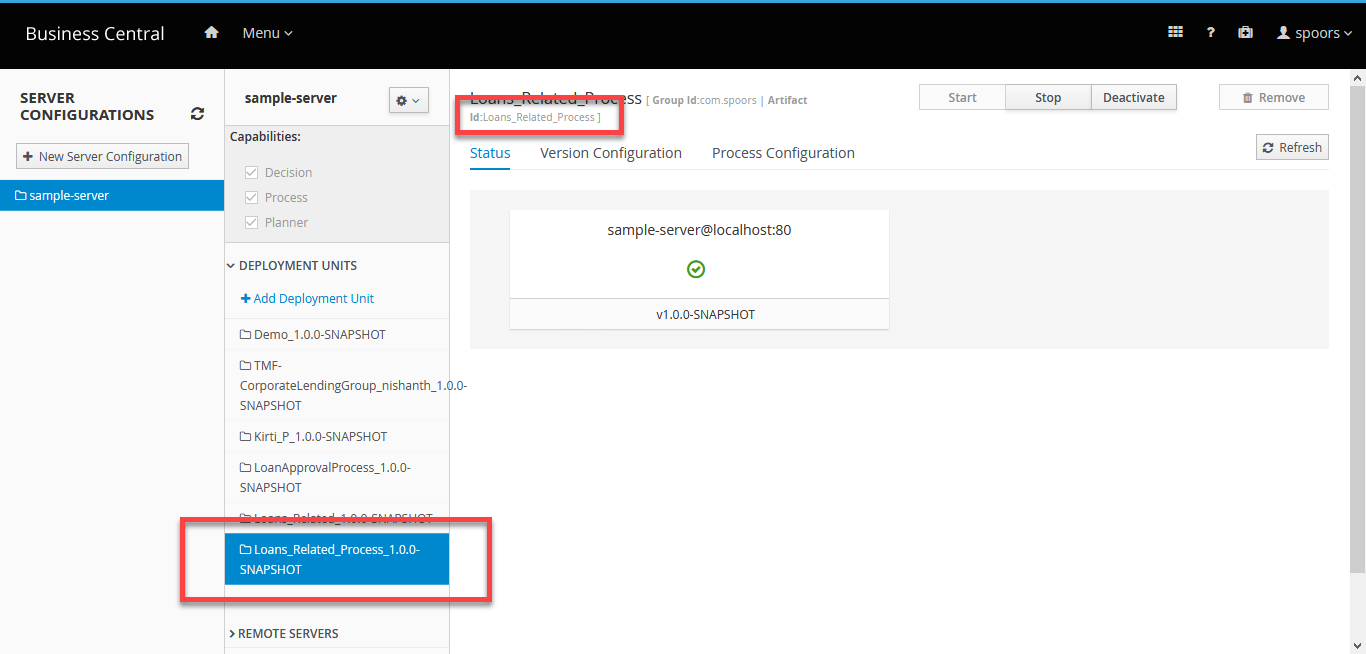
-
Now the decision engine URL is
https://decisions.spoors.dev/kie-server/services/rest/server/containers/Loans_Related_Process_1.0.0-SNAPSHOT/dmn - Finally, you need to download the DMN file from the Business Central. For more information, refer to Download DMN File from Business Central.
Step 2. Create Decision Provider
- Sign-in to your EFFORT account.
- Navigate to .
-
Now create a Decision Provider, as shown below. Make sure you have
downloaded the DMN file.
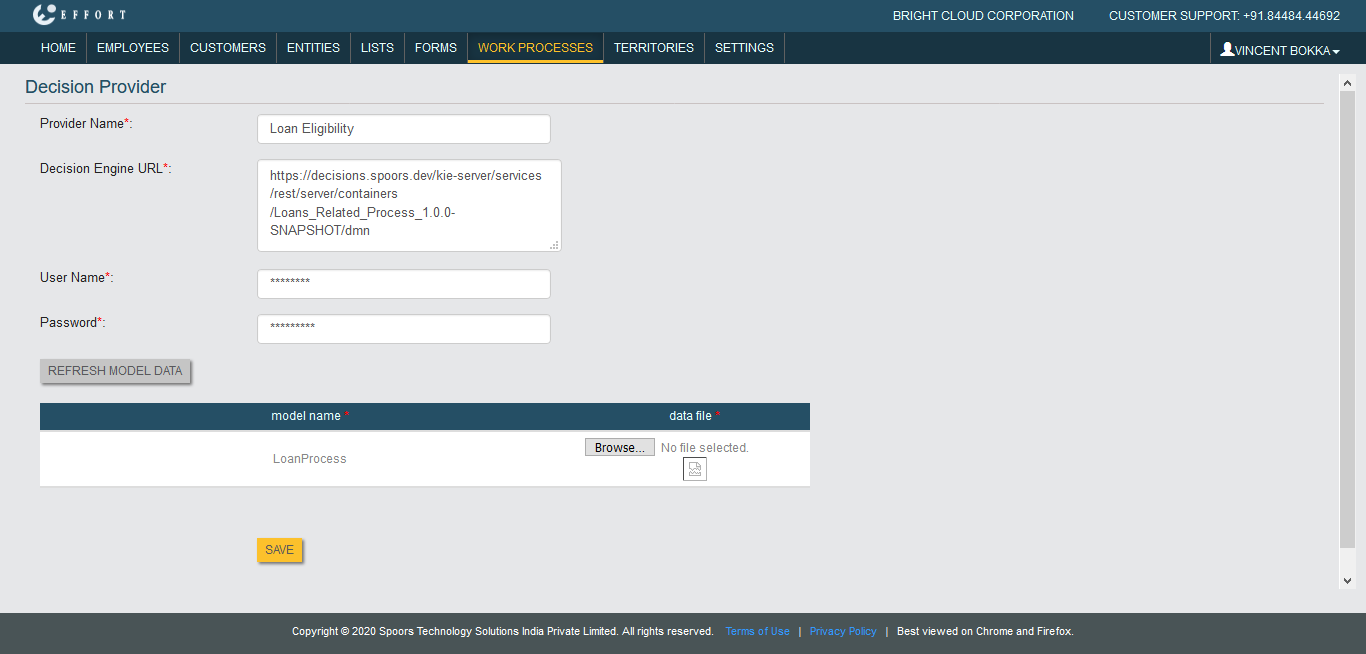
For more information on how to create a decision provider, refer to Create Decision Providers.
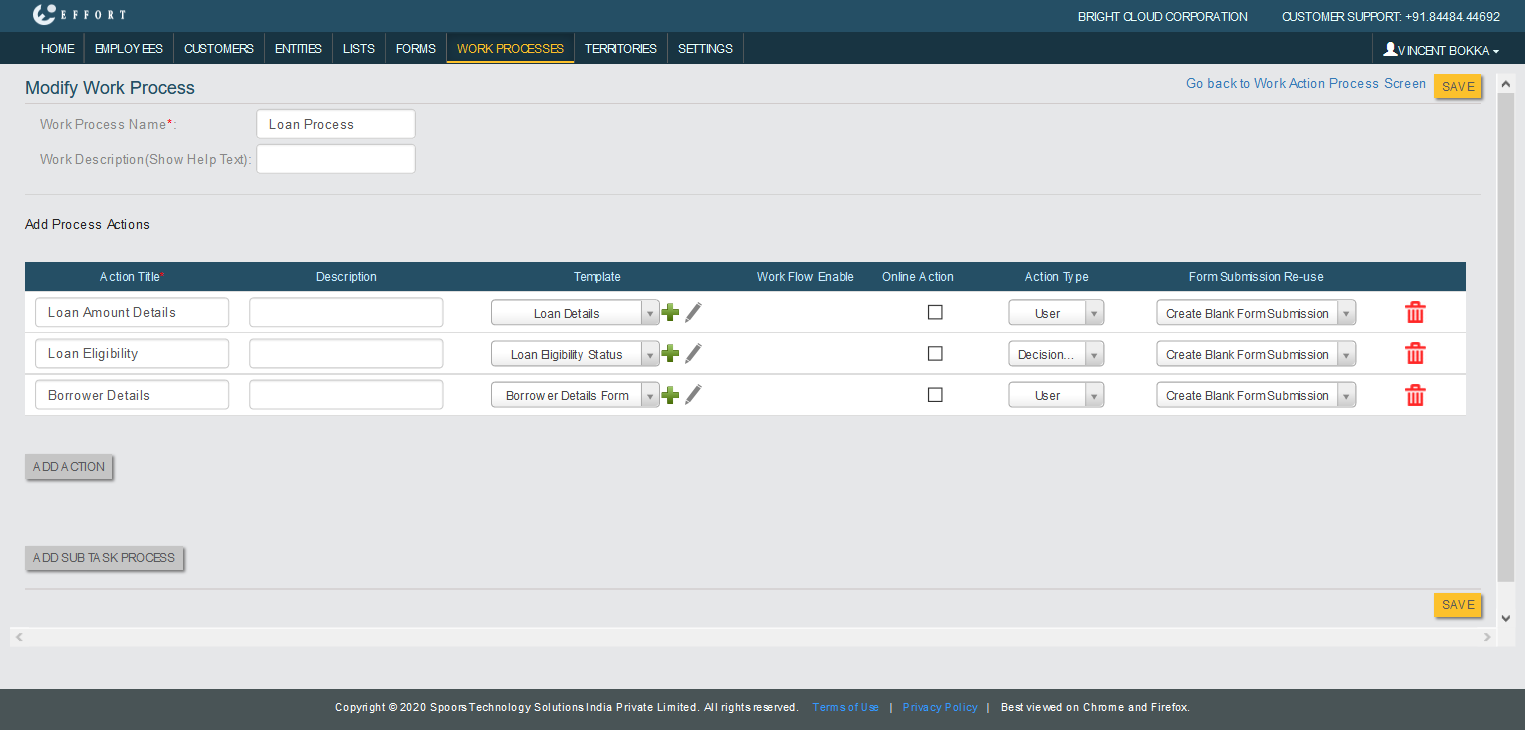
Step 3. Create Work Process
- Go to .
-
Create a work process as shown below. For more information on how to create
a work process, refer to Create a Work Process.
The below form is configured to the first action.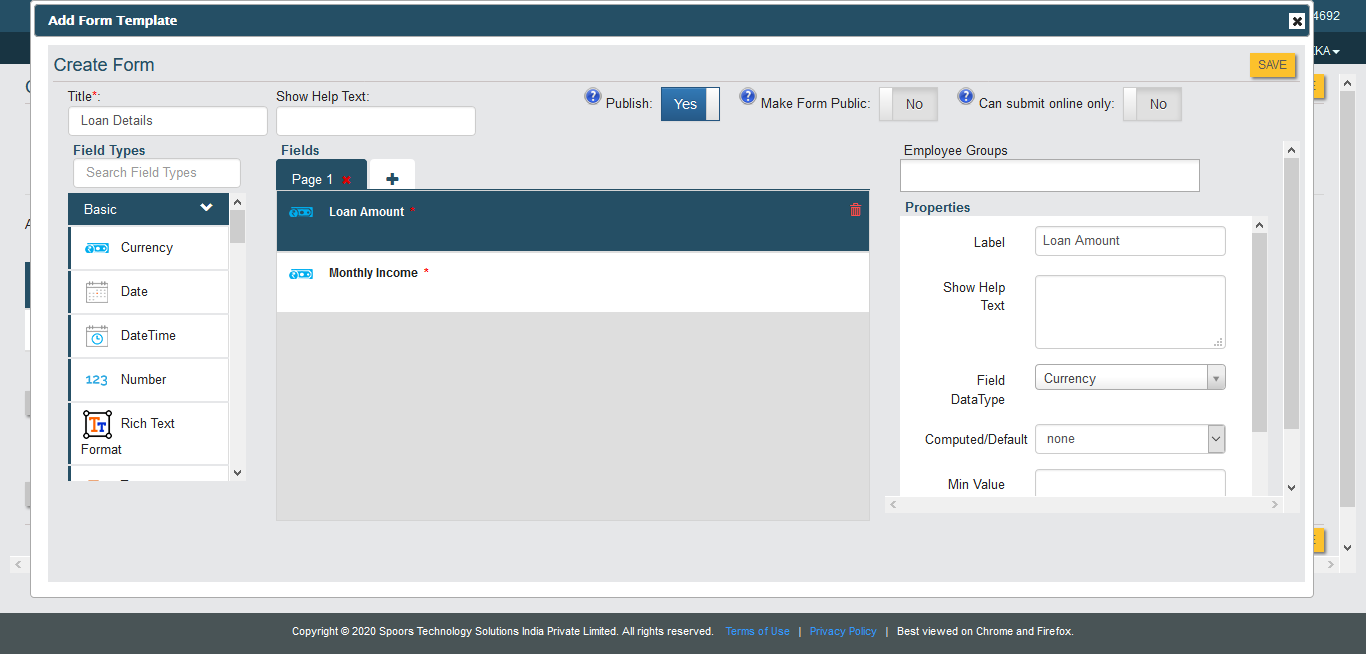 The below form is configured to the second action.
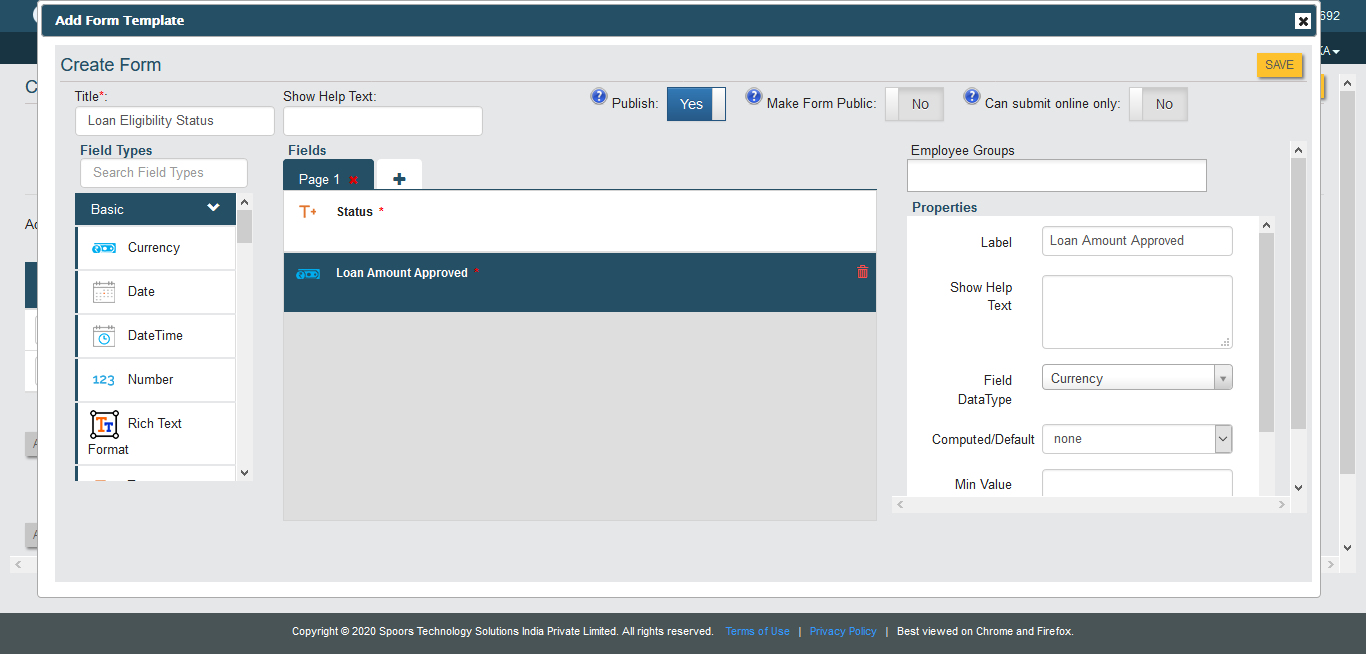 The below form is configured to the third action.
-
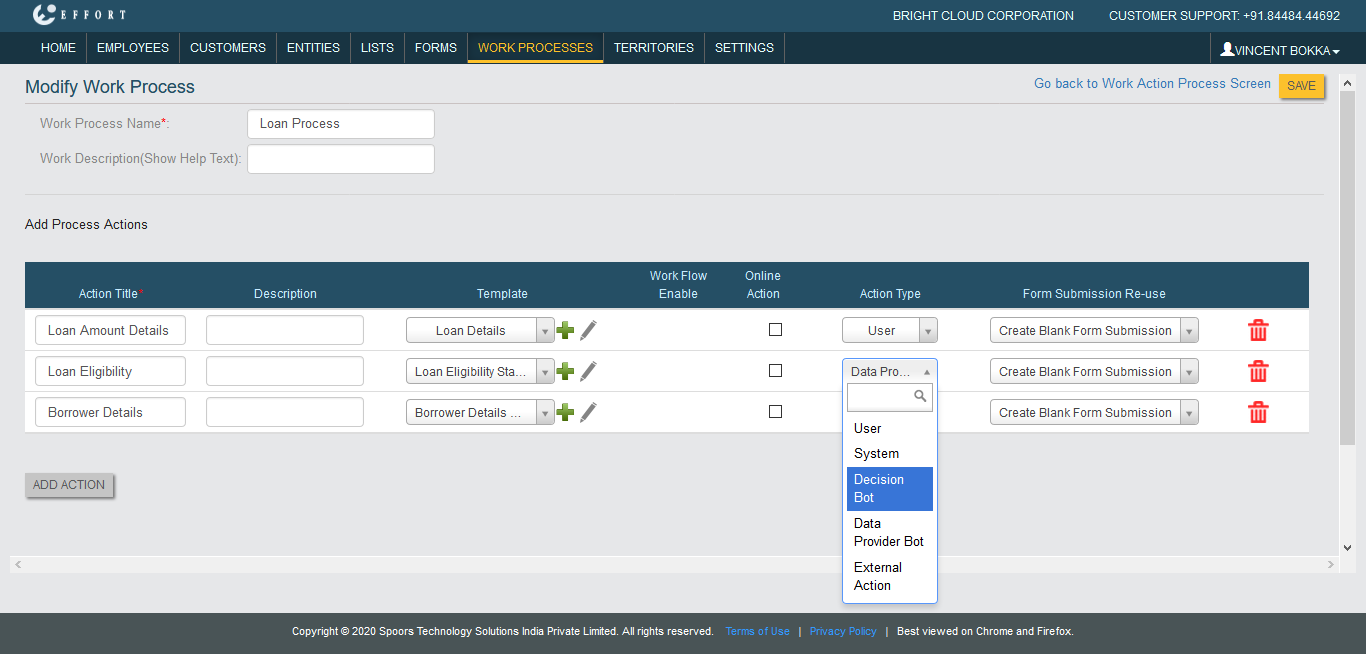
Here the Loan Eligibility action is a decision action where we can
get the status of the loan based on the inputs. To configure it as a
decision action, select Decision Bot in the Action Type.
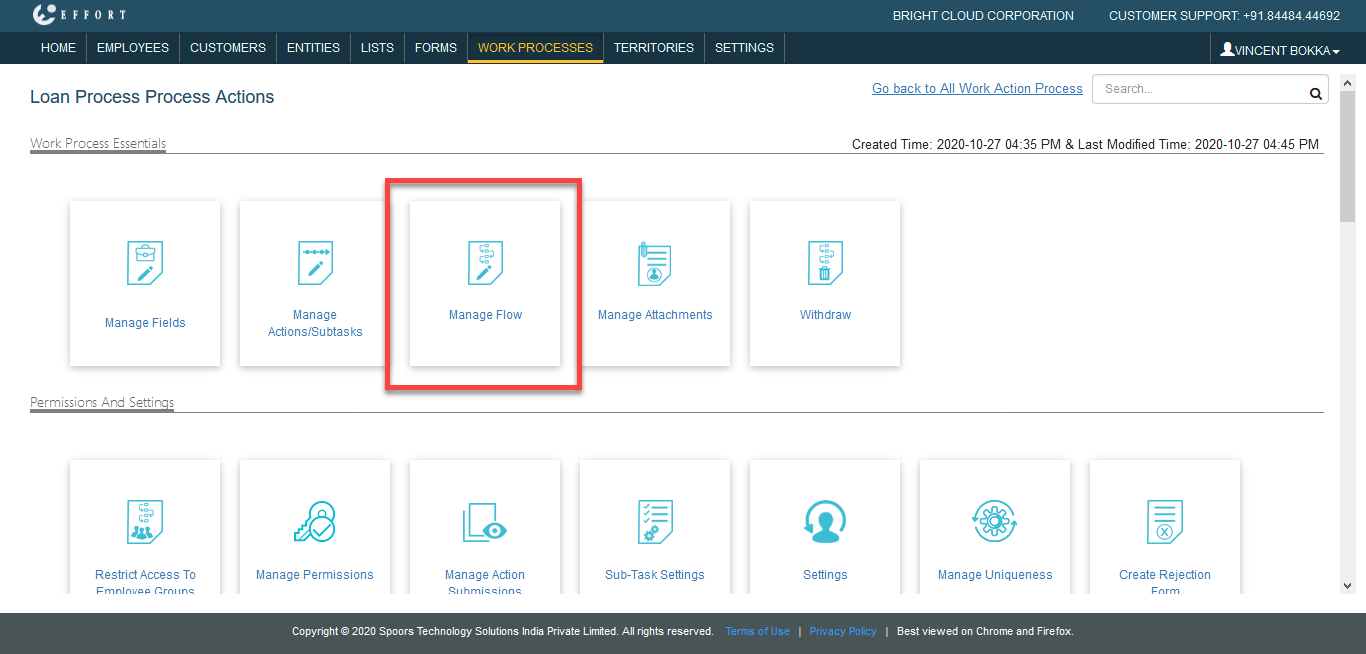
-
Now Save the work process and click the Manage Flow card to
workflow.
Step 4. Configure Workflow
-
Configure the workflow such as Start Action, End Action, and Next
Actions as shown below.

For more information on how to manage workflow, refer to Workflow. -
Click the gear icon under Configure Bot / External Action to
configure the decision action. Configure the action as shown below and click
Save.

-
Now configure the End Work Rules for the decision action named as
Loan Eligibility. Click Define Rule(s) button under End
Work Rules against the Loan Eligibility.

The above criteria is configured to end the work process if the Status is Rejected. If the Status is Approved, then the next action (Borrower Details) will need to be performed. - Save the work flow. Now you can get start with the works.
Step 5. Add Work
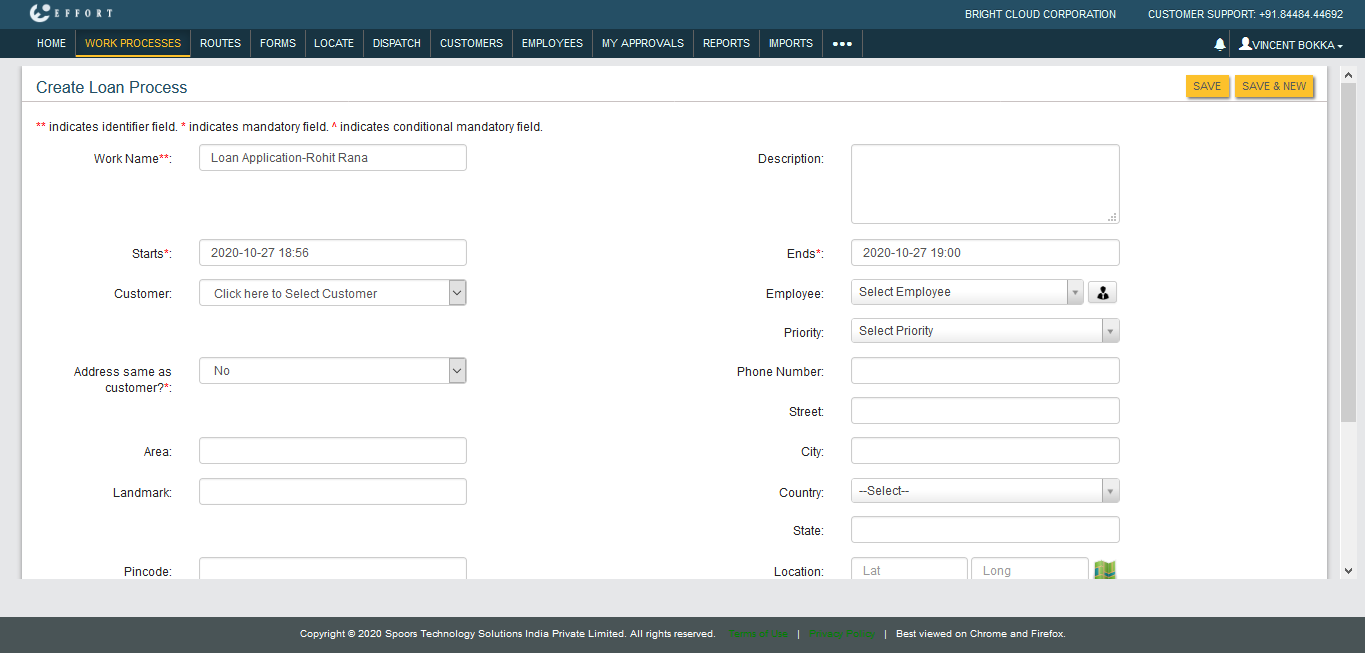
-
Go to . Now add work for the Loan Process. Fill out the
mandatory details and click Save.
-
Fill the form which is configured to the first action.

As shown above, the Loan Amount is less than ten times the Monthly Income. So it must generate Status field value as Approved. -
Refresh the page to auto complete the second action.

In the above example, the Status is showing as Approved since it meets the eligibility criteria defined in the decision model. -
Now perform third action to complete the work process.

This is how the work process works. This is a sample work process to check the eligibility for loan based on the business rule defined in the decision engine. You can customize the actions and decision models as per your business rules.