
Customer Application Process Flow
In this guide, we're going to create a workflow where a customer gets a link through
email to fill the application, and the application will be sent to the agent for
validation. Here's an example workflow that we are creating.

This guide walks you through the step-by-step procedure to configure this workflow in the Effort platform.
Workflow Configuration
Getting Started With Forms
One of the first steps in creating any workflow is to create a form. A form
is a template that enables you to collect and store data. To start the
Workflow configuration, you have to start with the creation of the below forms.
- Customer Details: This is the application form that will be sent to the customer.
- Application Validation: This form needs to be filled by the internal employee to validate the customer details.
-
As a first step, you have to create a Customer
Details form in the Forms module.
To create this form, navigate to . Click Create Form button.

-
This opens the Add a New Form Template pop-up.
You have to click the Create On My Own option. It
enables you to create a form from the scratch.

-
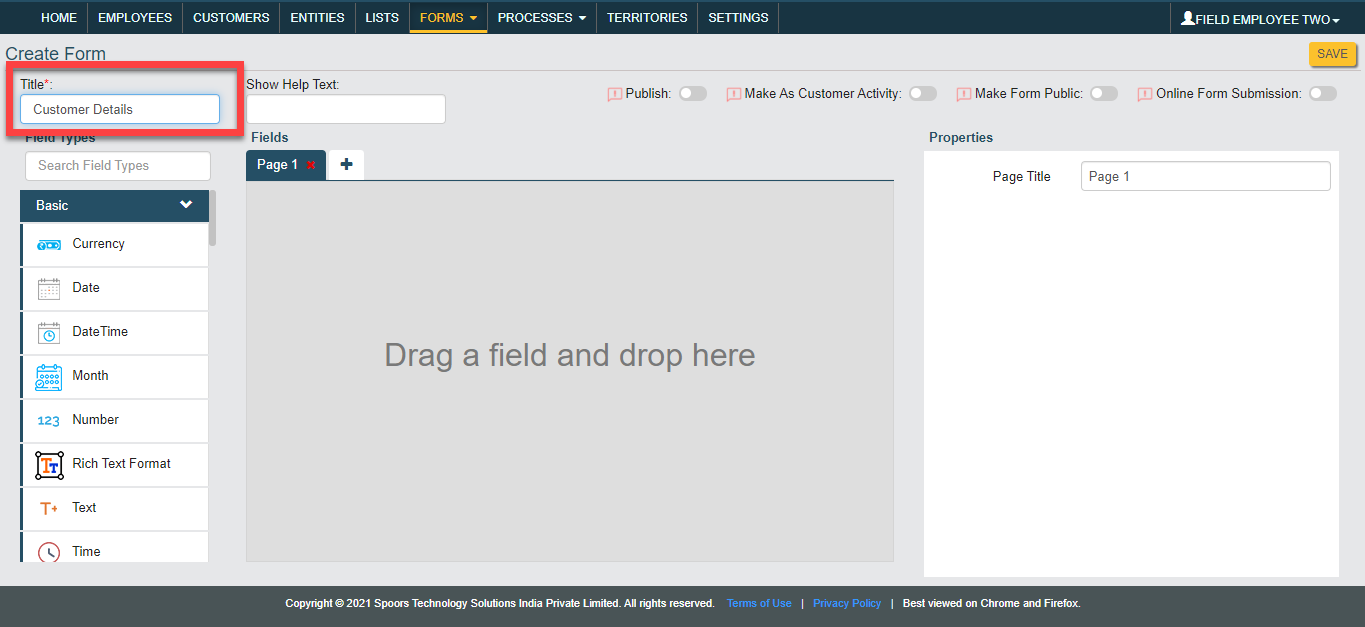
Now you will see the Create Form page with the
data types on the left side. These data types help you to collect data
that you need from the customers. Check out the Data Types - Basic page
to learn more about the data types.

-
Enter the form title as Customer Details in the
Title field.
-
Now drag and drop six Text, Number, Phone, Email, Date, Number, Number,
Dropdown, Text, Text, Fields Group, and Fields Group data types onto
Fields canvas.

-
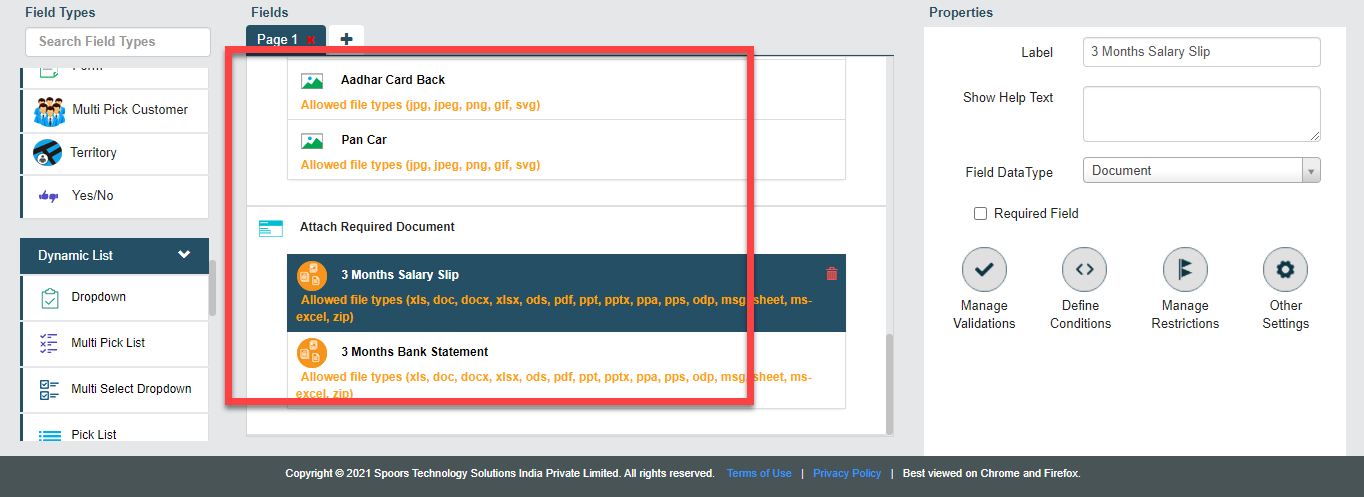
Drap and drop three Image data types onto the
first Fields Group data type. Similarly, drag and
drop two Document data types onto the second
Fields Group data type as shown below.

-
Click on the Text field and enter the label as
Full Name in the Label
field. Similarly, label all the fields as shown below. Check out the
Field Properties page
to learn more about the field properties.


-
For the Dropdown field, enter the below dropdown
values in the Add Values field.
- House Buying
- Home Improvement
- Investment
- New Car Loan
- Used Car Loan

-
Now enable Publish and click
Save button to save the form. Check out the
Publishing Options page
to learn more about the publishing options.

-
In the same way, you have to create the Application
Validation form with the fields as shown below. Drag and
drop the Date and Yes/No
data types onto the field canvas and label them as shown below.

-
Set the Date field as
Computed and click the grey box below the
field.

If you set any field as Computed, the user cannot be able to change the populated value. -
On the Formula Editor pop-up, click
Today. It will be populated on the grey box
given on the right side. Now click Done
button.

As per this configuration, the Date field shows today's date and the users cannot modify it. -
Enable Publish and click Save to create the
form.

Work Process Creation
In the above section, you have created forms to capture details from the customer, generate a ticket, and get feedback from the customer. Now, you have to create a work process to performs all these activities in a sequence. Follow the steps given below to create a work process.
-
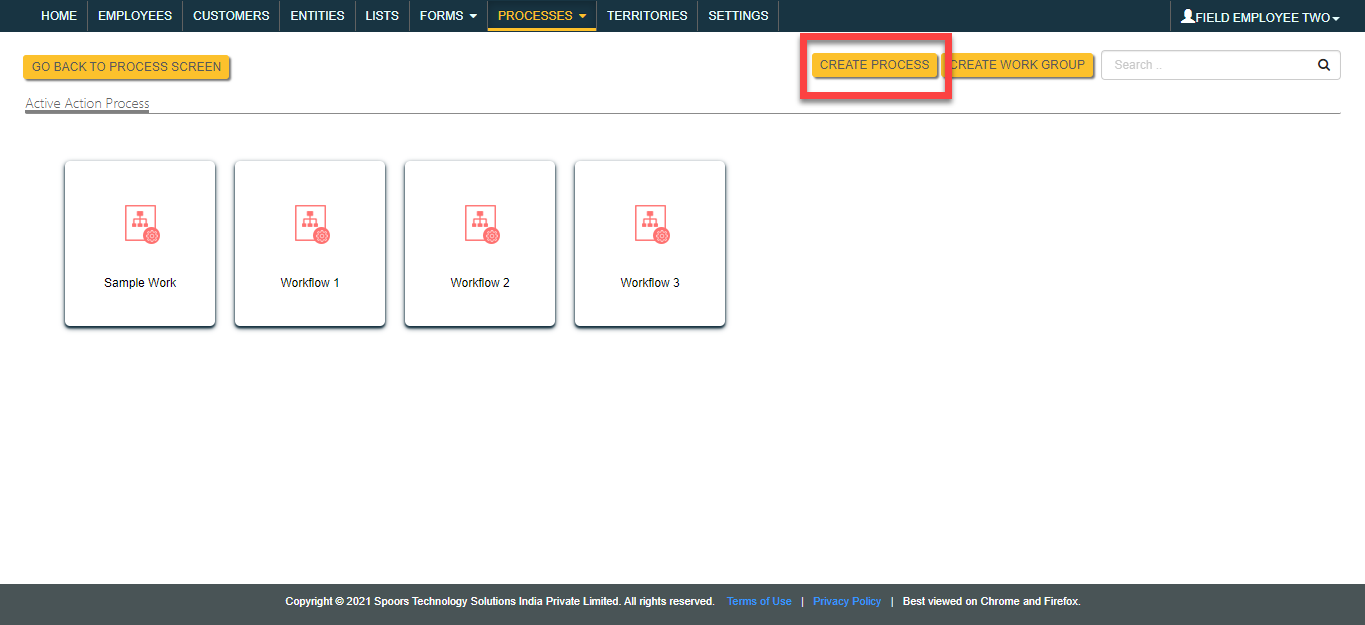
To start creating a work process, navigate to . Click Create Process
button.
-
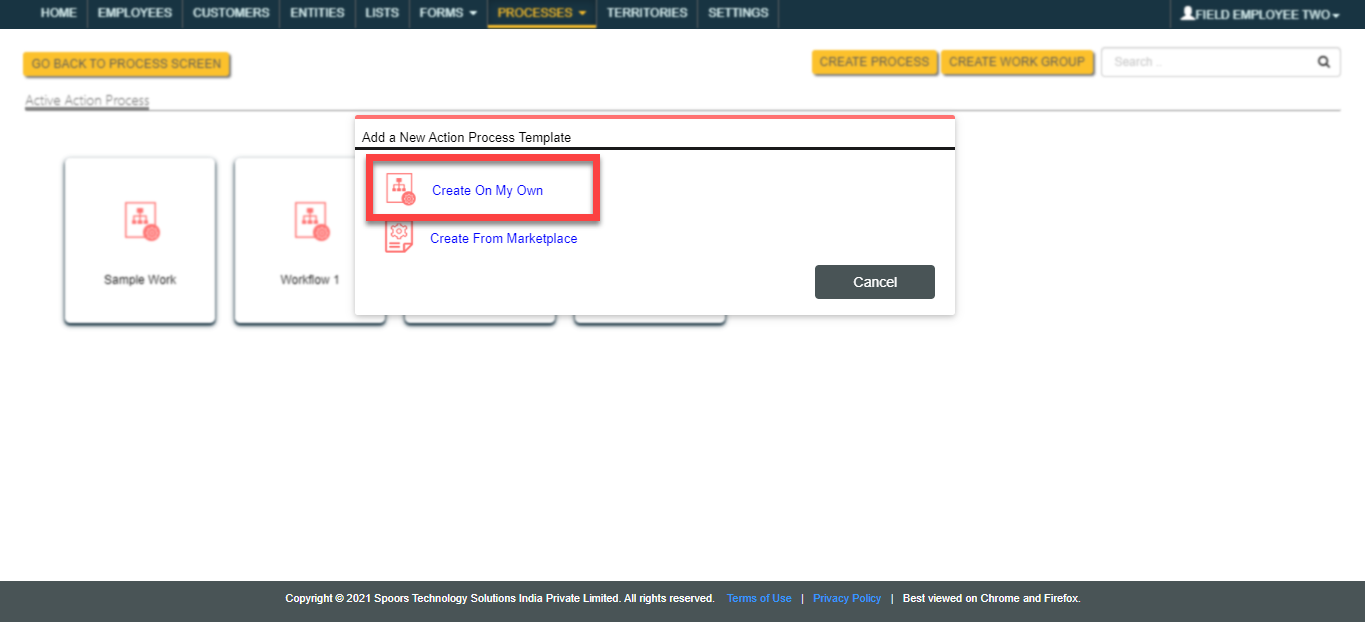
This opens the Add a New Action Process Template
pop-up. You have to click the Create On My Own
option. It enables you to create a form from the scratch.
-
You will see the Create Action Process page.
Enter the Work Process Name as
Workflow 2 and click Add
Action button to define the first step in the
workflow.

The work process name is generic and you can name the work process as per your requirement. -
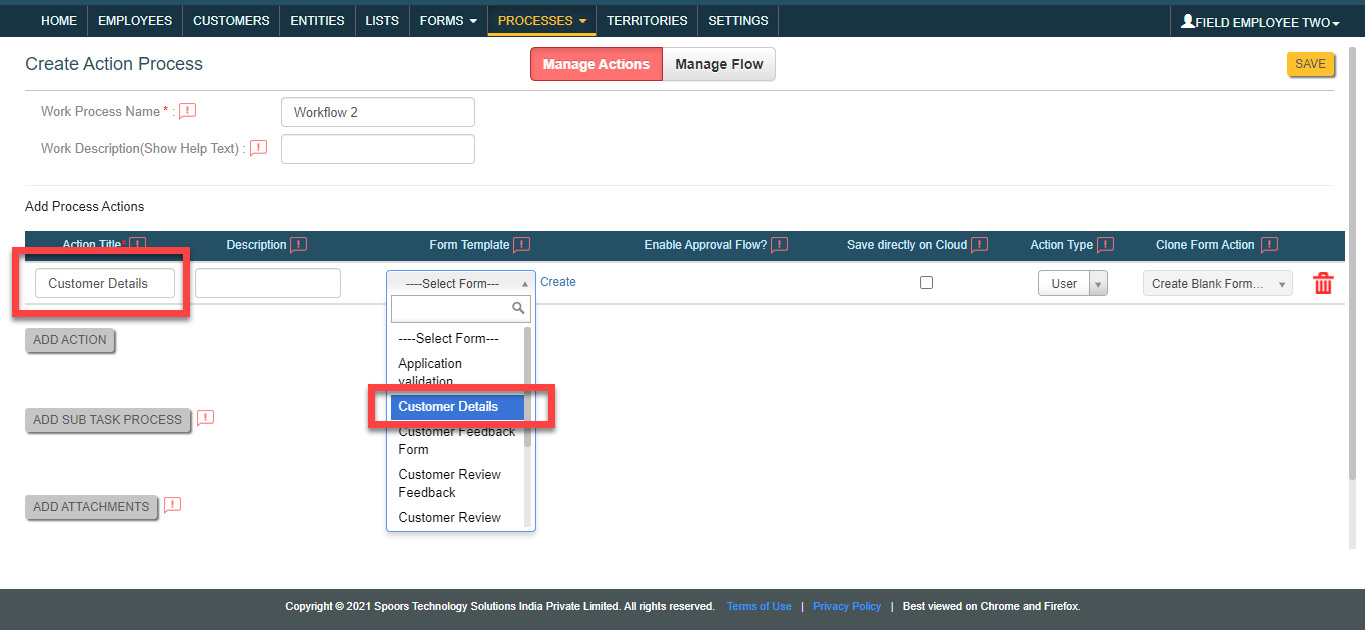
Enter the Action Title as Customer
Details. Under the Form Template
column, click the Select Form and select the
Customer Details form.
-
As per the workflow, this is the action where the customer needs to
submit the Customer Details form. To get details
from the customers, select Action Type as
External Action.

If you set any action as External Action, the work action link will be sent to the external users, and they can complete it without logging into Effort. -
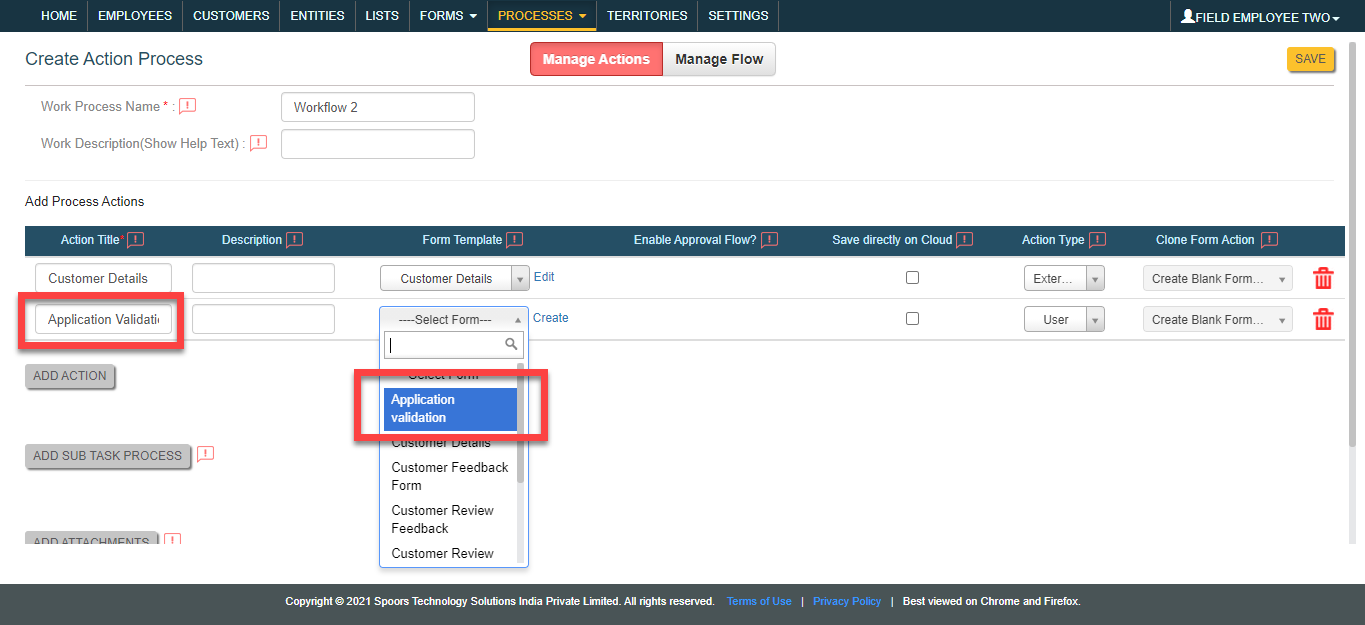
Similarly, click Add Action button again. Enter
the Action Title as Application
Validation and configure the Application
Validation form template.
-
Click Save button to create the work process.
You will see the work process action page. Click Manage
Fields card to define the work fields that are used to
create a work. Using these fields work will be created and
assigned.

-
To add a new field, click Add Field button. Use
up and down arrows under the Order column to
change the order of the work fields. Define the fields as shown below
and click Save button.

-
You will see the work process action page. Click Manage
Flow card to define the workflow like from which action
to start the work, where to end, what action to be executed after
completing a work action, etc.

-
Make the Customer Details as Start
Action and Application Validation
as End Action as shown below.

-
Click the pencil icon under the Next Action
column.

-
Click on the Application Validation and click
the arrow button to move it to the Selected
section. Click OK.

-
Click the gear icon under the Configure Bot / External
Action column.

-
Click Add Input button. Select
Contact Type as Email,
Field Type as Email Fields In
Work, and Field as
Customers Email. Enter the link expiry limit
as 90 minutes and enable the checkbox as highlighted in the below
screenshot. Once you have finished the configuration, click
Save button.

As per this configuration, the work action link will be sent automatically to the customer email and it is valid for 90 minutes. -
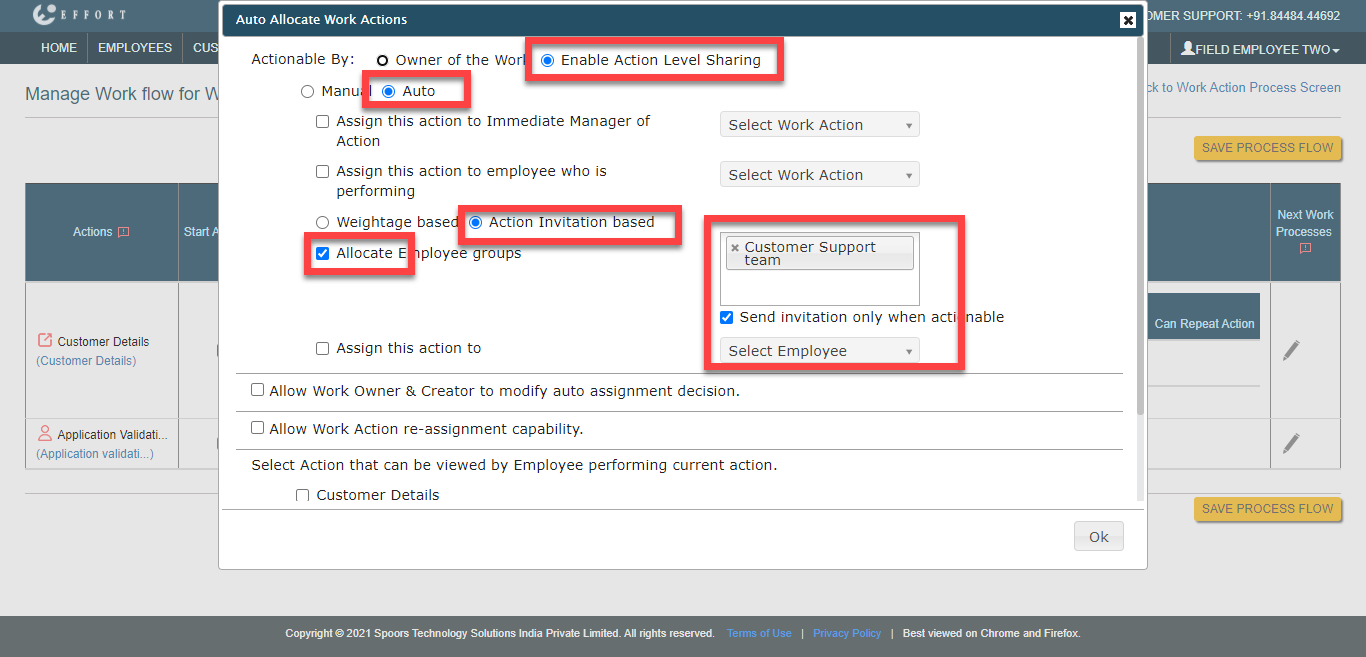
For the second action, click the bulb icon under the Auto
Allocate Work Actions column.

-
Set the configuration as shown below and click
OK. As per this configuration, the second
work action will be assigned automatically to the Customer Support team.
The Customer Support team is an employee group. Check out the Add Employee Group page
to learn how to create an employee group.
-
Click Save Process Flow button to save the
workflow.

Workflow Testing
In the above section, we've completed the workflow configuration part. Now we need to test the workflow to ensure the configuration is working properly. Follow the steps listed below to check how this workflow works.
-
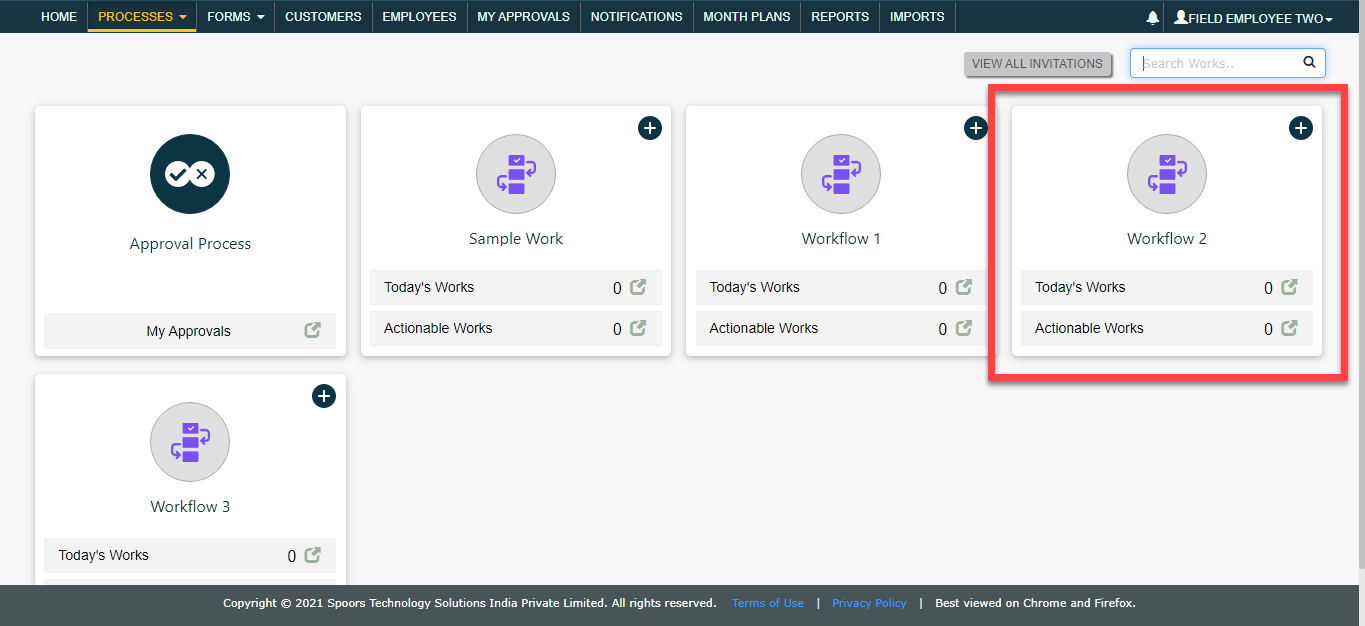
As per the workflow, the employee needs to fill the basic customer details.
To complete this step, navigate to . Click on the Workflow 2 card.
-
Click Add Work button.

-
Fill in the customer details and click Save.

-
After saving the work, the customer gets an email with the work action
link. As per the workflow, the customer needs to fill the
Customer Details form. The customer doesn't need
Effort login credentials to fill the form.

-
The customer needs to click on the link and submit the form.

-
On submission of the form, the next action “Application validation” will be
initiated. As per the configuration, the work action invitation will be sent
to the Customer Support team.

-
Tap Accept to start work on the customer
request.

-
Tap OK on the confirmation pop-up.

-
Now go back to the mobile app home screen and tap Workflow
2 card.

-
Tap on the work details card.

-
Tap the Next Step button.

-
Tap Application Validation to fill the application
validation form.

-
Fill the form and tap Save.

- Tap Save on the confirmation pop-up to complete the second action. Sync the mobile app to send the data to the server.
-
To view the completed work details on the web, navigate to the . Click Today Works given on the
Workflow 2 card.

-
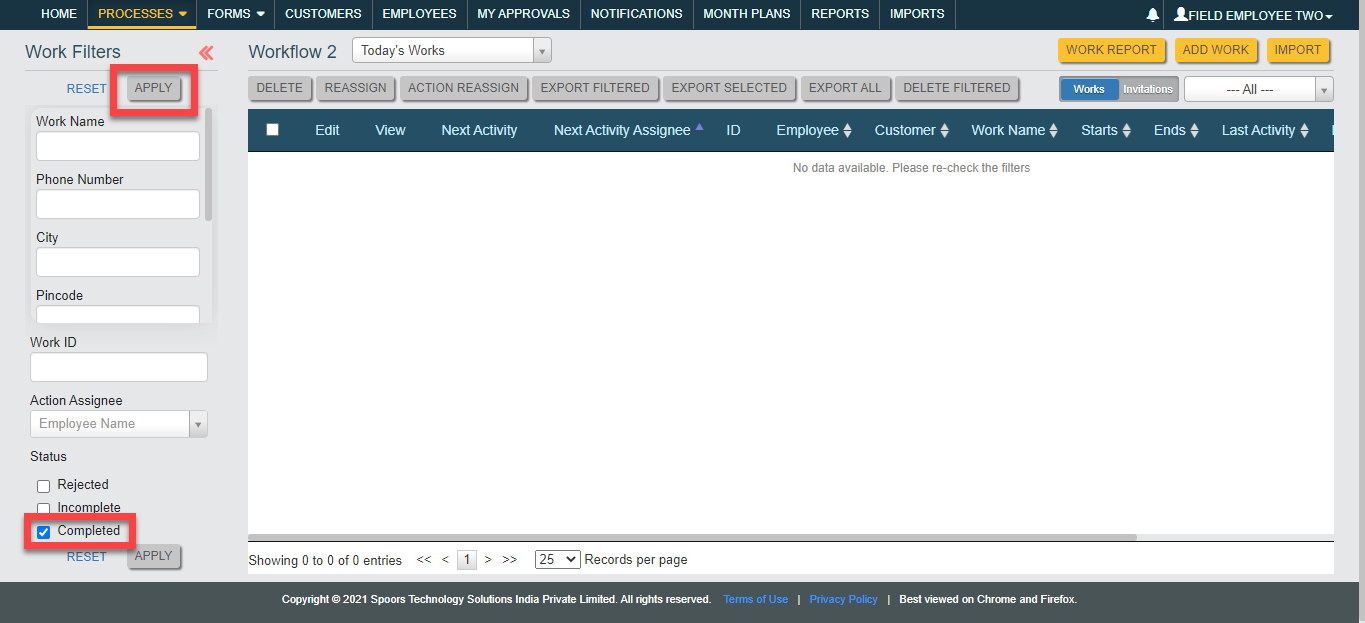
Under the Work Filters, click the
Completed checkbox and click
Apply button.
-
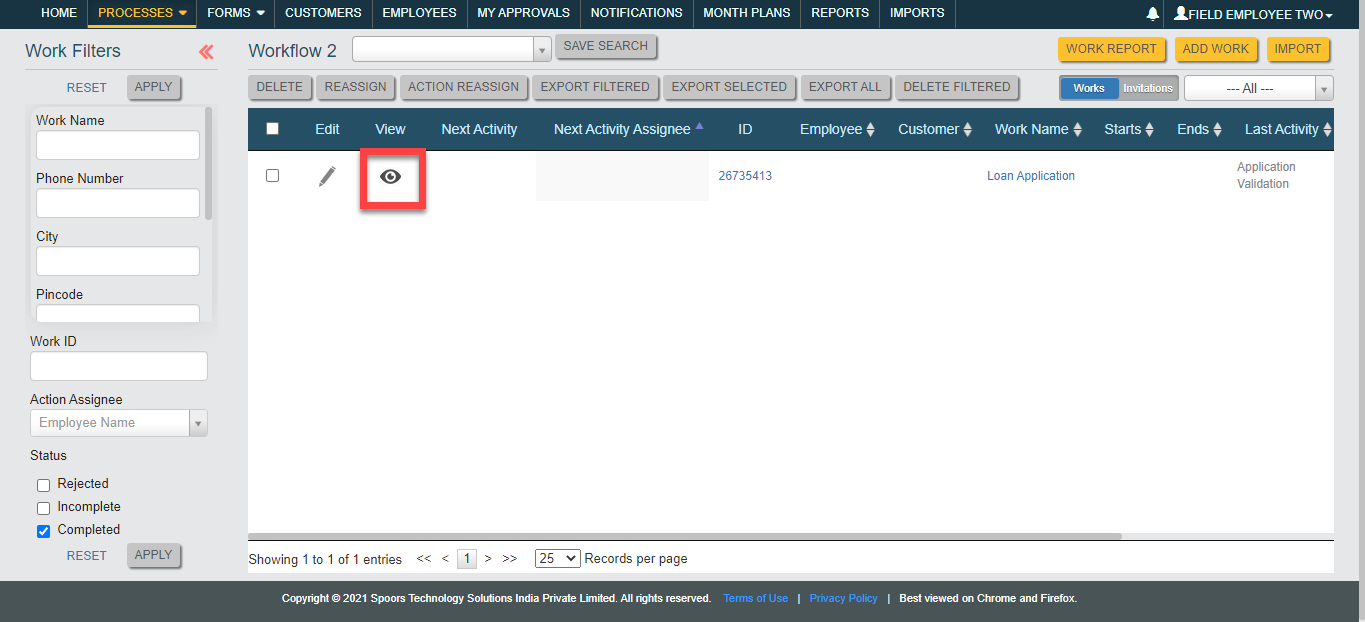
Click eye icon under the View column.
-
Click the arrow icon given at the Actions Performed
option to view the completed work details.
