Create Entity
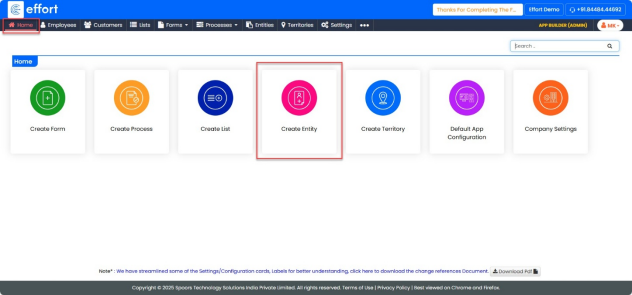
- From the Home page, go to the main menu on the top-right corner.
- Click on “Create Entity”.
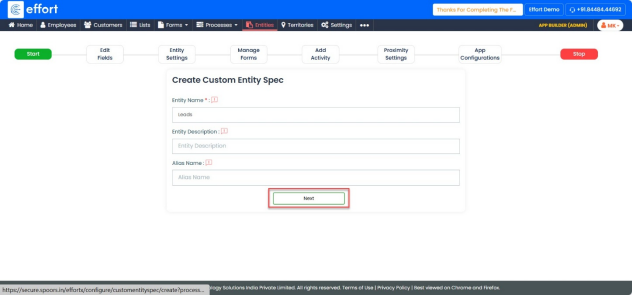
In the “Start” tab.
- Enter “Entity Name” field, enter a suitable name for the entity.
- Enter “Entity Description” field, enter a short description that summarizes the purpose of the entity.
- Enter “Alias Name”.
- Fields marked with an asterisk (*) are mandatory.
- Click “Next”.
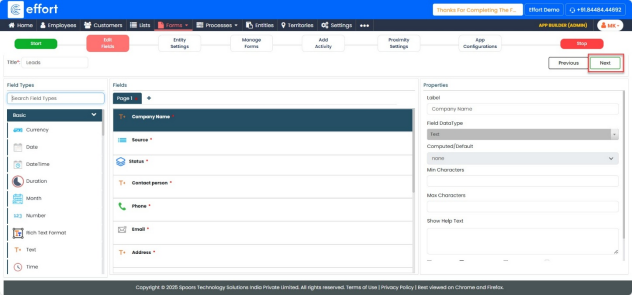
In the Edit Fields tab.
- In the Fields section, locate the field named “Entity Name.”
- Update its Label Name to “Company Name.”
- Search for the Pick List field type, then drag and drop it into the Fields canvas.
- In the properties panel, set the Label Name to “Source.”
- From the List dropdown, select “Lead Source.”
- Search for the Button Grouping field type, then drag and drop it into the Fields canvas.
- In the properties panel, set the Label Name to “Status.”
- From the List dropdown, select “Status Master.”
- Enable the “Can Edit in View” checkbox.
- Search for the Text field type, then drag and drop it into the Fields canvas.
- In the properties panel, set the Label Name to “Contact Person.”
- Search for the Phone field type, then drag and drop it into the Fields canvas.
- Search for the Email field type, then drag and drop it into the Fields canvas.
- Search for the Text field type again, then drag and drop it into the Fields area.
- In the properties panel, set the Label Name to “Address.”
- Search for the Number field type, then drag and drop it into the Fields canvas.
- In the properties panel, set the Label Name to “Ticket Value.”
- Search for the Employee field type, then drag and drop it into the Fields canvas.
- In the properties panel, set the Label Name to “Sales Owner.”
- From the Type dropdown, select “Computed.”
- Click “Click Here for Computations.”
- In the computation options, select “Filled By (E1009_E25).”
- Click “Done” to save.
Click “Next”.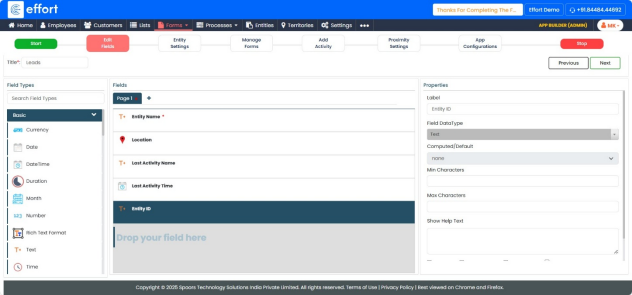
In Entity settings tab.
- In the Entity Settings section, skip this step as it is non-mandatory.
- Click “Next”.

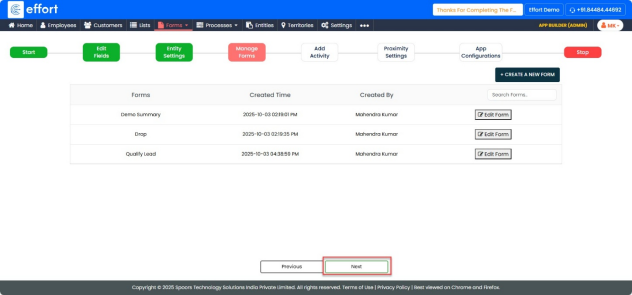
In Mange forms tab
- In the Entity Settings section, skip this step as it is non-mandatory.
- Click “Next”.
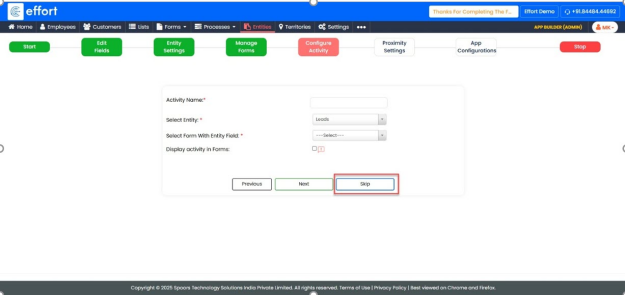
In Configure Activity tab
- In the Configure Activity section, skip this step as it is non-mandatory.
- Click “Skip”.
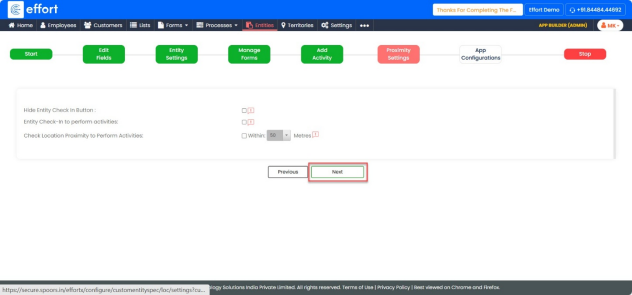
In Proximity Settings tab
- In the Proximity Settings section, skip this step as it is non-mandatory.
- Click “Next”.
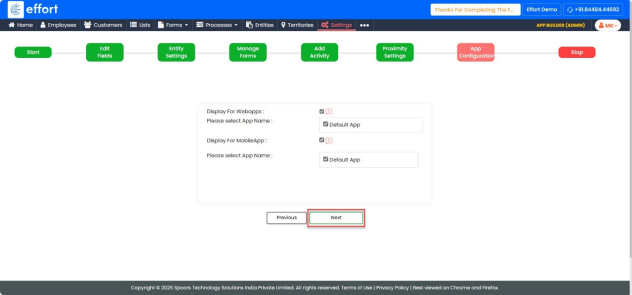
In App Configuration tab
- In the App Configuration, select all the available checkboxes.
- Click “Next”.