Define Targets
Follow the steps to enable the Target vs Achievement functionality: Step-1
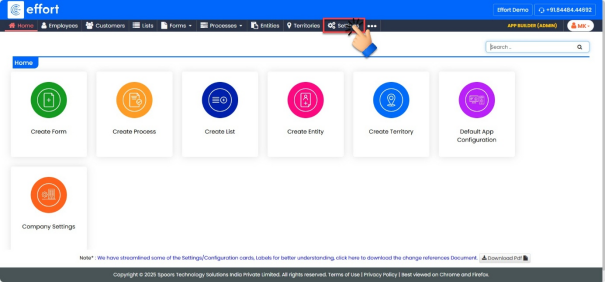
- On the home page, click on the “App Builder”
- Click on “Settings”.
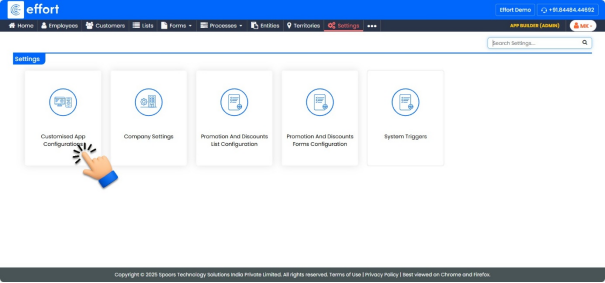
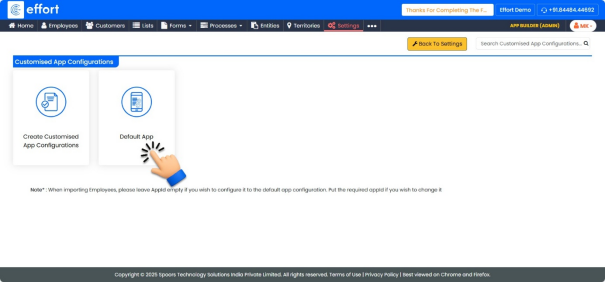
- Click on “Customized App Configurations”.
- Click on “Default App”.
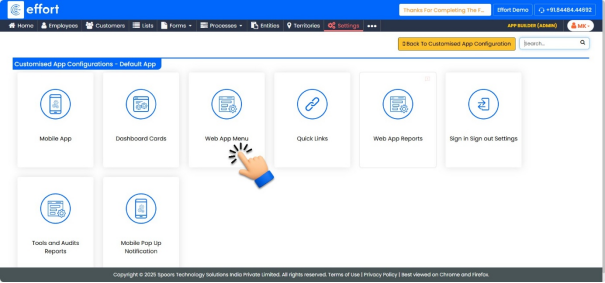
- Click on “Web App Menu”.
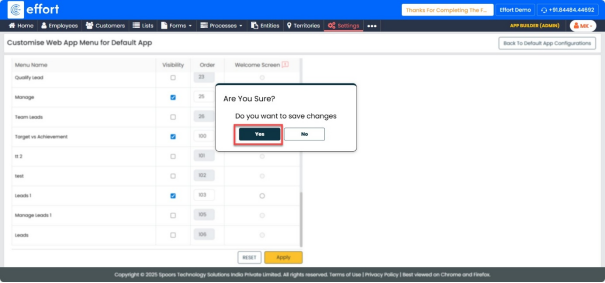
- Check the box for “Target vs Achievement” to enable the functionality.

- Click “Apply”.
- Click “Yes”.
Defining the Targets
Follow the steps to create the targets: Step -2
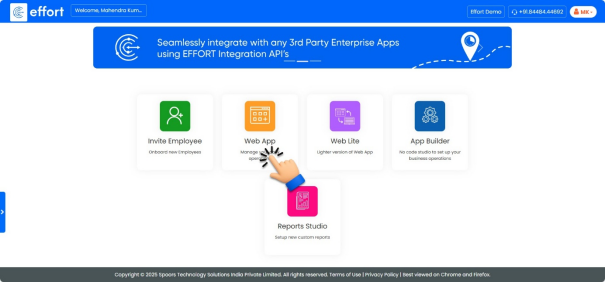
- On the home page, click on the “web App”.
- To view Target vs Achievement, click the “
 ”Main Menu icon located at
the top-left corner of the screen, then select “Target vs Achievement” from the
menu list.
”Main Menu icon located at
the top-left corner of the screen, then select “Target vs Achievement” from the
menu list.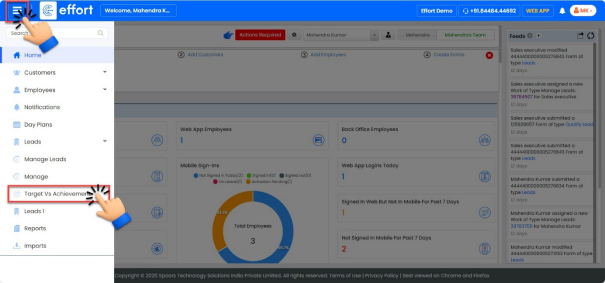
- Click the “
 ” button to add the required targets for the sales
executive.
” button to add the required targets for the sales
executive.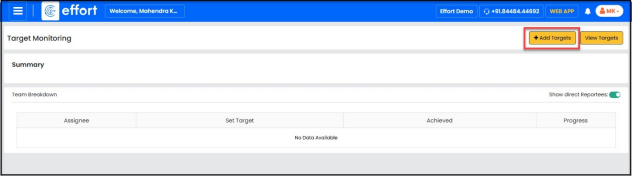
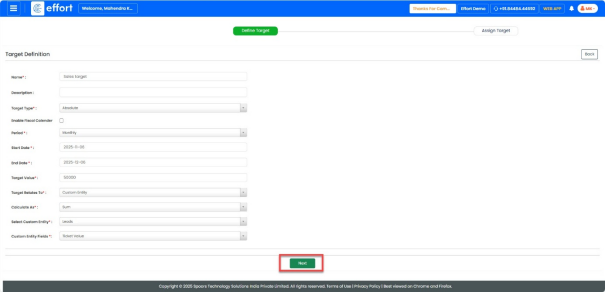
- Step 1: Define the target.
- Enter “Name” as Sales Target.
- Enter a “Description”.
- Click the “Target Type” dropdown and select Absolute.
- Click the “Period” dropdown and select Monthly.
- Choose the “Start Date” and “End Date”. When you select the Monthly period, the system automatically selects the current month based on the chosen dates.
- Enter the “Target Value” as 50,000.
- Click the “Target Relates To” dropdown and select Custom Entity.
- Click the “Calculate As” dropdown and select Sum.
- Click the “Select Custom Entity” dropdown and choose Lead.
- Click the “Custom Entity Fields” dropdown and select Ticket Value.
- Click “Next”.
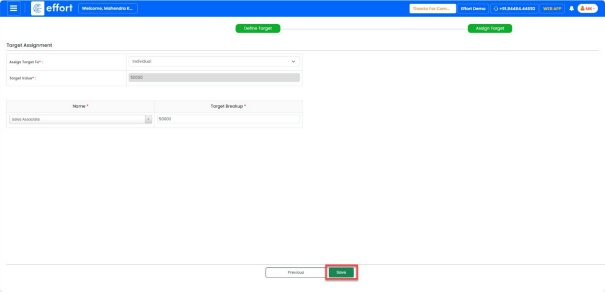
- Step 2: Assign Target
- Click the “Assign Target To” dropdown and select Individual.
- Enter the “Target Value” as 50,000.
- Click the “Name” dropdown and select Sales Associate.
- Enter the “Target Breakup” as 50,000.
- Click “Save”.
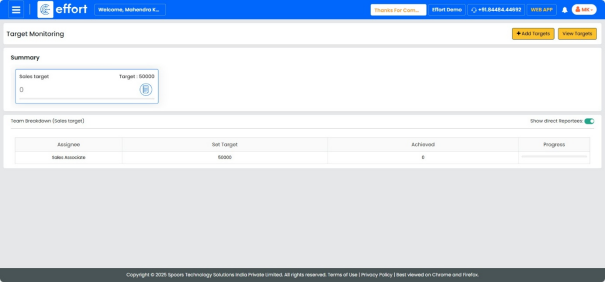
- To view all target, click the “
 ” button.
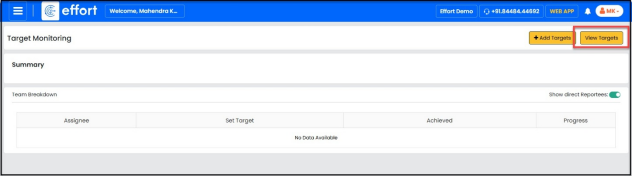
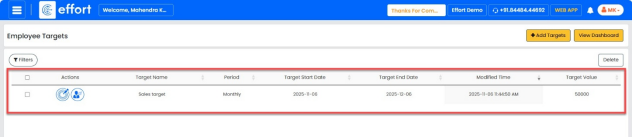
- To view the target, click the “View Dashboard” button.