
Create Activity Process
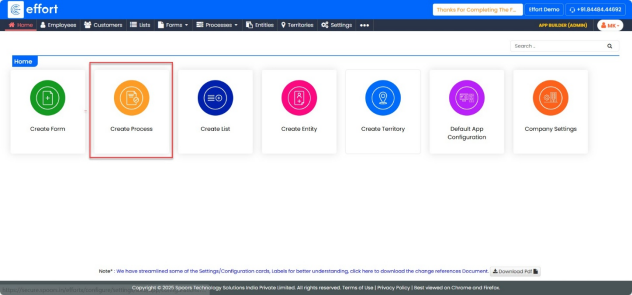
- Click on “Create Process”.
- Click on “Activity process”.
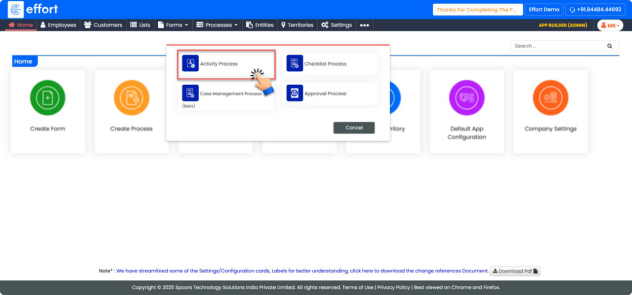
- Click on “Create On My Own”.
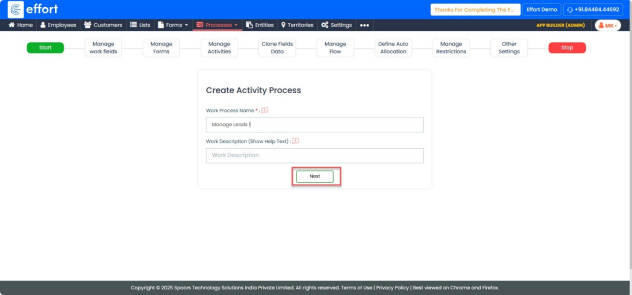
In the Start tab, modify the activity.
- Enter the “Work Process Name”.
- Enter the “Work Description (Show Help Text)”.
- Click “Next”
In the Manage Work Fields tab, follow the steps below:
- Disable all the existing fields.
- Click on “+ ADD FIELD”.
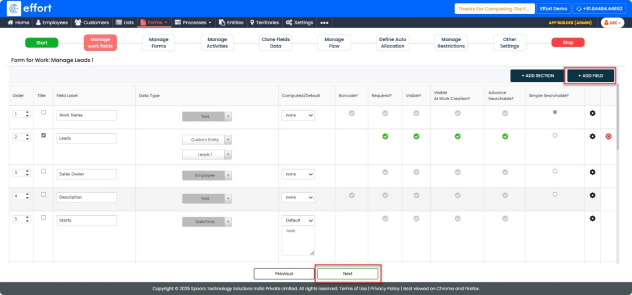
- In the new field row, enter the Field Name as “Lead.”
- In the Data Type column, select “Custom Entity” and choose “Leads” from the dropdown list.
- Click the Title checkbox and set the “Order 1”.
- Rename the field “Employee” to “Sales Owner.”
- Set the “Order 2”.
- Click “Next”.
- Click “OK”.
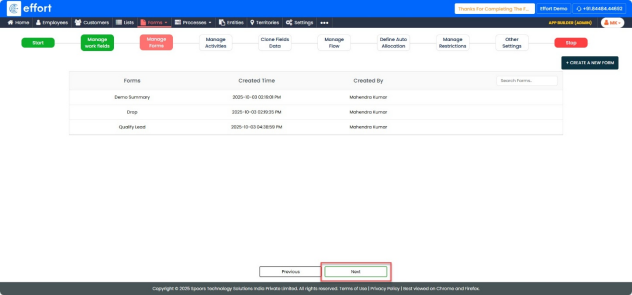
In Manage Forms tab.
- In the Manage Forms section, skip this step as it is non-mandatory.
- Click “Next”.
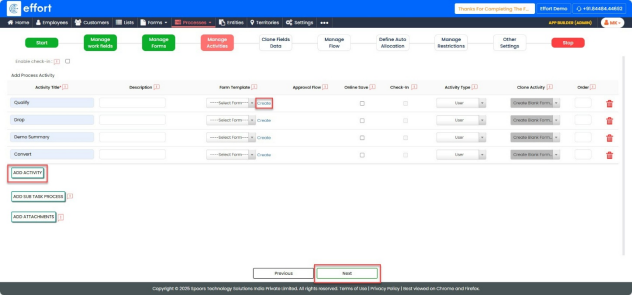
In Manage Activities tab.
- In the Manage Activities section.
- Click “ADD ACTIVITY”.
- Add “Qualify”.
- Add “Drop”.
- Add “Demo summary”.Add “Convert”.
- Click “Next”.
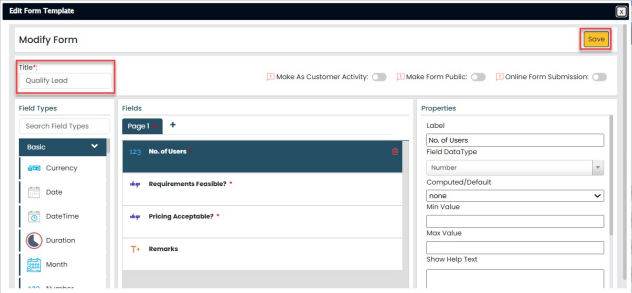
To create a Form Template, follow the steps:
For the Qualify activity, create a form template.
- Click on “Create”.
- From the Field Type options, select Number, then drag and drop it into the Fields
area.
- In the properties panel, set the Label Name to “No. of Users.”
- From the Field Type options, select Yes/No, then drag and drop it into the Fields area.
- Change the Label Name to “Requirements Feasible.”
- Again, select Yes/No from the Field Type, then drag and drop it into the Fields area.
- Change the Label Name to “Pricing Acceptable.”
- From the Field Type options, select Text, then drag and drop it into the Fields area.
- Change the Label Name to “Remarks.”
- Click “Save.”
For more information on how to configure a form go to: Form Builder
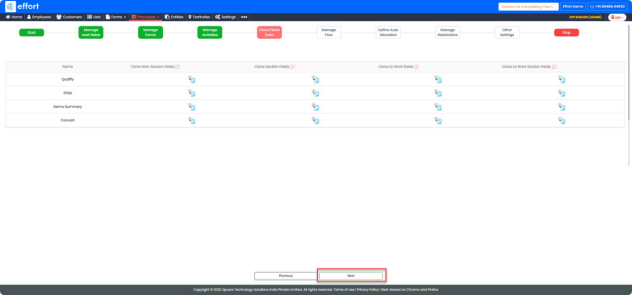
In Clone Fields Data tab
- In the Clone Fields Data section, skip this step as it is non-mandatory.
- Click “Next”.
In Manage Flow tab
- In the Activity List:
- Select the Start Activity checkbox for Qualify.
- Select the End Activity checkbox for Drop and Convert (these activities end the process).
- Select Next Activities:
- Click on “
 ” icon to define additional next
activities.
” icon to define additional next
activities. - After Qualify, set the next activity to Demo summary and Drop
- Qualify -> Demo summary and Drop
- After Demo summary, set the next activity to Convert and Drop
- Demo Summary -> Convert and Drop
- Click on “
Note: Click Create Rule to add each transition rule. Save the rule after defining it.
- Click “Next”.

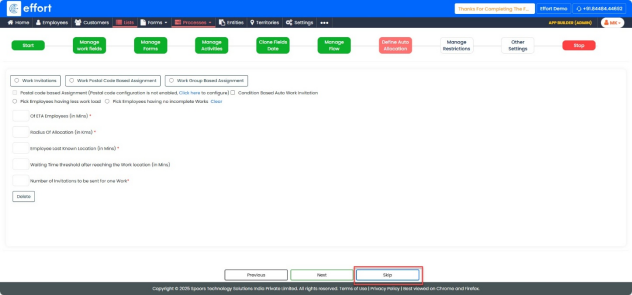
In Define Auto Allocation tab
- In the Define Auto Allocation section, skip this step as it is non-mandatory.
- Click “Skip”.
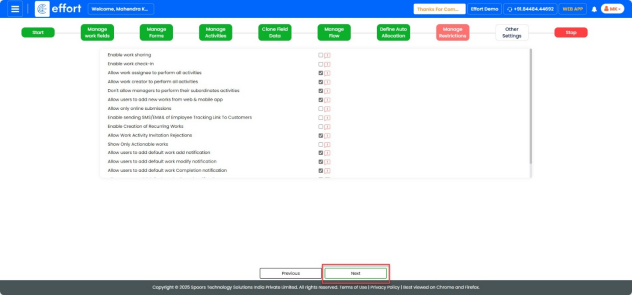
In Manage Restrictions tab
- In the Manage Restrictions section, skip this step as it is non-mandatory.
- Click “Next”.
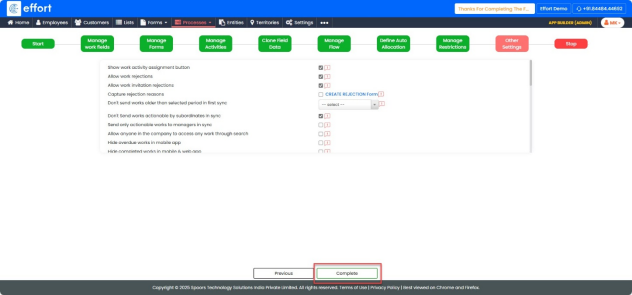
In Other Settings tab
- In the Other Settings section, skip this step as it is non-mandatory.
- Click “Complete”.
For more information on how to configure a form go to: Process Builder