Create Notification
To create notification, follow the bellow steps:
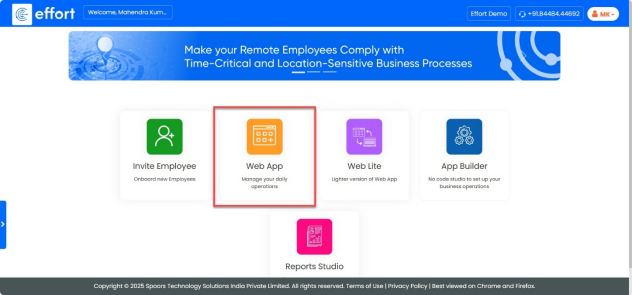
- On the home page, click on the “web App”.
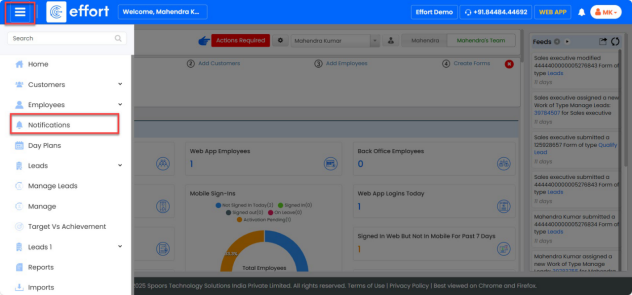
- To view notifications, click the “
 ”Main Menu icon located
at the top-left corner of the screen, then select “
”Main Menu icon located
at the top-left corner of the screen, then select “ Notifications” from the menu list.
- To create a new notification, click the “
 ”button located at the
top-right corner of the Notifications page.
”button located at the
top-right corner of the Notifications page.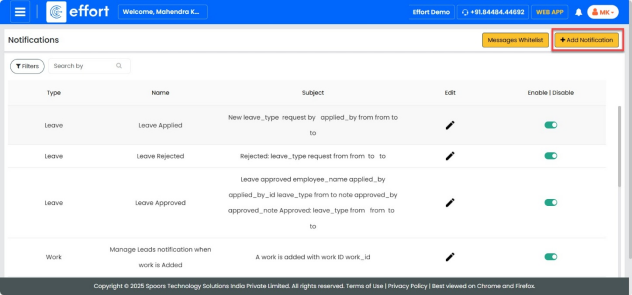
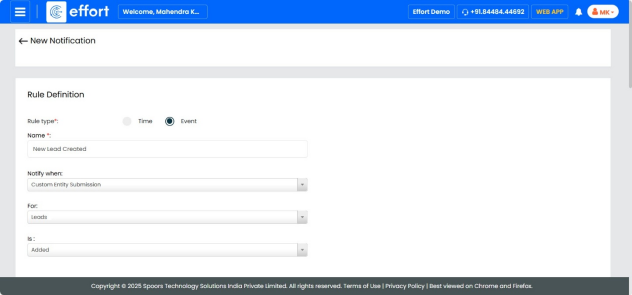
- Select “Event” as the Rule type.
- Enter “New Lead Created” in the Name field.
- In the “Notify When” field, click the dropdown and select “Custom Entity Submission”.
- In the “For” field, click the dropdown and select “Leads”.
- In the “Is” field, click the dropdown and select “Added”, as shown in the
figure below.
- In the Delivery Rule section, check the box for “Email” to ensure notifications are sent via email.
- In the “From” field, click the dropdown and select the email address.

- In the “To” field, check the box for “Filled By.”
- Enter any external email addresses in the provided field.
- Enter the subject as “New Lead Created.”
- Click “
 ” icon next to the Subject field and
select the subject placeholder if required.
” icon next to the Subject field and
select the subject placeholder if required.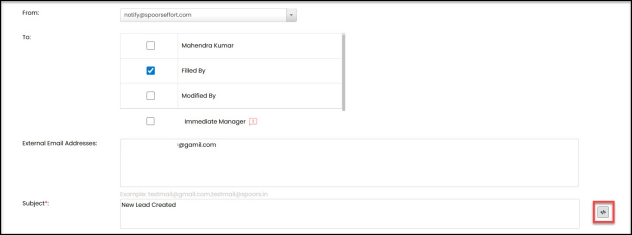
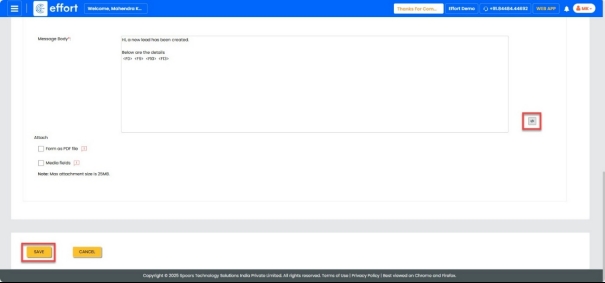
- Click “
- Enter the message body as shown below.
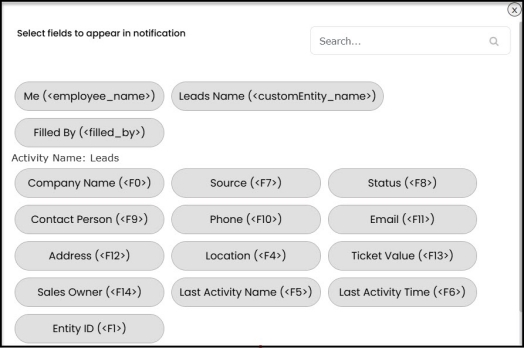
- Click the “
 ” icon next to the message body field
and select the appropriate placeholders:
” icon next to the message body field
and select the appropriate placeholders:- Company Name
- Contact Person
- Phone
- Ticket Value
- Click the “
- Click” Save”.