
Create a Nested List Configuration
To create a nested list, follow the steps below:
-
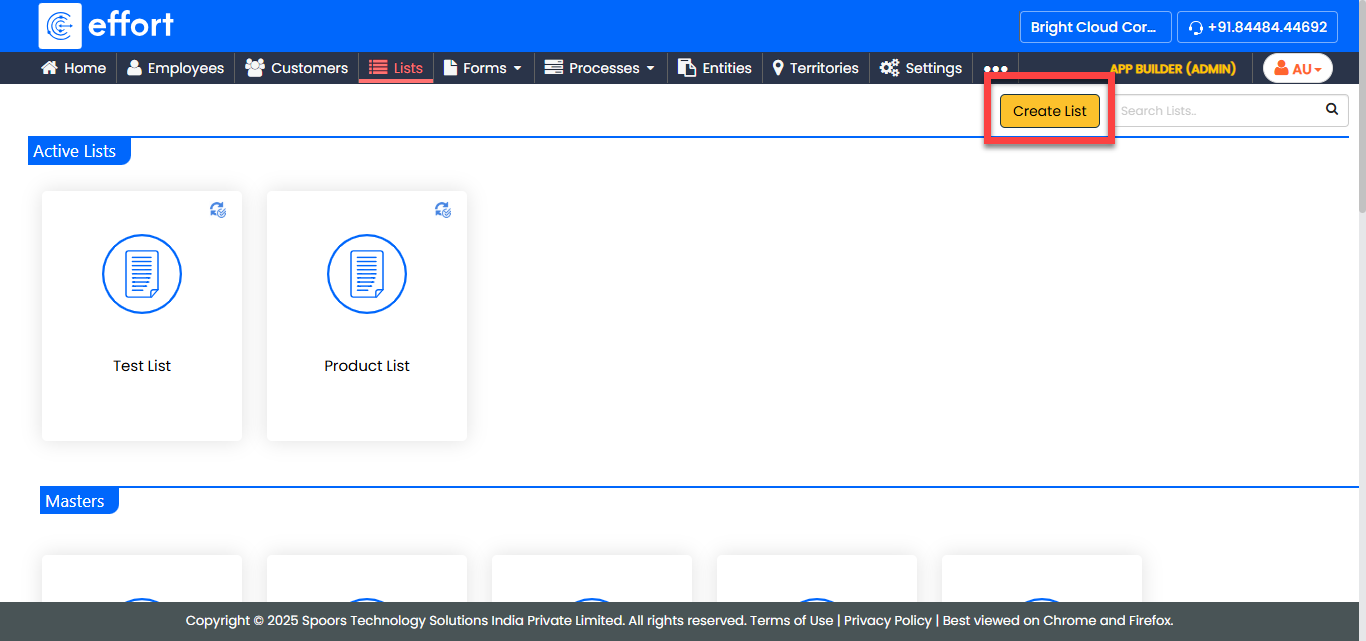
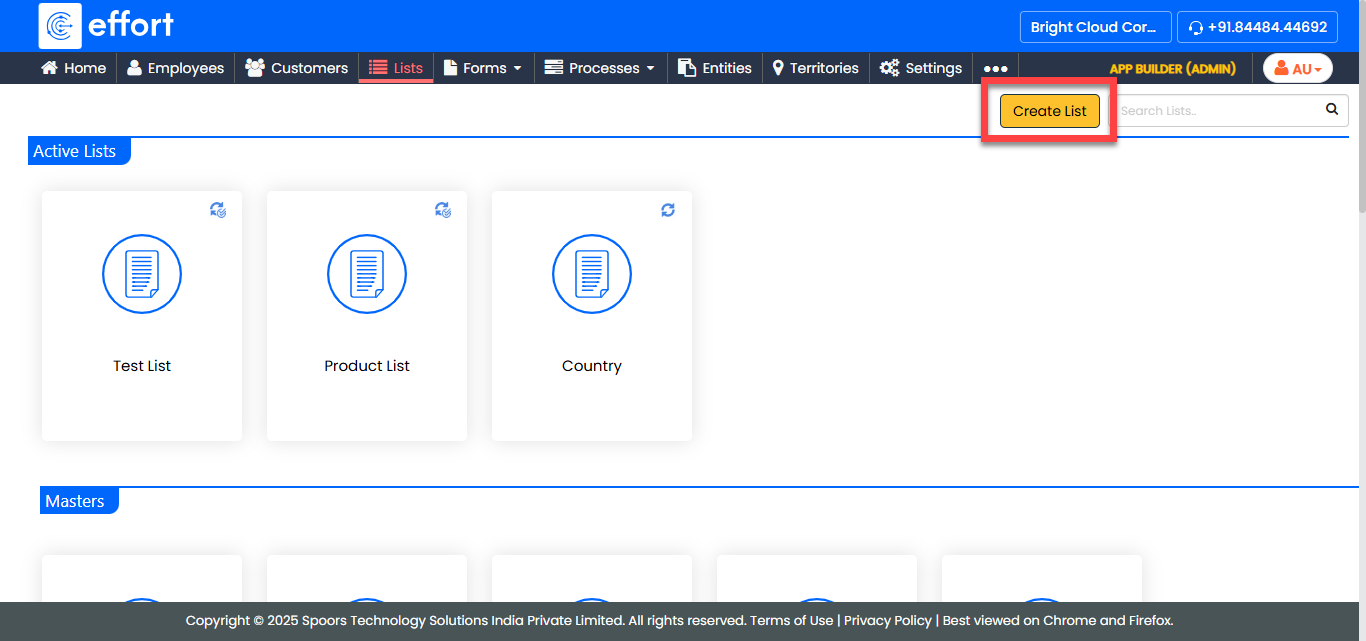
Navigate to .
The Lists page appears.
-
Click the Create List button.
-
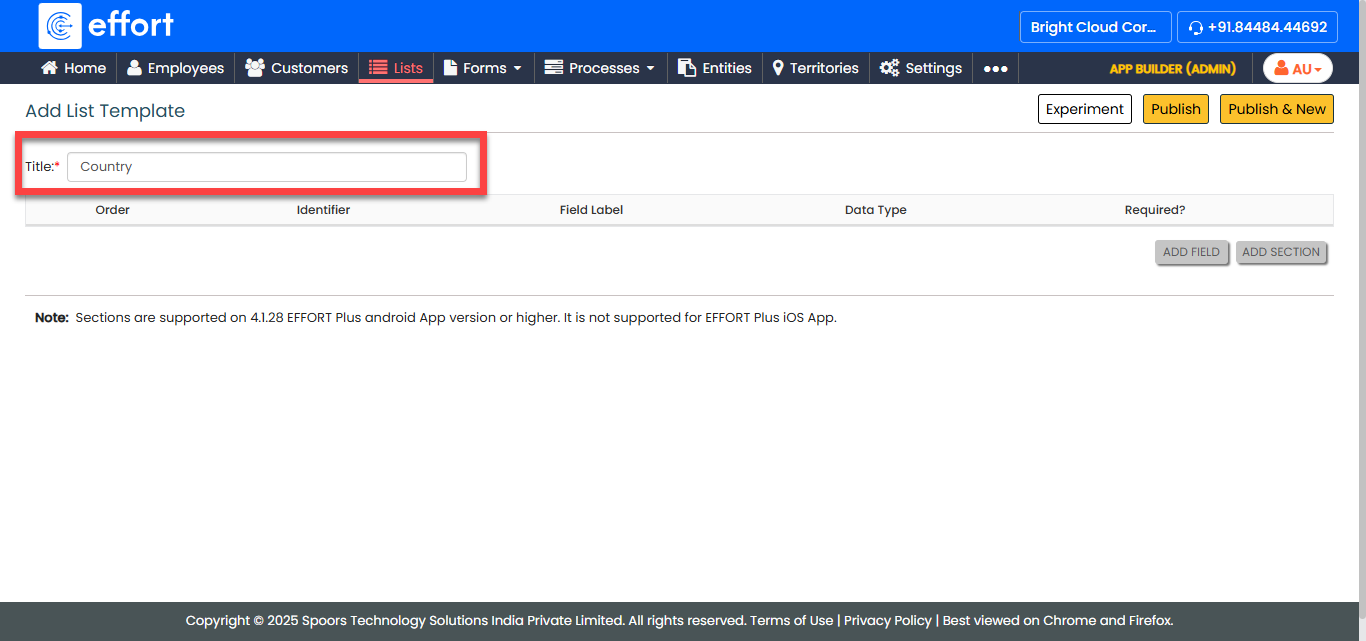
In the Title text box, enter a name for the list.
-
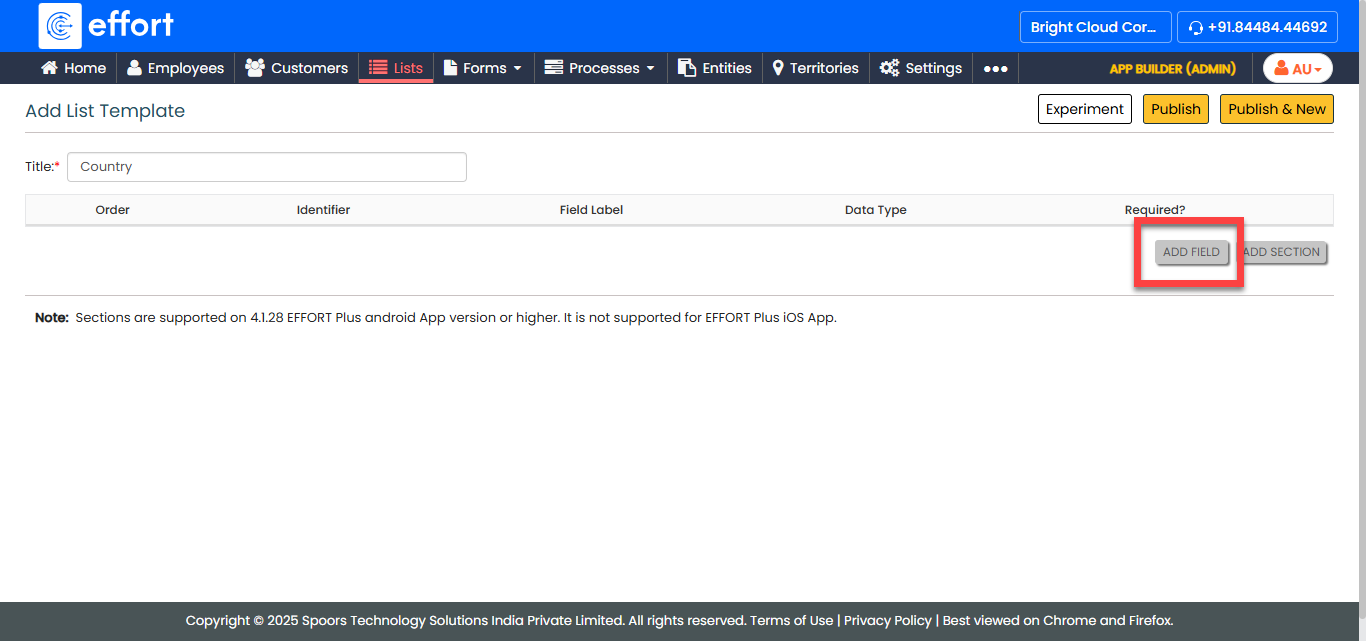
Click the Add Field button to add a field to the
list.
-
Enter the field details such as Identifier,
Field Label, Data Type, and
Required.
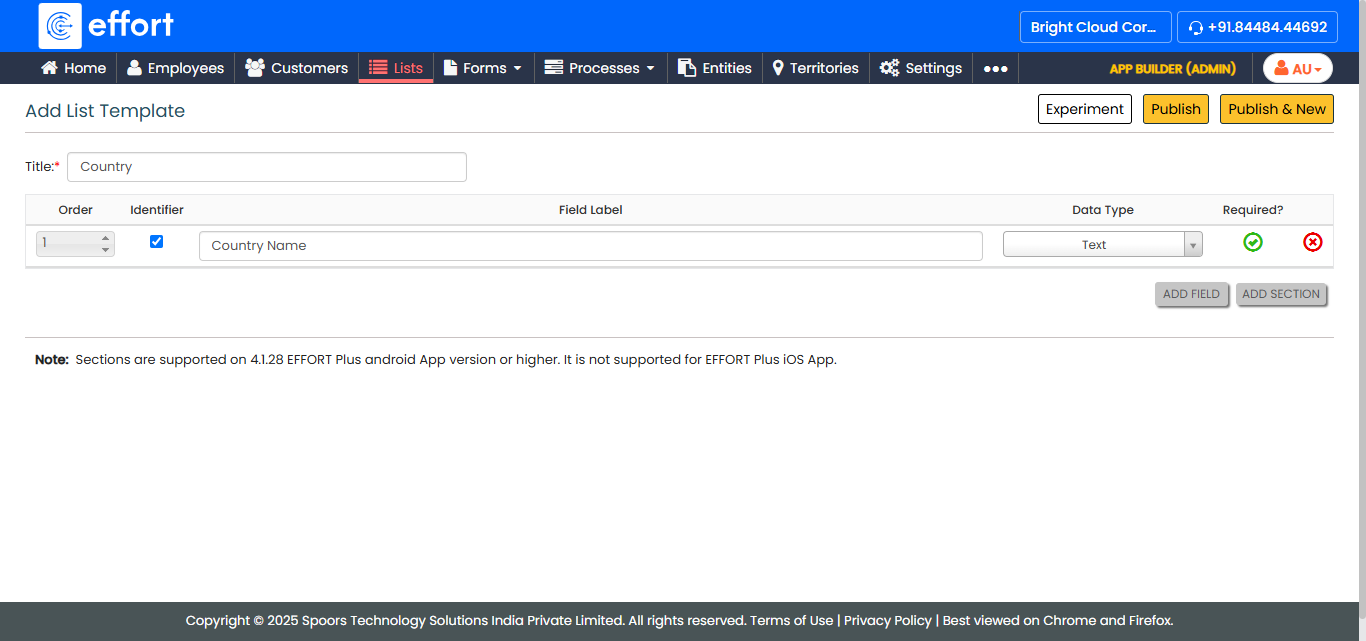
- Optional:
Click Add Field or Add Section to
add a repeating group of fields as needed.

- Optional:
Click the Experiment button to save the list as a
draft.

-
Click the Publish button to make the list
available.
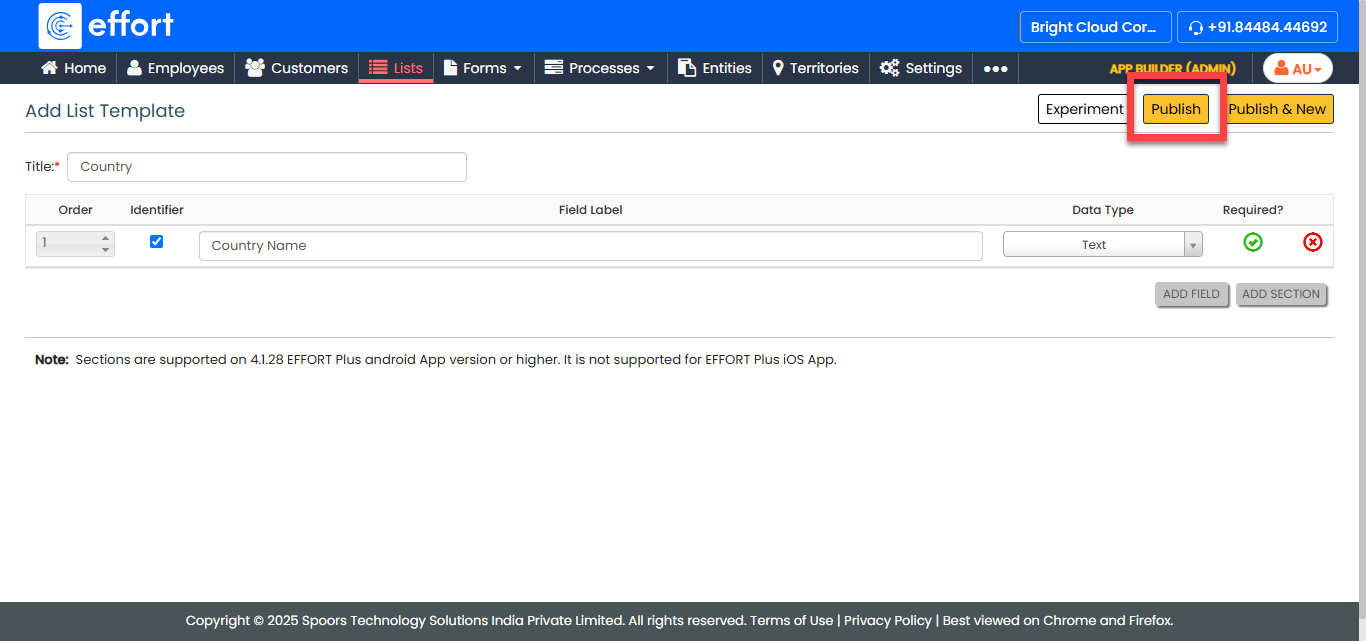
Note:Once a list is published, it cannot be modified.
-
Click the Create List button to create another
list.
-
Add fields to the new list.
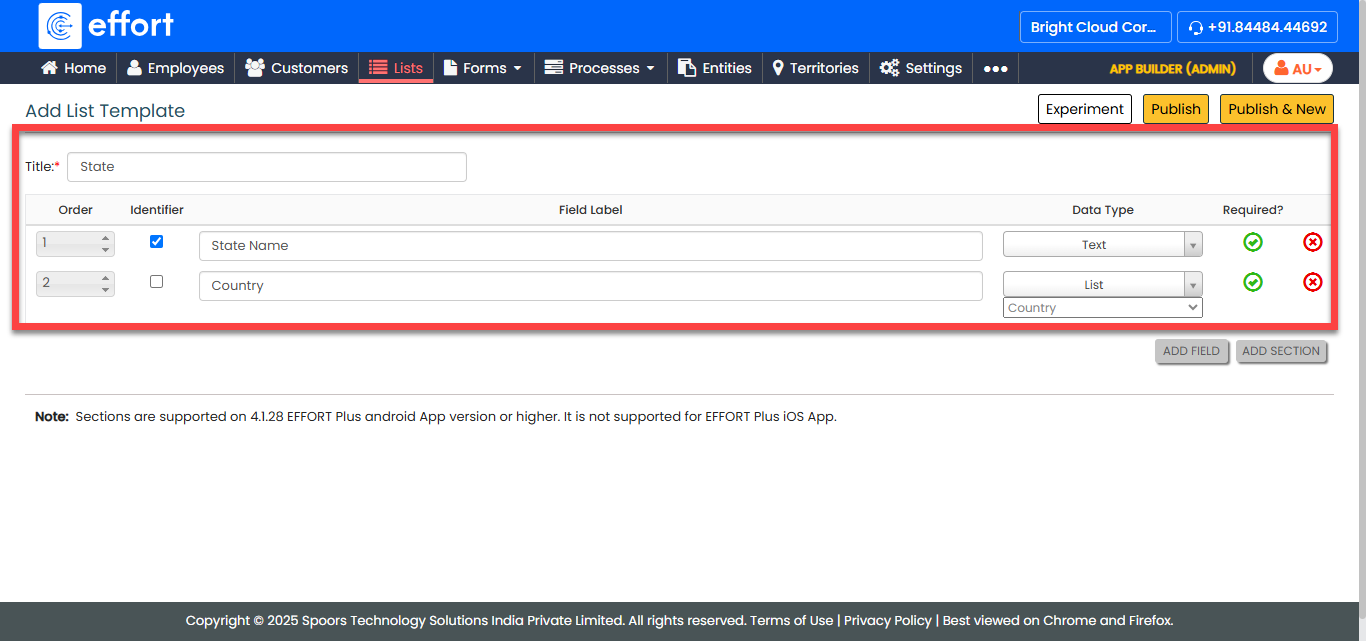
Note: Ensure that at least one field’s data type is set to List Type to enable nesting. You can insert multiple lists within a single list based on requirements. - Click the Publish button to make the list available.
To add items to the lists, refer to Add an Item to List.