
Create An Order Form That Enables Category Based Product Selection
Do you want to categorize the products and want to select products based on the category while filling the form? Want to enable a setting that enables category based product selection where the product fields will be populated only to the products in the selected category?
If you have a Sales company and your salespersons visit customers on a daily/weekly basis and deliver products, this tutorial helps you to simplify the order taking process. Generally, while filling an order form, the salespersons need to select a product from the list for every product and enter other details. Due to the manual selection of products every time, the process will take more time to fill the order form. Check out the tutorial to create an order form where there is no need to select products manually and need to capture only the quantities against the products.
Let's say you have a products list with items more than 100. If you choose only the Auto Create Instance property, the instance will be created for all the 100 items in the list. It is very difficult for the salespersons to manage all the 100 instances. How can we simplify this?
Here the Group By option comes into action. It helps you to group the items in the list. When you try to add products, a pop-up appears with the available groups in it. The instances will be created for the items in the selected groups only.
This tutorial helps you understand the functionality of the Group By option in the Auto Create Instances property that is applicable to the Repeatable Section data type. In this tutorial, we will create an order form that helps you to enable category based product selection.
Steps to Create an Order Form
This section walks you through the various steps involved in the creation of an Order Form and the configuration of the Group By option in the Auto Create Instances property.
-
As a first step, you need to create a groups list with the design as shown
in the below image. Check out the Create a List page to know
how to create a list.

-
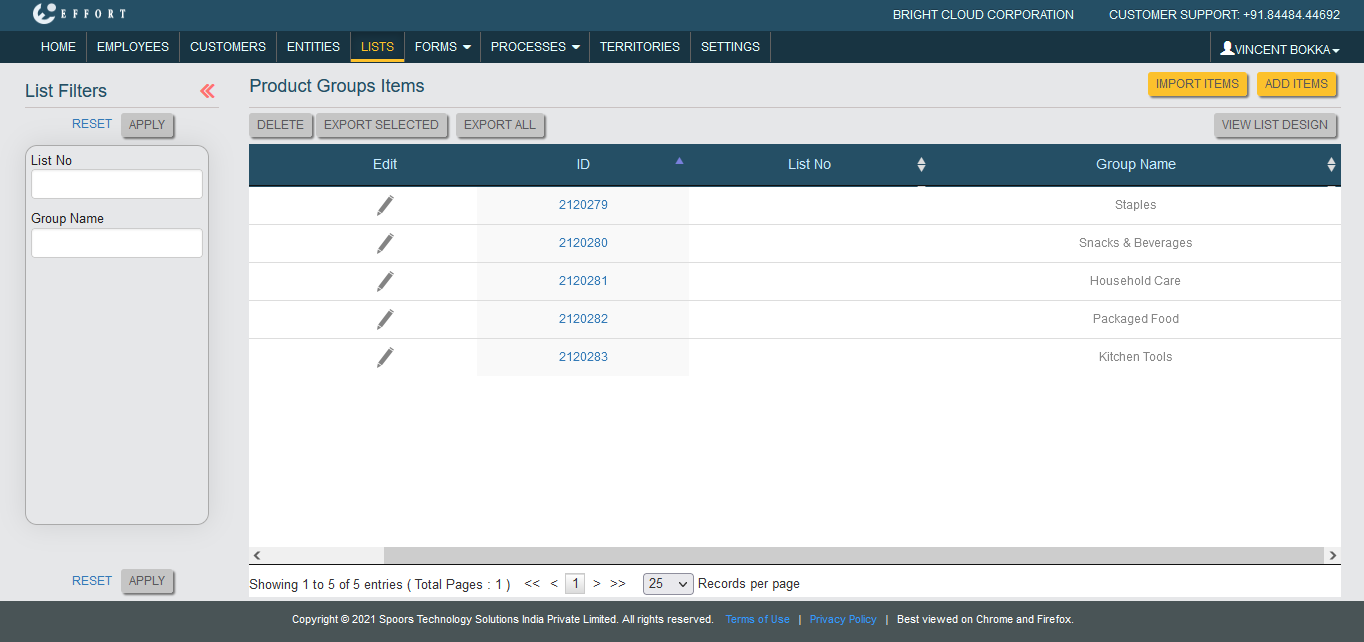
Now add items to the Product Groups list. Check out the Add an Item to List page to
know how to add items.
- After adding items to the Product Groups list, map list items to the employee who takes care of the sales activities. Check out the Map List Items to an Employee page to know how to map list items.
-
Again create a new list for products as shown below.

Here, we have configured the Product Groups list which we created earlier to the Product Category field. This helps in grouping the products. -
Add items to the Products list.

- After adding items to the Products list, map list items to the employee who takes care of the sales activities. Check out the Map List Items to an Employee page to know how to map list items.
-
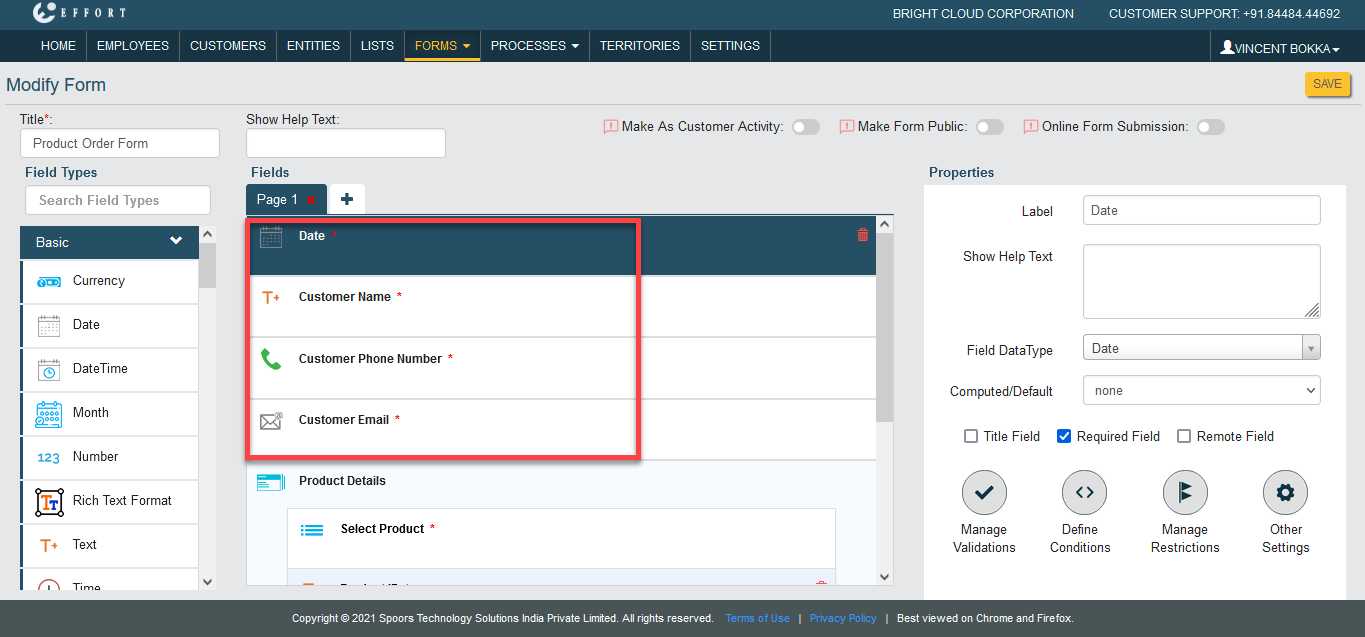
Now create an order form as shown below. Check out the Create a Form page to know
how to create a form.
-
We have added a Repeatable Section data type as Product Details with
fields as shown below.

-
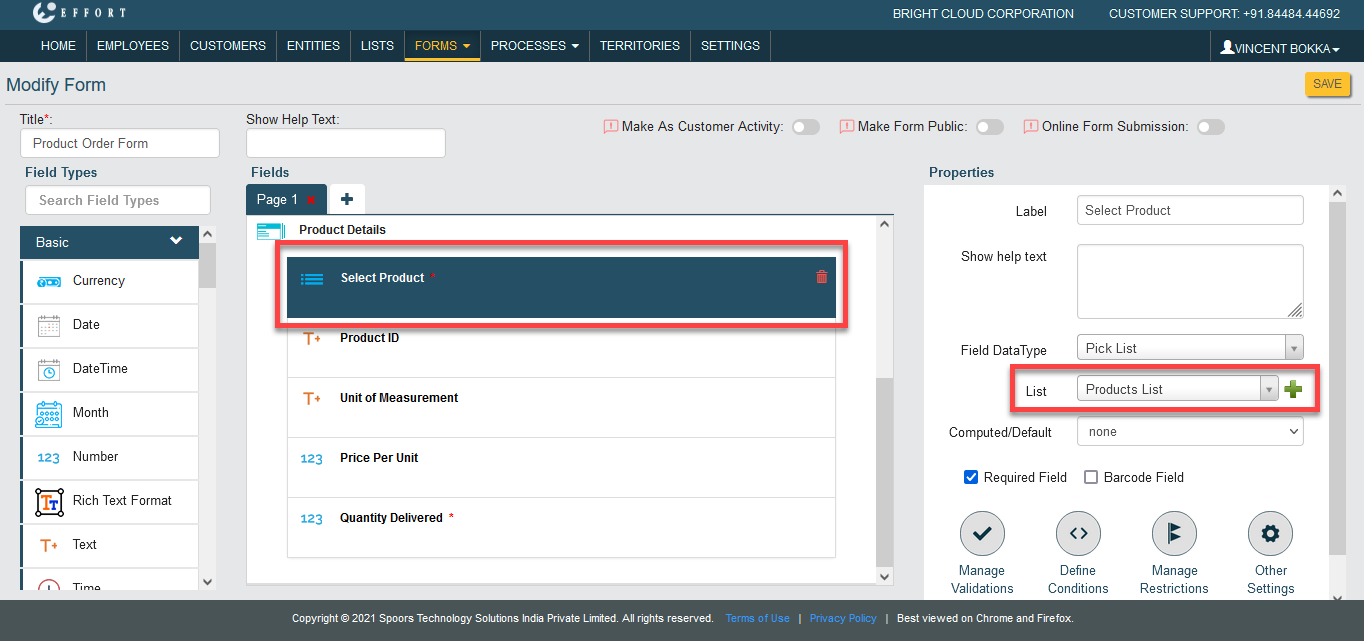
Configure the Products list to the Select Product field. Make the Product
ID, Unit of Measurement, Price Per Unit fields as Computed and set the
relevant list fields in the formula.
As per this form design, the user needs to click on Add button to select products every time. If the user wants to sell more products, this will take more time to fill the form.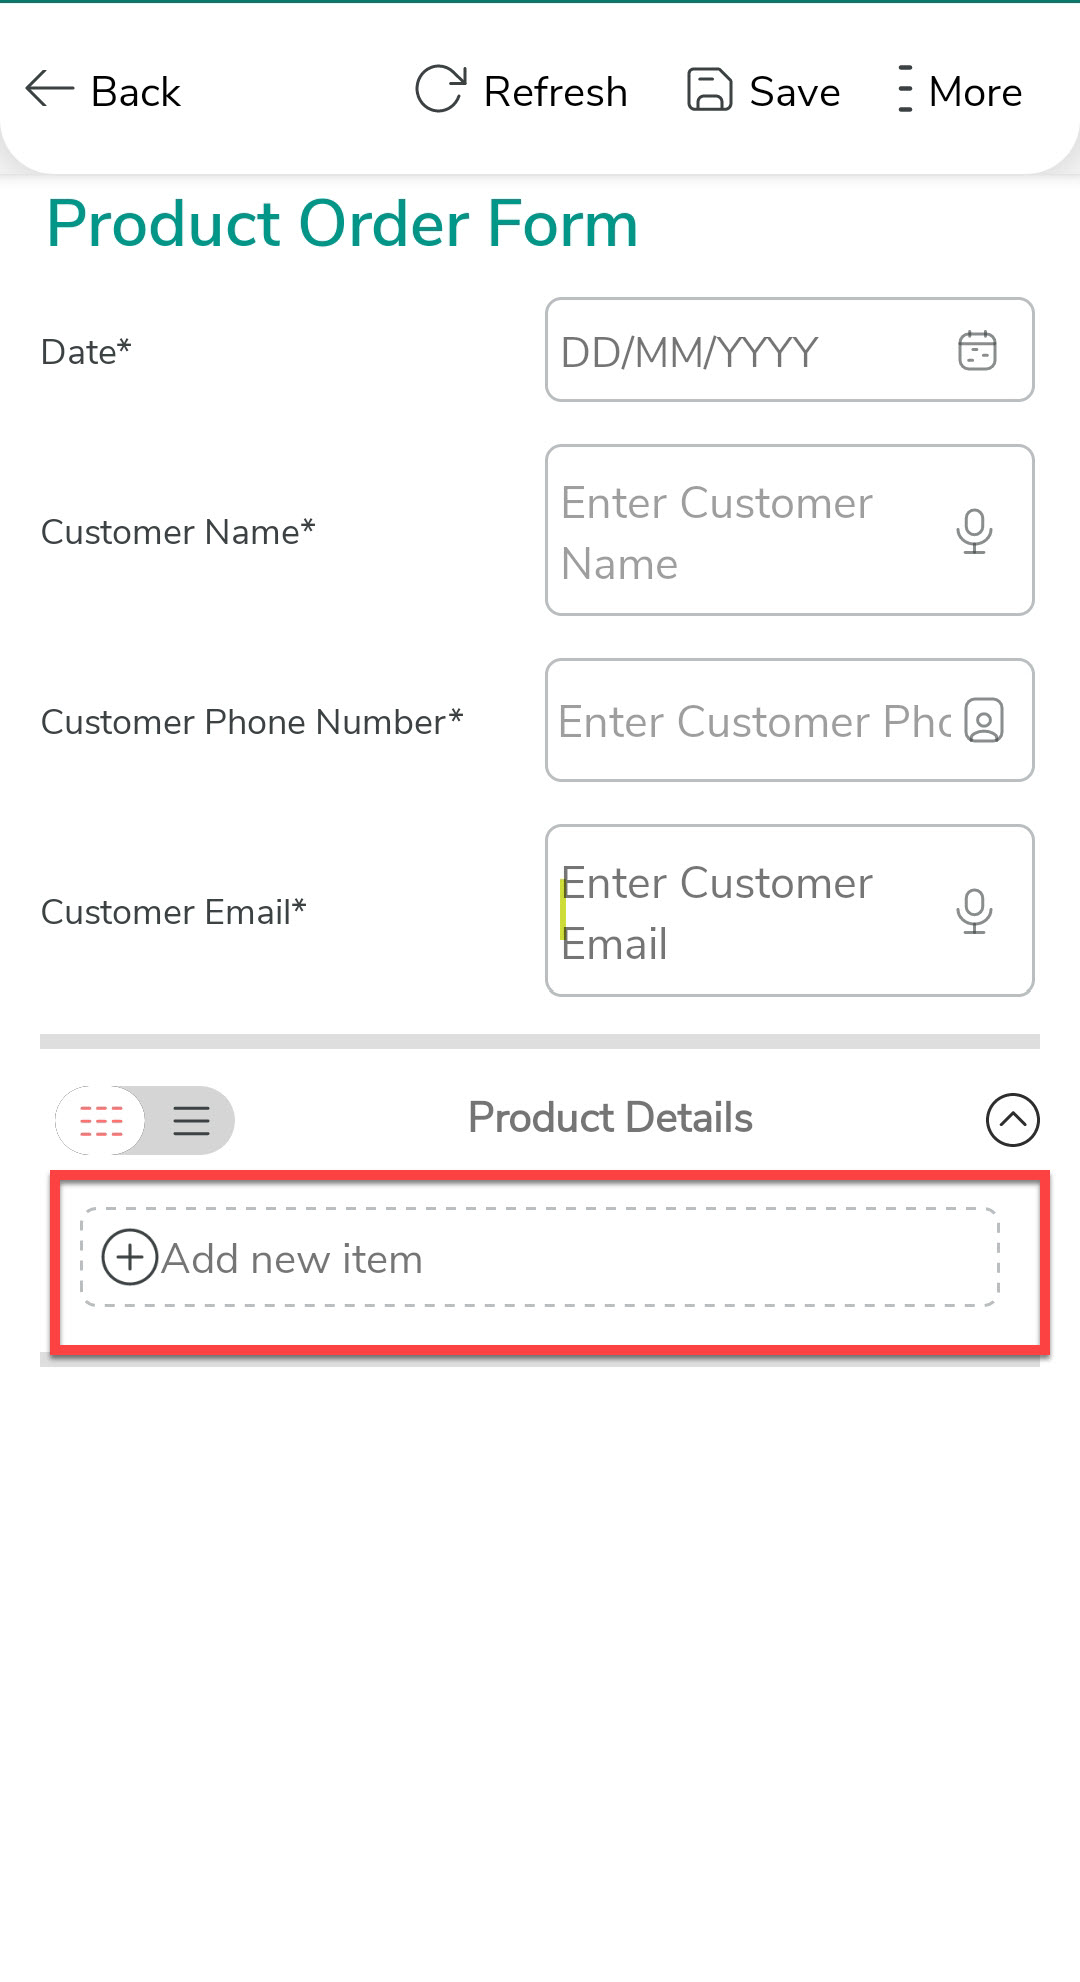
-
To simplify this, we need to enable the Auto Create Instances
property for the Repeatable Section data type. To enable this, click
on the Product Details (Repeatable Section) field and click on the Auto
Create Instances option.

-
Click the auto create items checkbox as shown below and select a
list field from the dropdown.
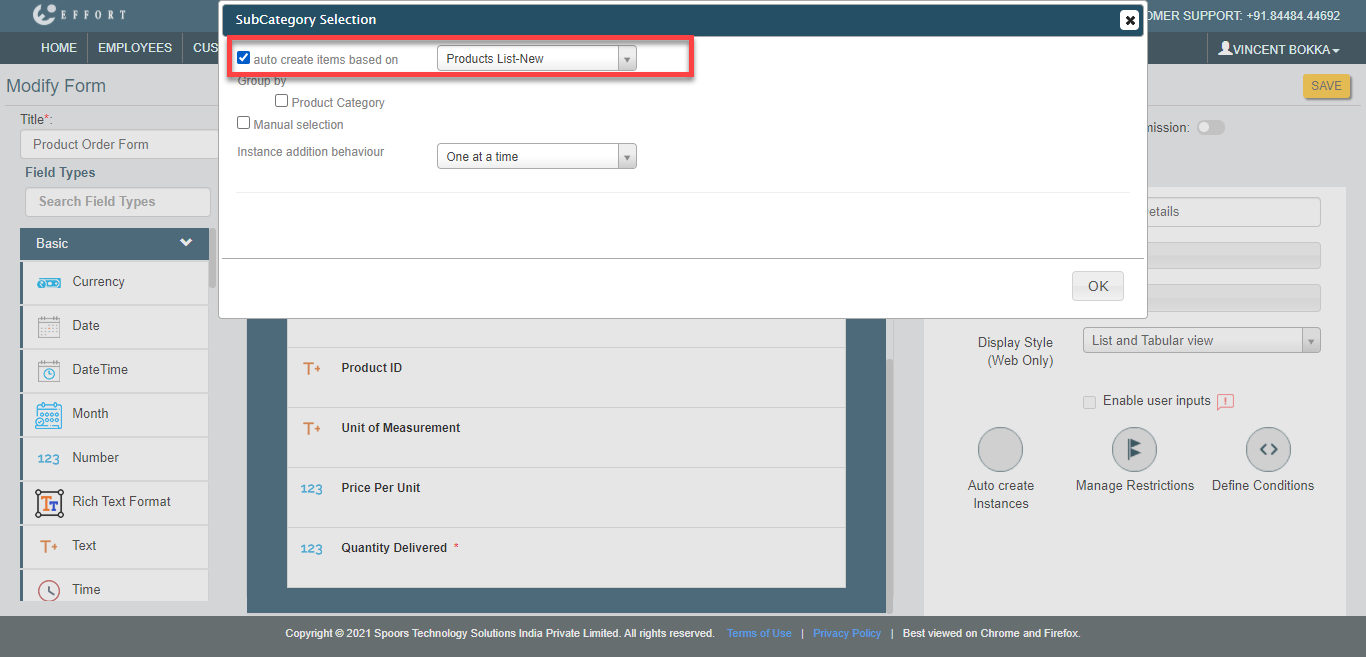
The instances will be created based on the configured list items. -
Click the Product Category checkbox under the Group By
option and also enable the Manual selection checkbox.

By enabling the Group By option, the grouping will be done based on the items in the Product Category. The manual selection allows you to manually select groups as per your requirement. The instances will be created only for the items in the selected groups. - Click OK and save the form after completing the configuration part. With this, we have done the configuration part.
Steps to Check How it Works
Here, we will submit a form in the mobile app and check how the Group By option in the Auto Create Instances property works.
- Open the Effort Plus mobile app on your mobile.
-
Tap on the Forms tab to go to the Form page.
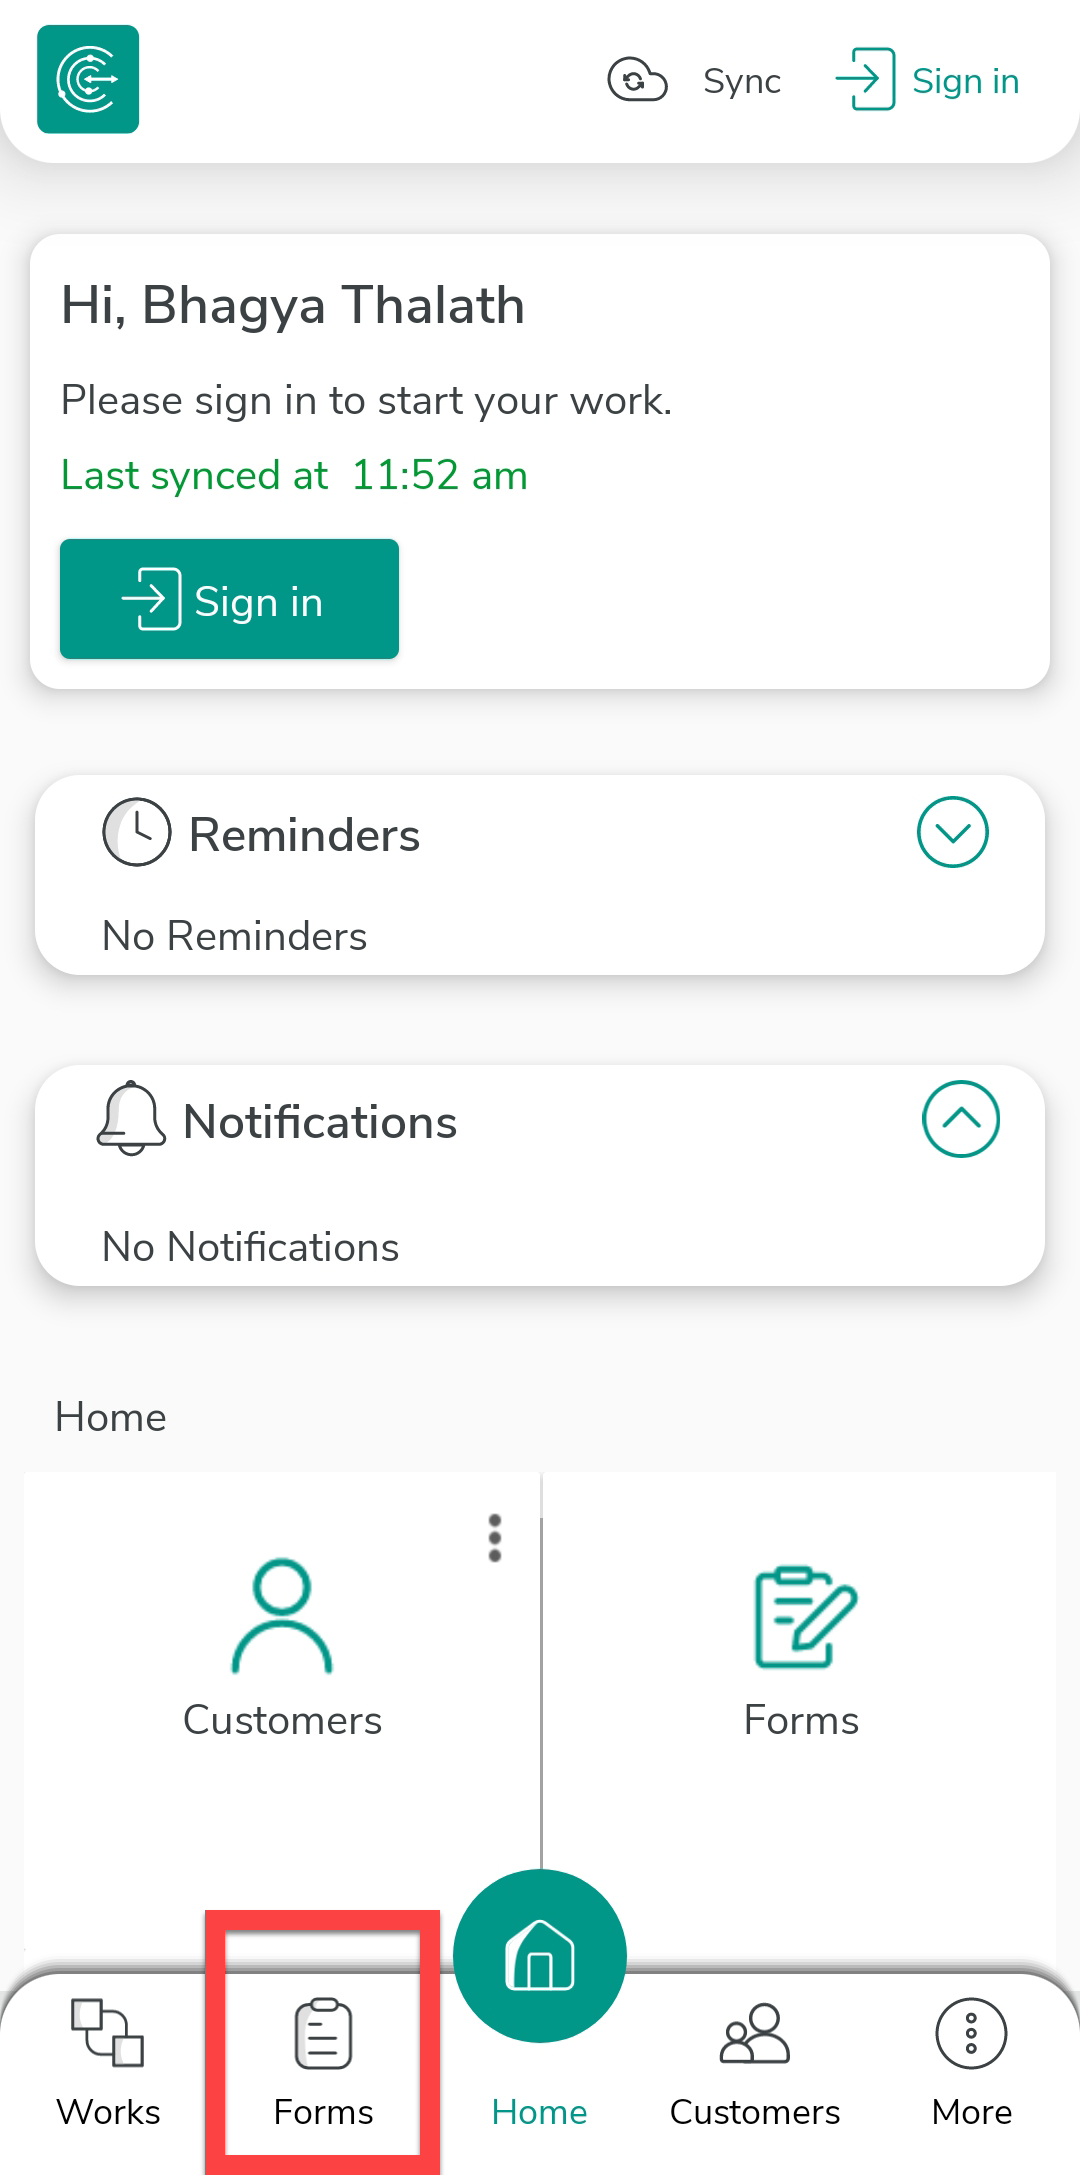
The forms page appears with all the available forms.
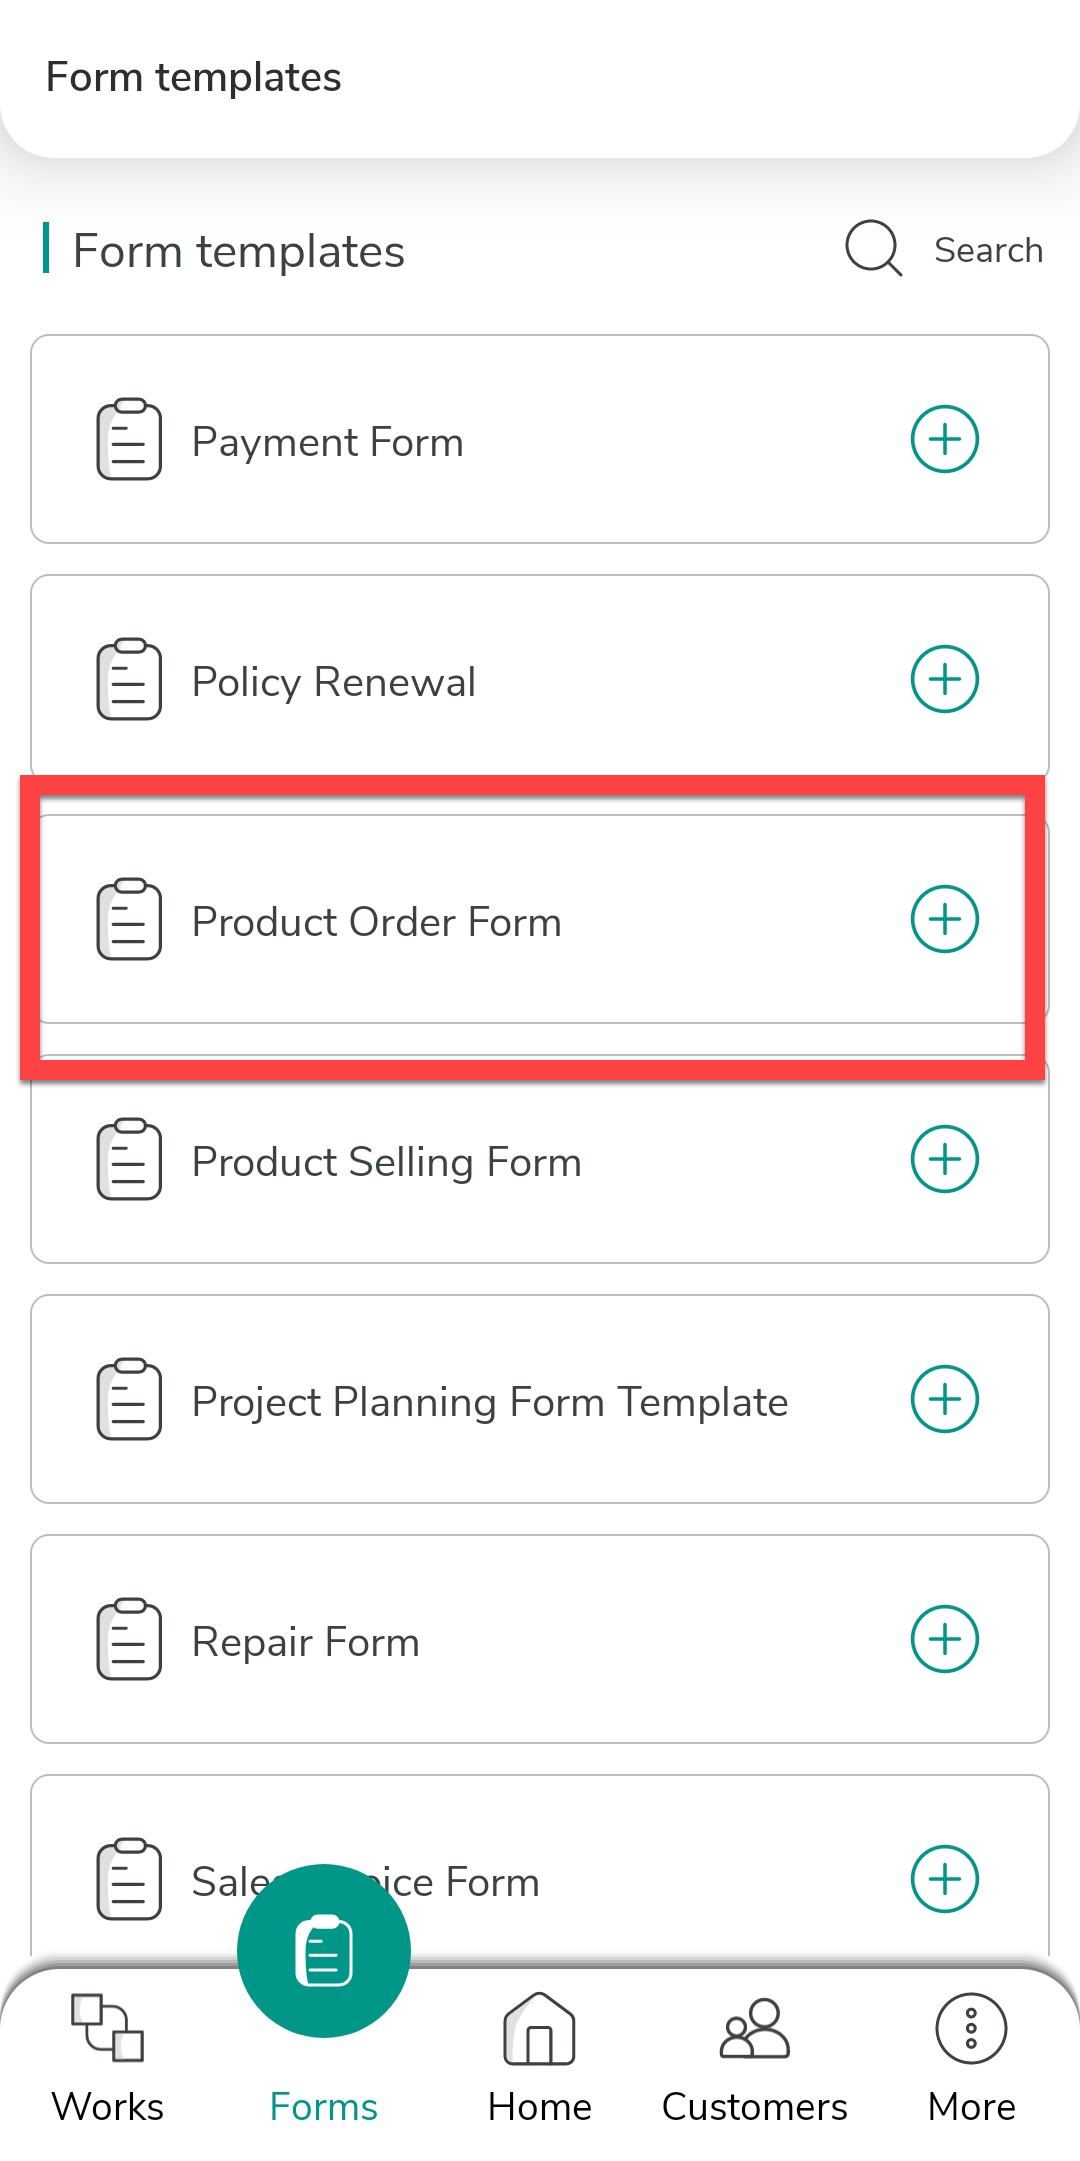
-
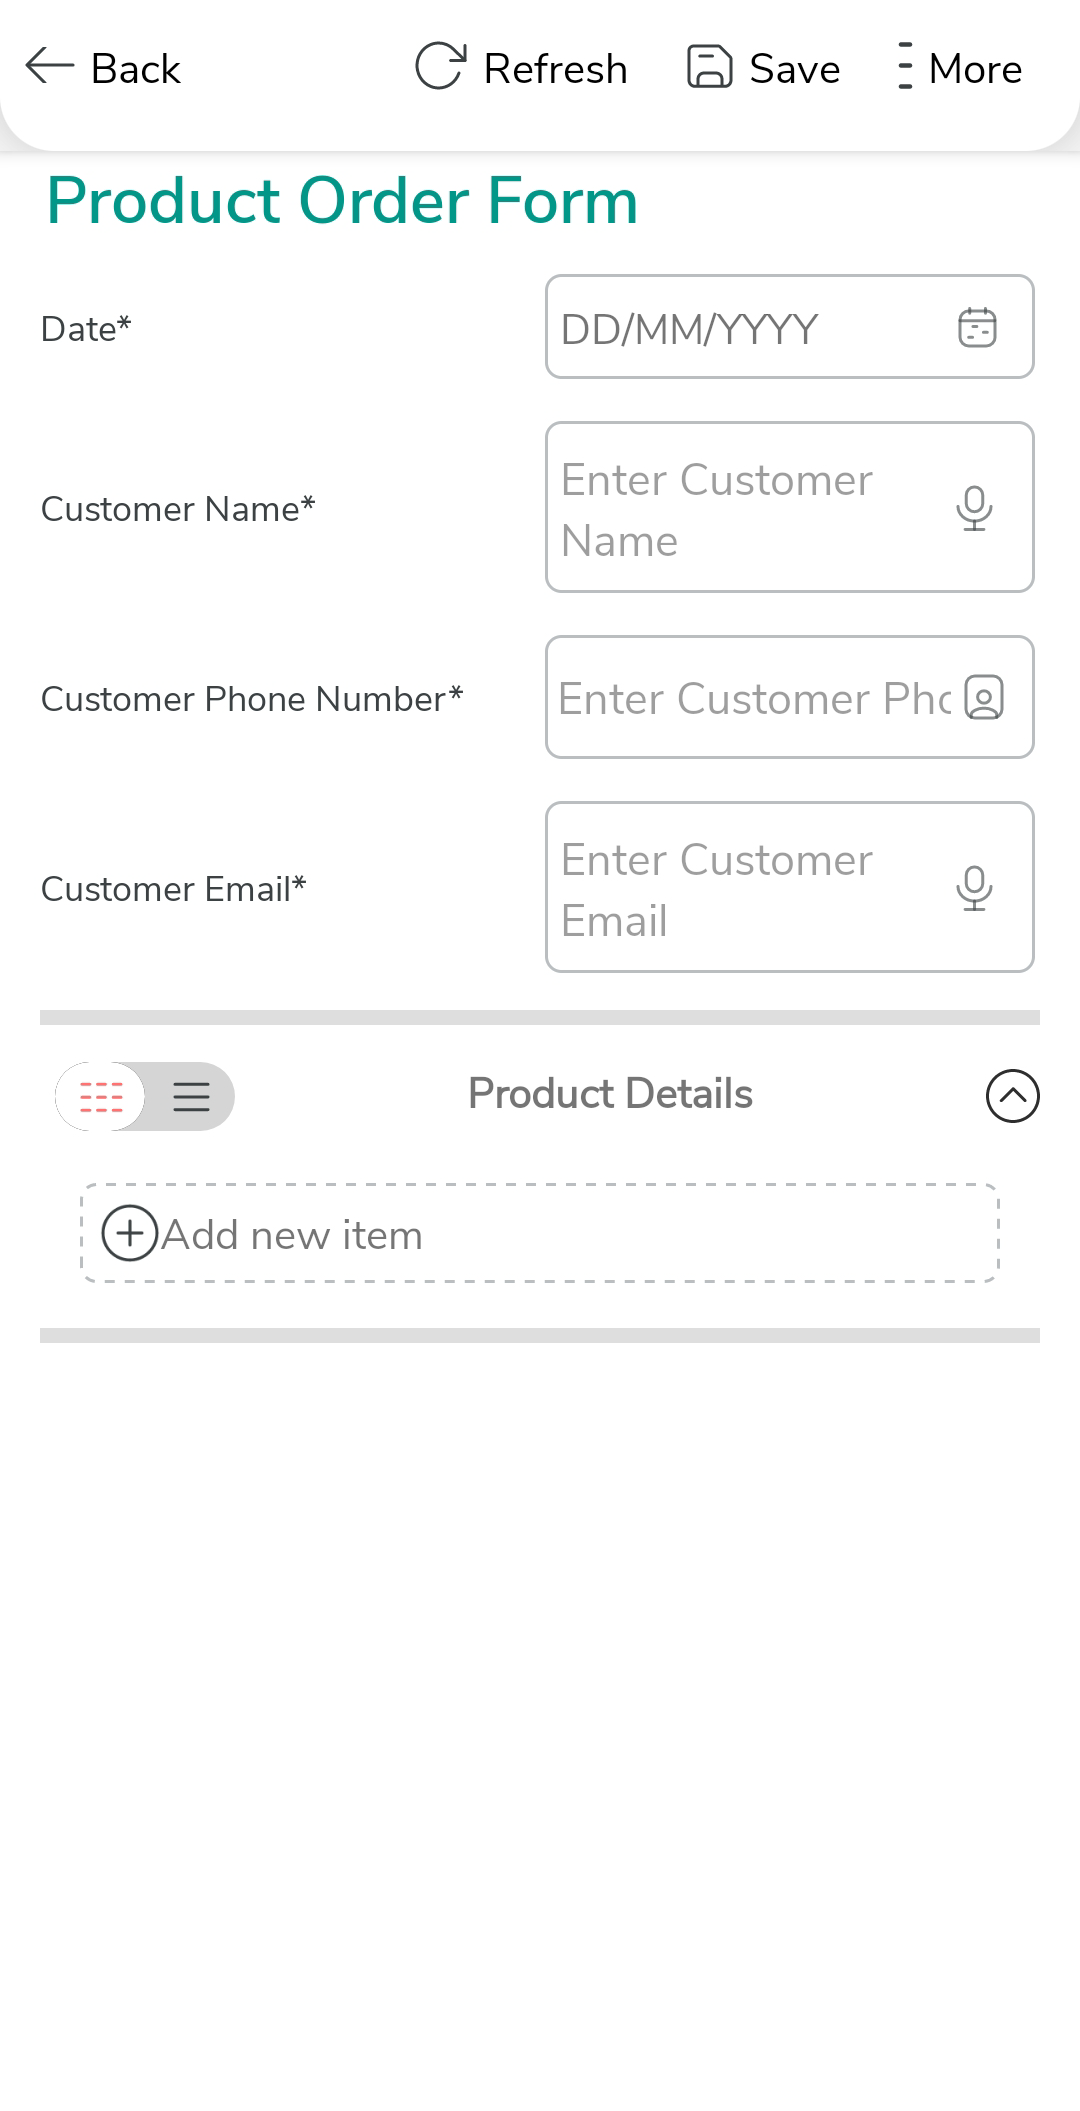
Tap on the Product Order Form.
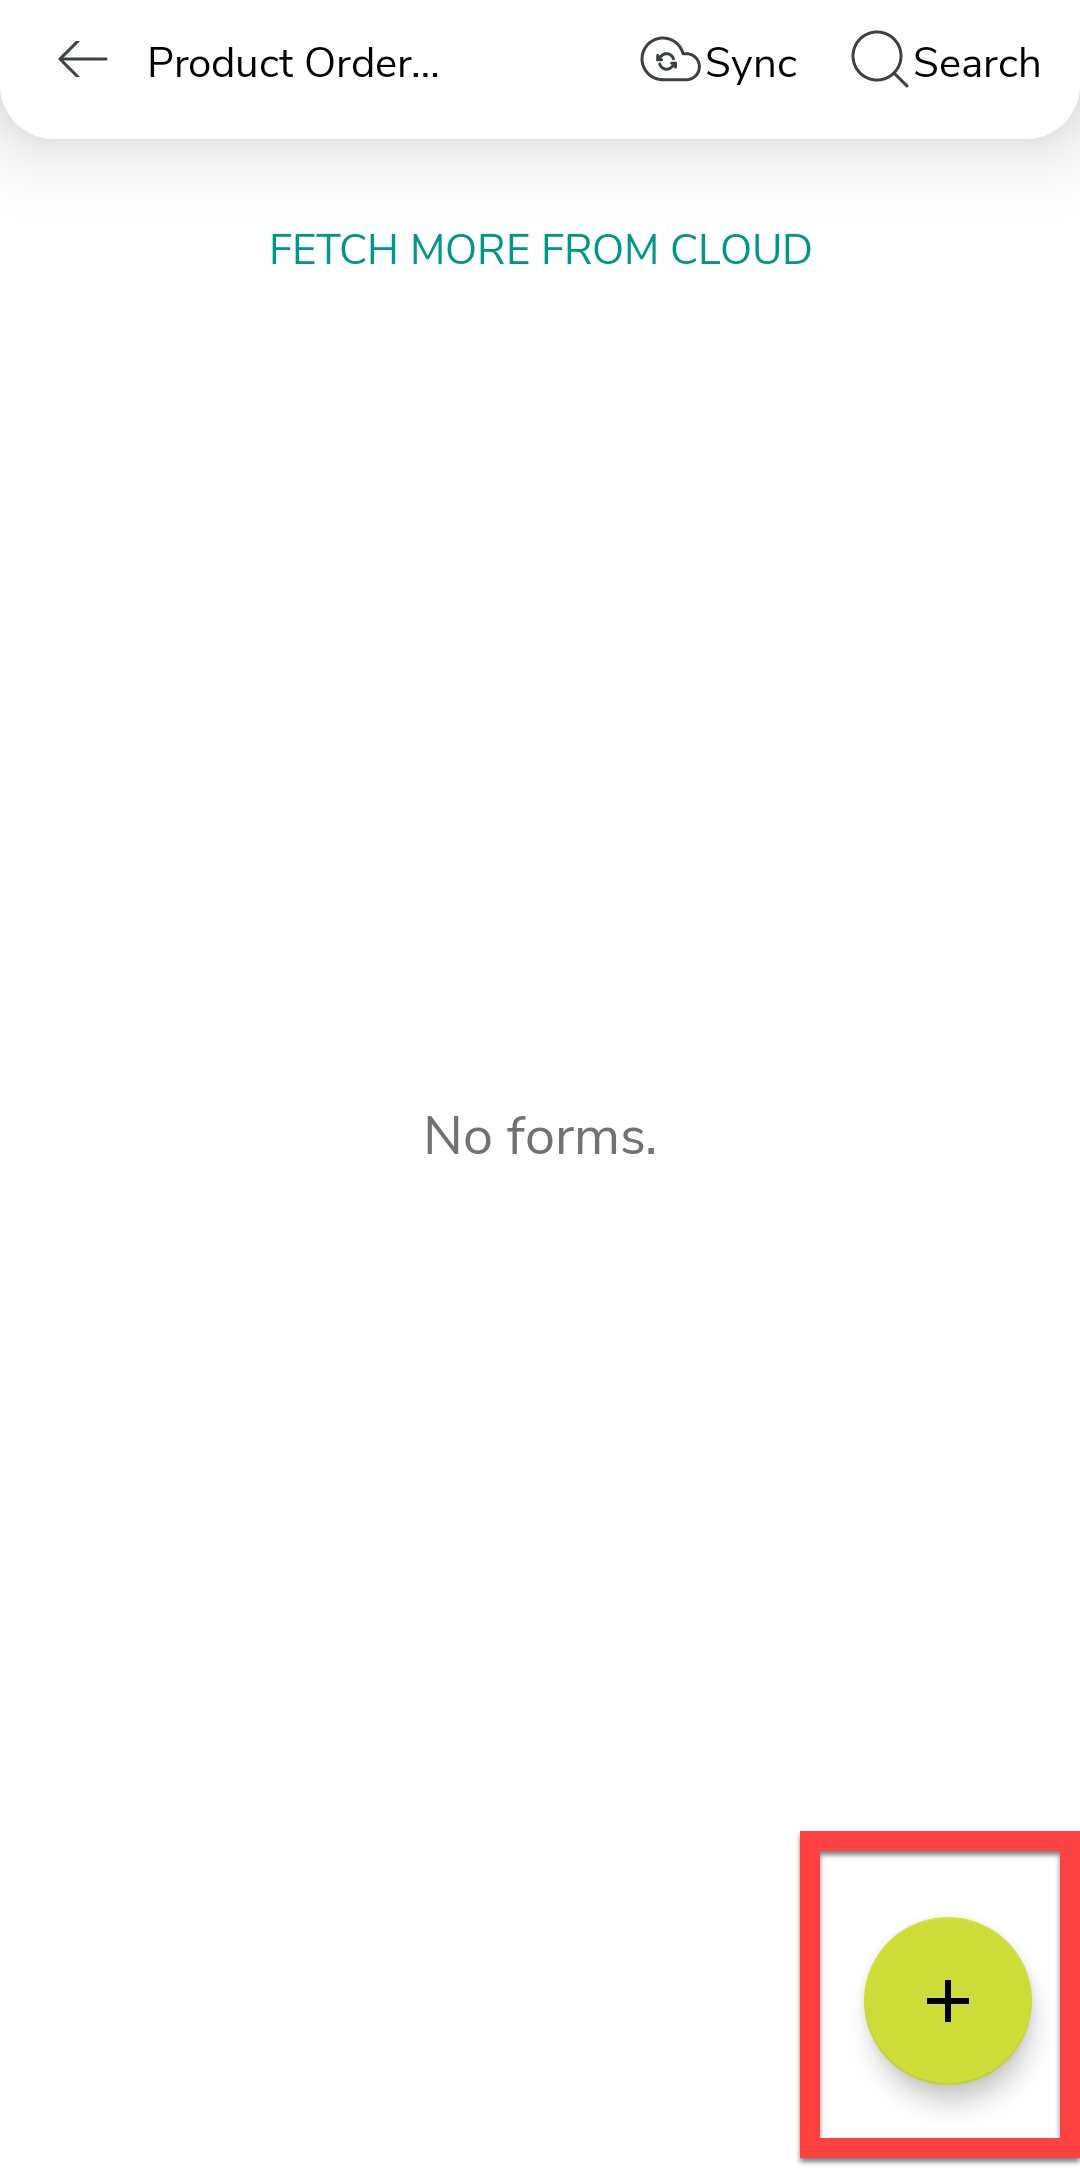
-
Tap the plus icon located at the bottom of the page.
-
Fill in the form fields.
-
Tap Add New Item under the Product Details section.

-
Now, you can see a pop-up with the categories we created earlier.
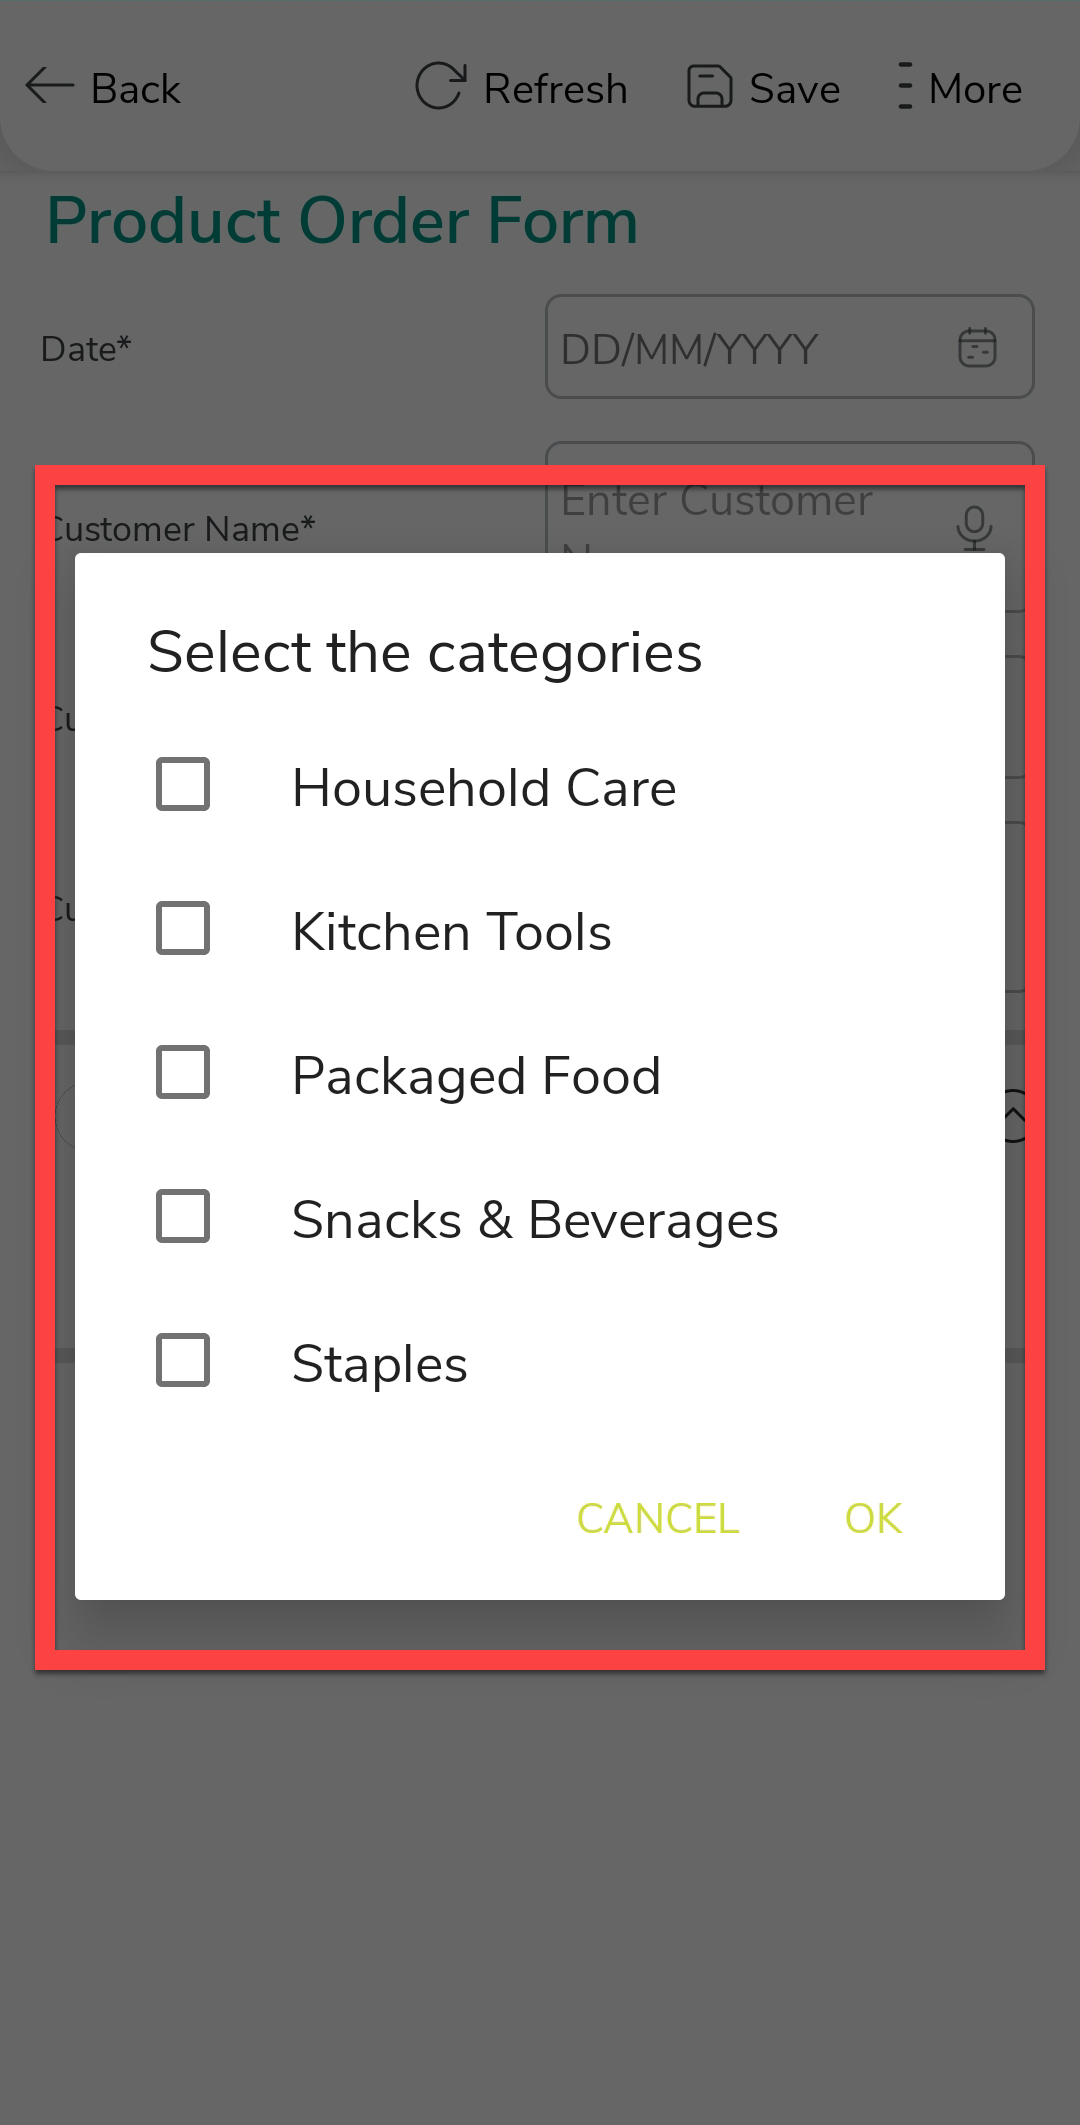
The instances will be created only for the items in the selected categories. Even if you have 1000 items, this option helps you to group the items and allows you to select only the required items. The salespersons just need to enter the quantity delivered against each product. This property reduces the selection of products every time.