
Create a Customer Feedback Form
A form is something when a user is supposed to enter a few details and submit it for further processing. If you are planning on getting feedback from the client, you can use the customer feedback form to ask specific questions related to the services offered by the company. This could be a simple feedback form that is presented to the customers when leaving the store or service center. In a more complex organization with multiple clients, you can use these forms to gather data at a quick pace.
Step 1. Plan Data Collection
Customer feedback is an important aspect of running a business that often gets overlooked. At its simplest, a feedback form allows you to get a pulse on how your customers feel about your brand, products, and customer support. For example, you can send a short follow-up survey after a customer buys a product or service.
- Before going to create a form, you must know about what kind of information is required from the customer. It depends based on the products or services that you offer. This tutorial helps you to create a sample feedback form that can be shared with the customer after-sales or service.
- You can ask for the customer details like Name, Phone, and Email.
- You can know whether the customer is satisfied or not with the Yes/No data type.
-
You can also ask ratings from the customer for your products or services
with the Pick List data type. The possible ratings are given
below.
- 1 - Very Dissatisfied
- 2 - Dissatisfied
- 3 - Fair
- 4 - Satisfied
- 5 - Very Satisfied
Step 2. Create Ratings List
First, we need to create a list that displays different ratings for the Pick List field. For example, when a user is submitting a form, the user must select a rating from the predefined rating list. Here's how you can create such a list with items:
- Go to to create list.
-
Create a list with the title Customer Rating List and add the below
items.
- 1 - Very Dissatisfied
- 2 - Dissatisfied
- 3 - Fair
- 4 - Satisfied
- 5 - Very Satisfied
- For more information, refer to the below topics.
Step 3. Design The Form
In the first step, we need to build the form with the required data types. This section provides a basic understanding of how to create a form.
- Simply head over to to create a form.
-
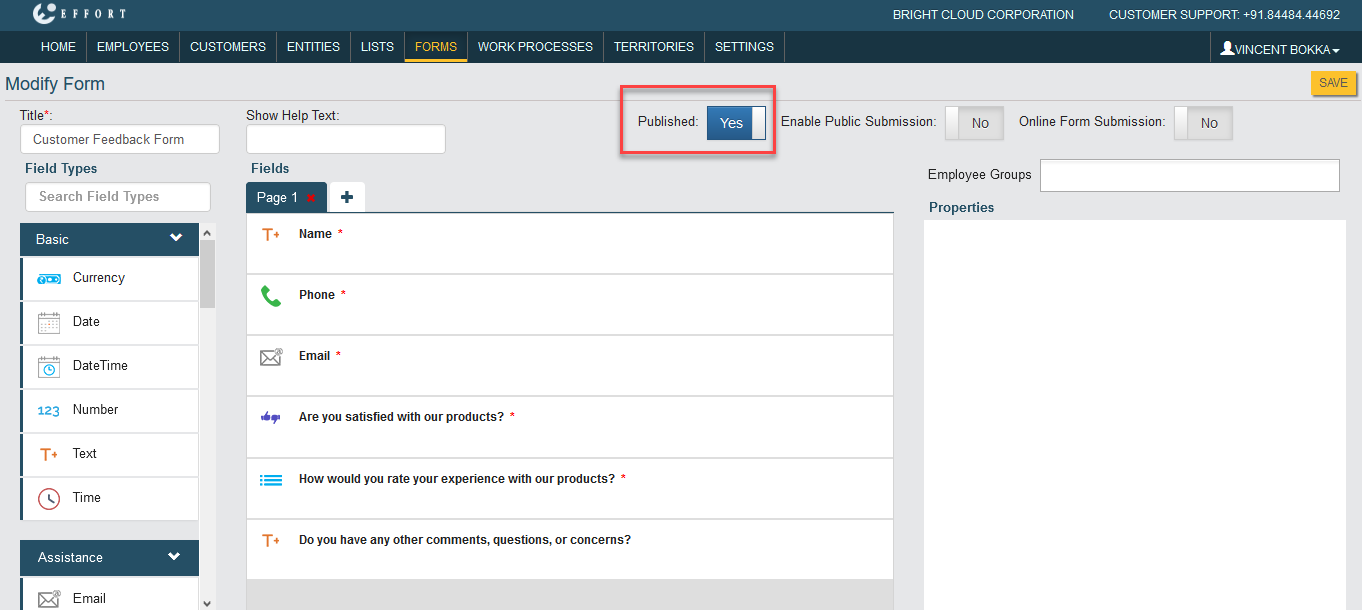
Now you'll see a Create Form page with Title field, Field Types,
Publishing options, and Properties sections. Enter title as
Customer Feedback Form in the Title field located in the
top left corner.

-
Drag and drop data types such as Text, Phone, Email, Yes/No, Pick List,
and Text for the sample form as shown below.

-
Enter the Label for each field in the Properties
section.

The below are the labels used for the different data types.- Text: Name (Users are allowed to enter the name.)
- Phone: Phone (Users are allowed to enter the mobile number.)
- Email: Email (Users are allowed to enter the Email ID.
- Yes/No: Are you satisfied with our products? (Users are allowed to select either Yes or No.)
- Pick List: How would you rate your experience with our products? (Users are allowed to select the rating.)
- Text: Do you have any other comments, questions, or concerns? (Users are allowed to enter the additional information.)
-
Click on the Pick List field and move your cursor towards
List under Properties section to configure Customer
Ratings List.
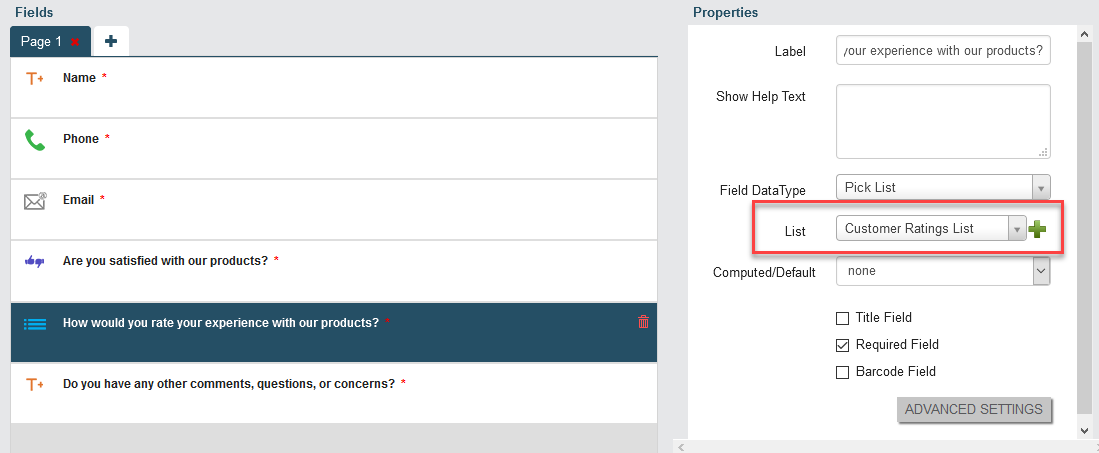
For example, the user has to pick a rating from the predefined rating list. To create the list items, refer to Create Ratings List
-
Configure mandatory fields. In this example, all the fields are mandatory
except the last text field labelled as "Do you have any other comments,
questions, or concerns?".

* sign represents that the field is mandatory while submitting a form. In the above example, the last text field does not have a * sign, which indicates that this field is optional. To make it mandatory, click the checkbox beside the Required Field which is in the Properties section.
-
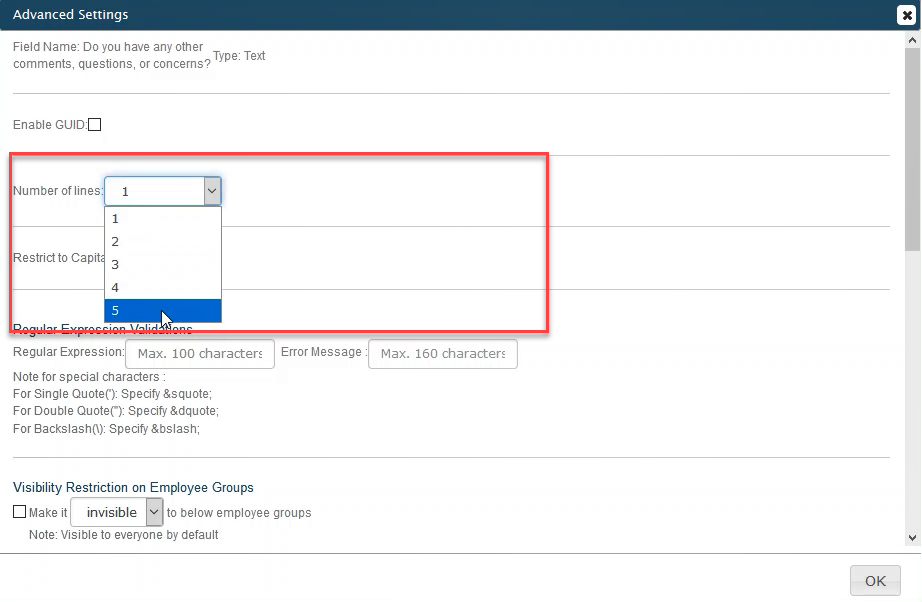
To enter the comments in multiple lines for the last text field, we need to
configure the Number of lines in Advanced
Settings.
- Once you’re happy with the design of your form, you can move on to Publishing. It’s a good idea to save the form first by clicking the ‘Save’ button at the top of the screen.
Step 4. Publish The Form
Publishing your form is extremely easy. This section explains how to publish a form from scratch. We do not go into any great detail, but hopefully it's enough to get you started and see how the whole process works.
-
Click on Published button.
The published forms are available to employees only. In this case, the employee must visit the customer, and need to perform the activity. -
Click on Make Form Public button.

If you choose Make Form Public, it will generate a shareable link. -
Go to the Form Actions page, click on Get Shareble Link card to copy
the link. You can share this link to your customers to get the
feedback.

Step 5. Fill The Form
This section gives information about filling the form with the shareable link.
-
Paste the copied link in the web browser (Chrome, Firefox, Internet
Explorer, and Edge are recommended).

-
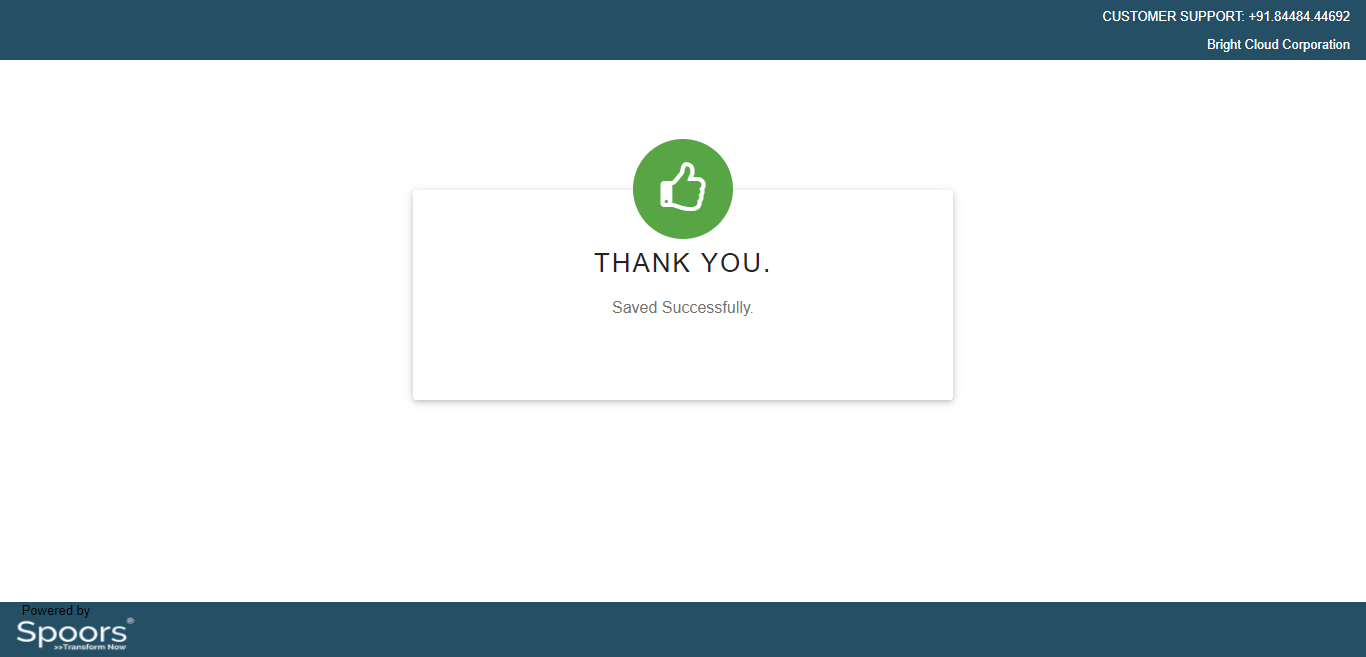
Fill the mandatory details, click Save.
Step 6. View Form Submissions
This section gives you information about form submissions. You can view the details filled in the form by following to the below steps.
- Go to .
-
Click on Customer Feedback Form card to view the number of form
submissions and the details filled in the form.

-
Click on ID to view the details filled in the form.

You can find the form submission details as shown below.
- To get all the form submissions as report, refer to Generate a Form Submission Report.