Step 1: Setup Your Organization Resources
Create an Account
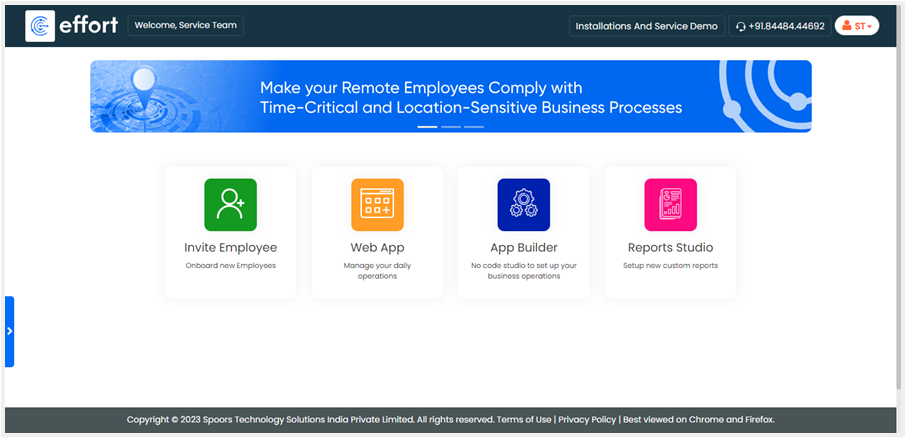
Sign up on Effort to create an account for your organization.

Once you create your account and log in to Effort, you will see the homepage with the
core modules of Effort which allows you to configure and manage your business
activities.
Configure Employees
You can navigate to to define employee configurations such as fields for capturing more
employee details, employee groups, employee roles, leaves, managing employee
permissions, and so on.

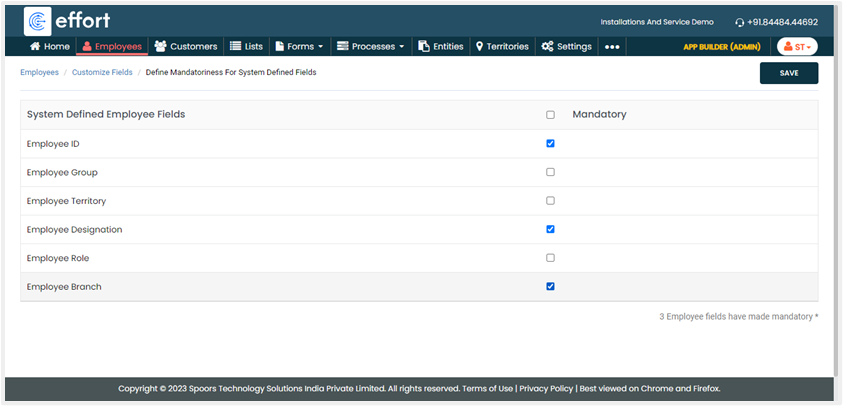
Customize Your Employee Fields
It allows you to configure the mandatoriness of the system-defined fields and
define new fields if you want to capture more employee details. Go to to define the mandatoriness for the system-defined fields. Enable
the checkboxes against the fields to make it a mandatory field for creating a
new employee and save the configuration.
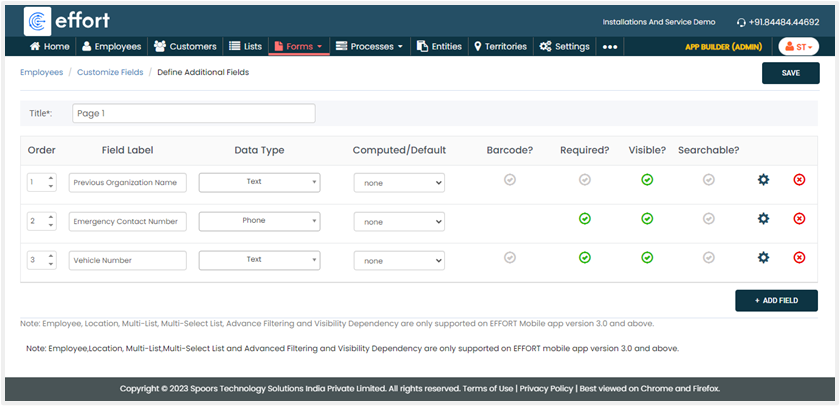
Go to to define additional/custom fields. Click Add
Field and define the field configuration as per your business
requirement.
Define Roles
You can define roles for your employees to define the organization’s hierarchy.
Well-defined roles also facilitate effective communication and decision-making,
creating a cohesive and streamlined work environment. Go to and define roles in your organization.

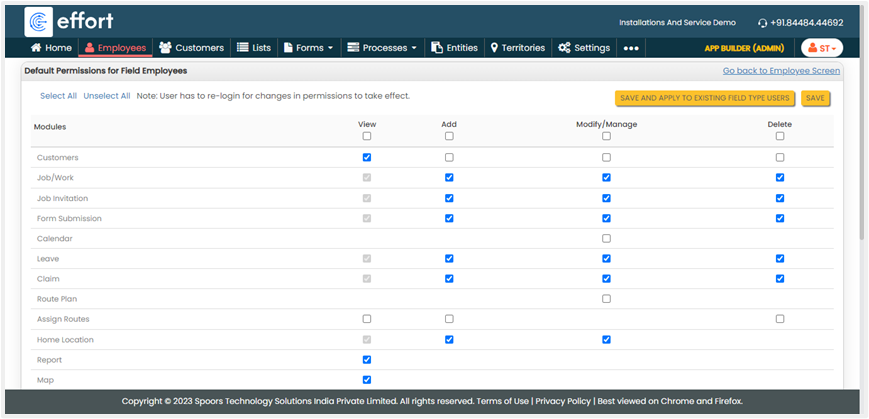
Manage Permissions for Employees
Set up the employee's permissions for accessing modules on the Effort platform. Go to to configure permissions for the field employees.
Go to to configure permissions for the managers.
Go to to configure permissions for the managers.
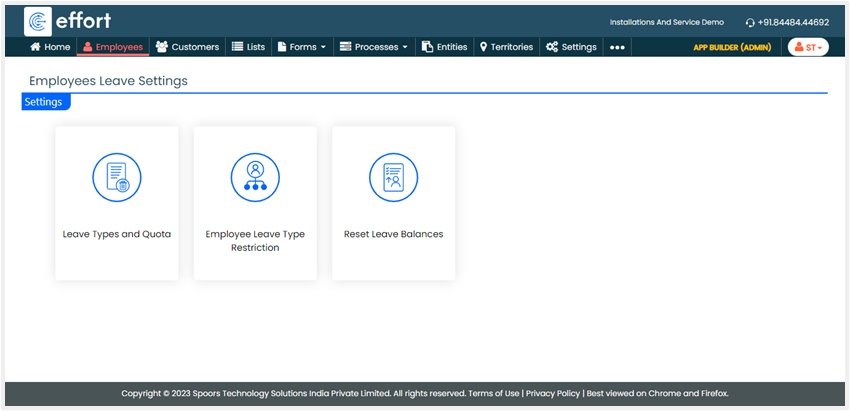
Configure Leave Settings
Define employee leave settings such as leave types and quotas, restrictions on
leaves, allocation of leaves to employees, and so on. Go to to configure leaves for employees.
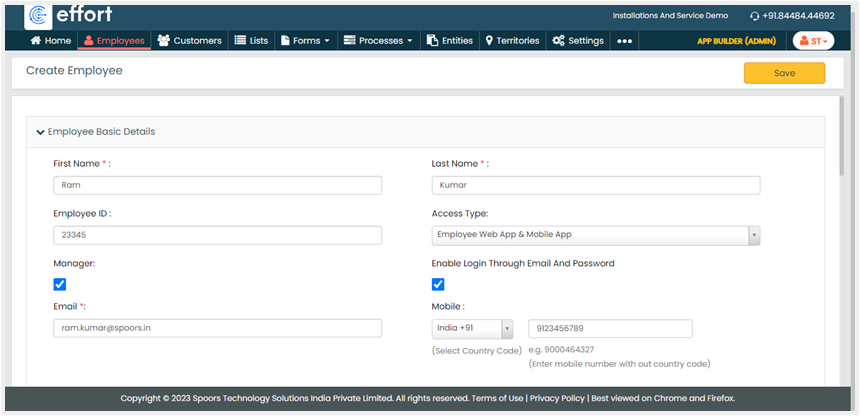
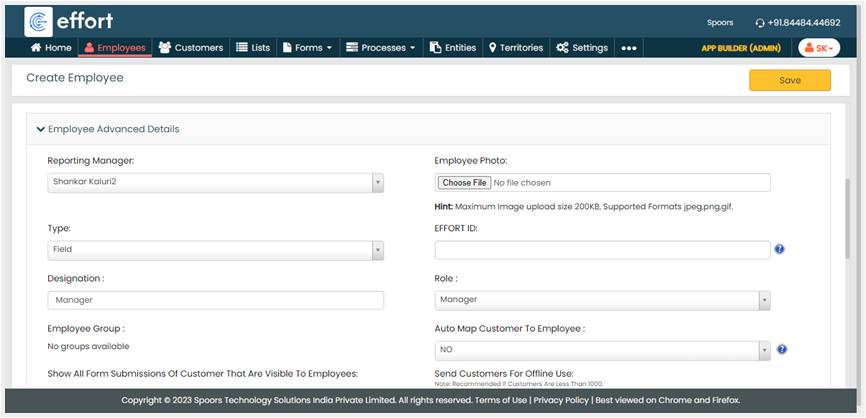
Create Employees
Once you define all the employee configurations, you can create your employees either
from App Builder or Web App. You need to enter the mandatory employee
details and click Save.
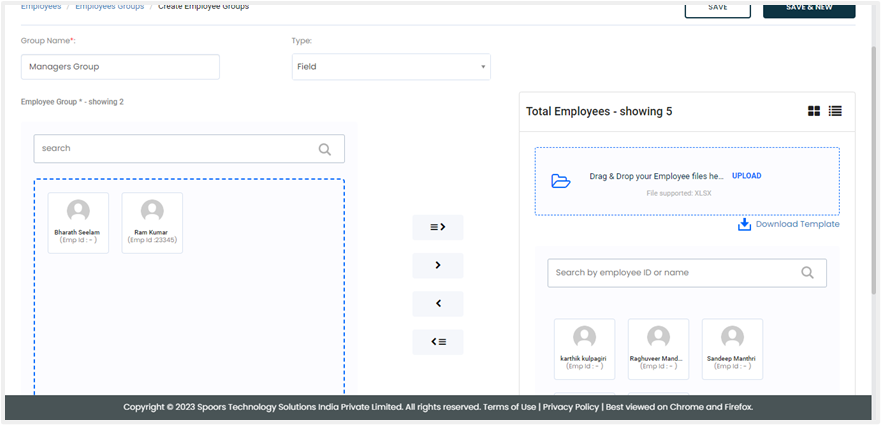
Employee Groups
You can create Employee Groups to categorize the employees within an organization.
These groups are often formed based on factors such as job functions, departments,
projects, or specific skills. Go to to configure employee groups.
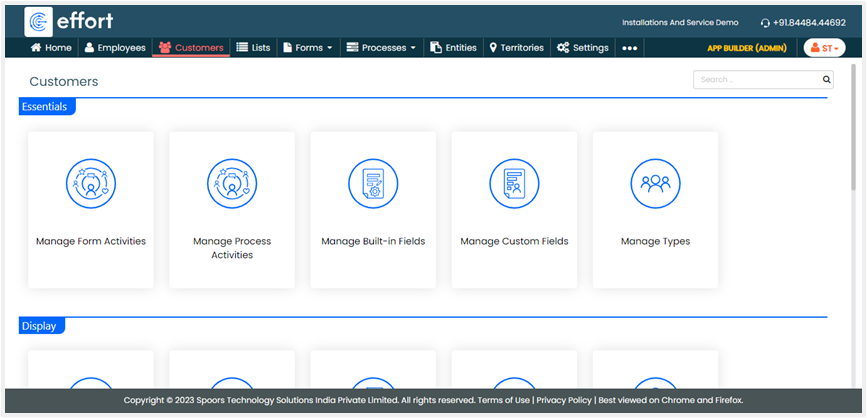
Configure Your Customers
Customers are individuals or entities with whom you engage in business transactions.
You can navigate to to define customer configurations such as fields for capturing
customer details, customer types, customer activities, and so on.
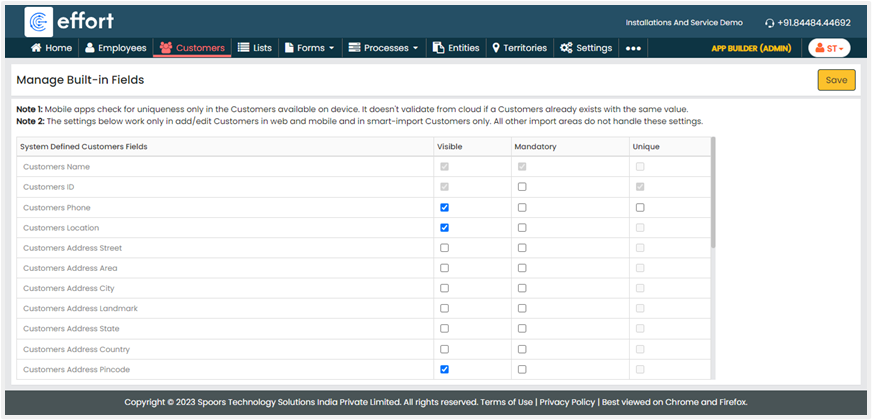
Manage Built-In Fields
Customer fields are used to capture the customer’s details when creating a
customer. Go to to configure customer fields. Enable or disable the checkboxes
against the system-defined fields to configure the visibility and mandatoriness
and click Save to save the configuration.
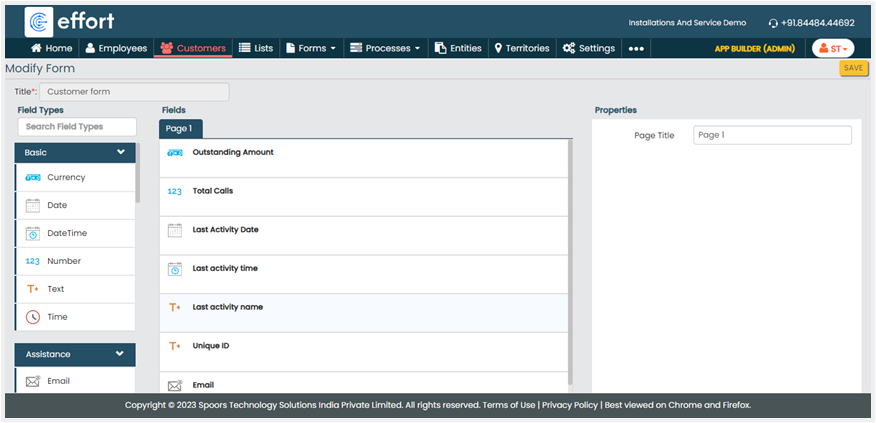
Manage Custom Fields
Additionally, you can also create custom fields to capture additional customer
information here. Go to to configure custom fields. Drag and drop the required fields
from the left section onto the fields canvas, label them on the right side as
per your requirements, and then save the configuration.
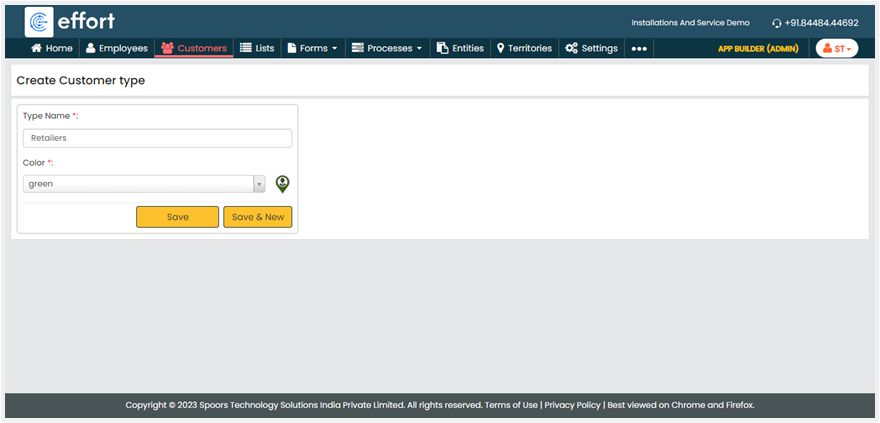
Customer Types
Effort allows you to categorize your customers based on distinct characteristics,
preferences, behaviors, or attributes within the context of a business or
market. Go to to configure customer types. Enter the Type Name, select a color
for this type, and click Save.
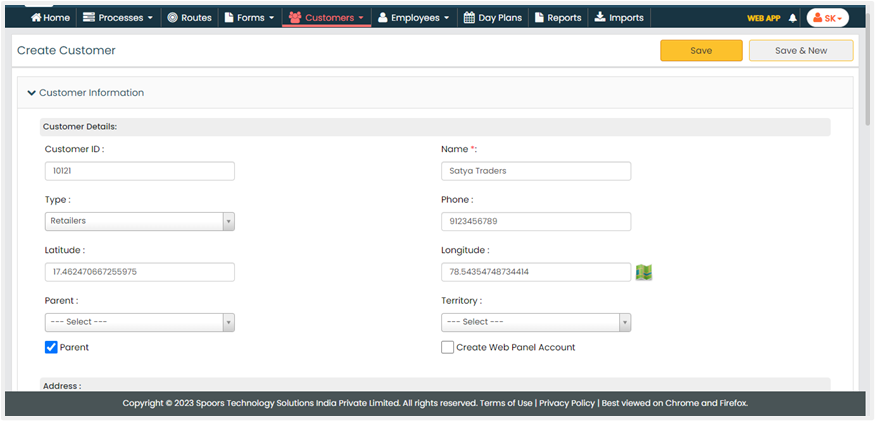
Create Customers
Once you define all the customer configurations, navigate to to create your customers. You need to enter the mandatory customer
details and click Save.