Step 2: Creation and Configuration of Forms
Forms are designed to collect information and utilized for various purposes, such as data input, surveys, or official documentation, providing a systematic way to gather and record specific details.
Create Your Form with a Simple Drag and Drop Interface
To create a form, navigate to . Enter a title for your form and drag and drop the required field
types onto the field canvas.

For every field that you add to your app, you can configure it on the right-hand
panel that appears once you click on a field. There are a lot of options you can use
to configure.
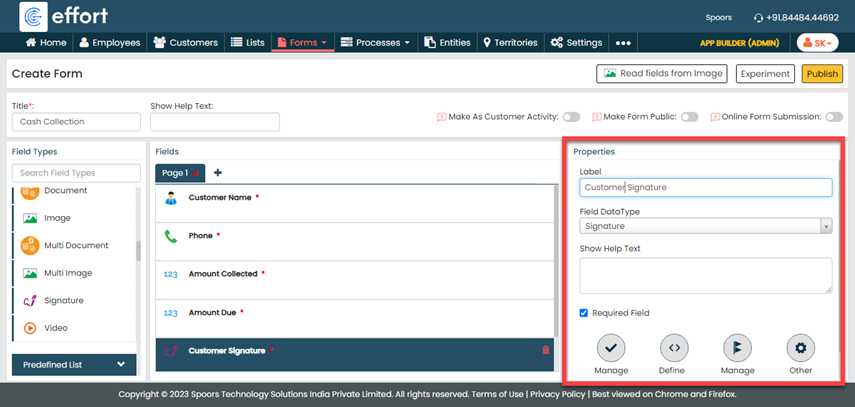
After completing the form design, simply click the Publish button to make it accessible to employees. This allows them to utilize the form for capturing necessary information.
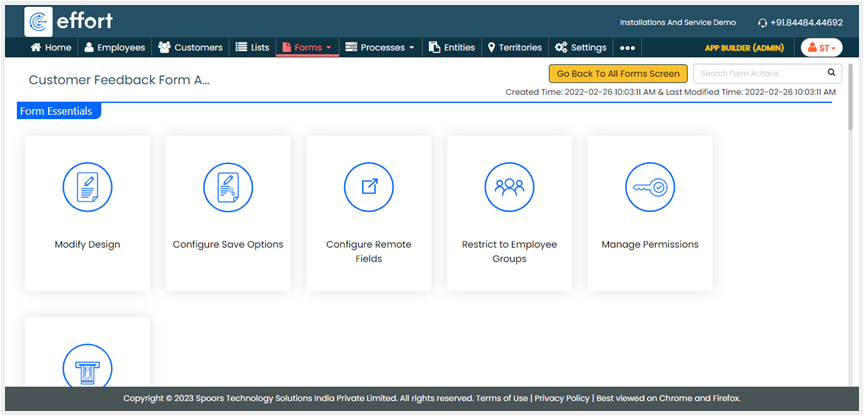
Additional Configurations
Once you publish your form, you will see the Form Actions screen where you can
have the options to modify the form design and define additional configurations to
fulfill your business requirements.
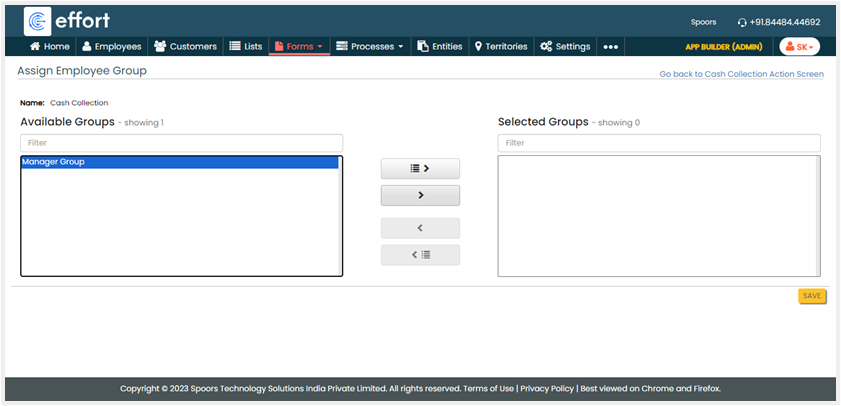
Restrict to Employee Groups
Use this feature to restrict form visibility to a specific group of employees.
Only the configured group of employees can access and fill out the form. Select
the employee groups to which you want to grant access to this form, click the
right arrow icon, and then save the configuration. By default, the form is
accessible to everyone.
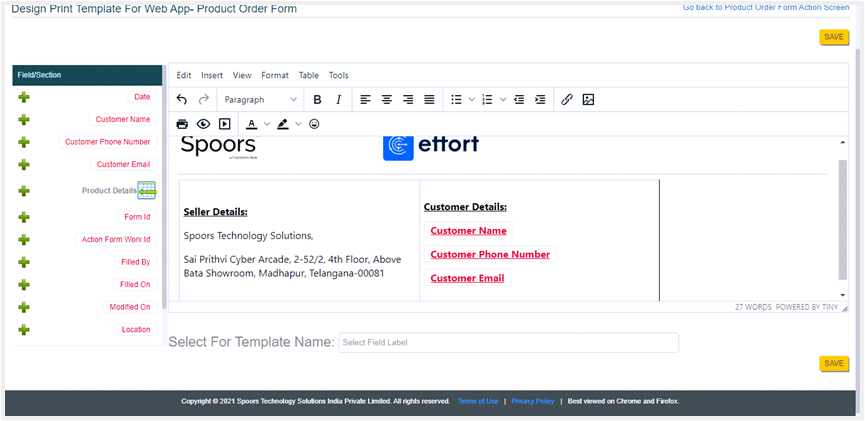
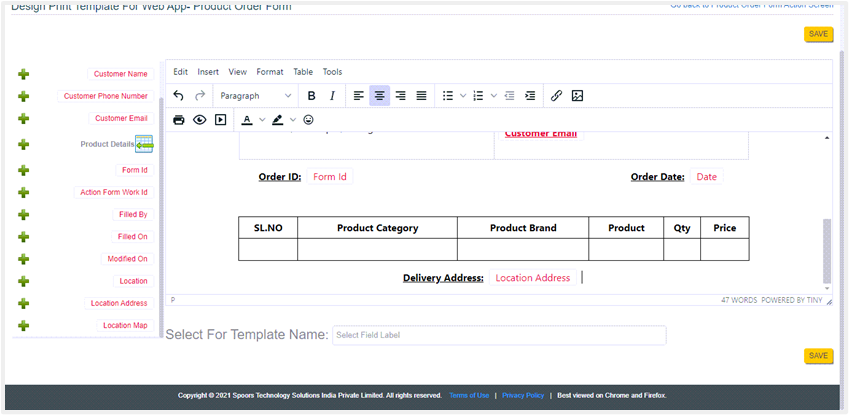
Design Print Templates
A print template serves the purpose of receipts to facilitate accurate
record-keeping for both individuals and businesses. On the form actions page,
you can scroll down to the Display Settings section and click Design
Print/PDF Document (for Web App) or Design Print Template For Mobile App
(for Mobile App). Define the print as per your business requirements and
save the configuration.