
Create Entity
To create an entity, follow the steps below:
-
Go to .
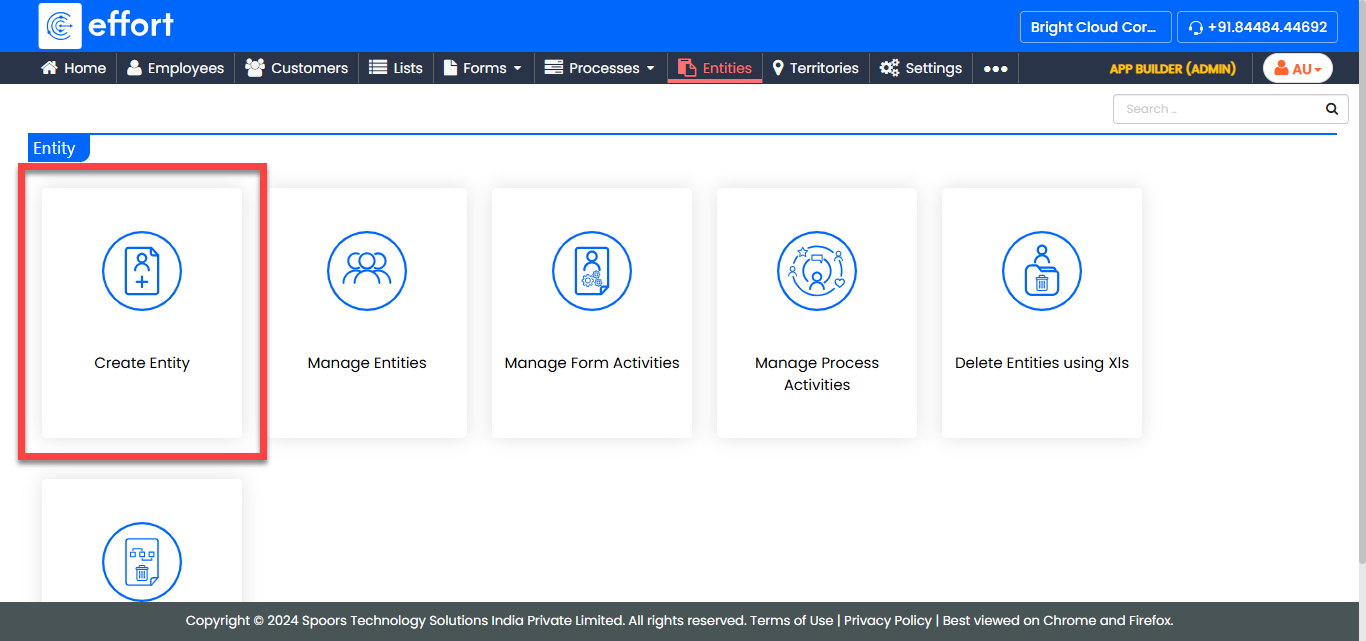
Alternatively, click Create Entity on the home page.
-
In the Start tab, enter the following details and click
Next.
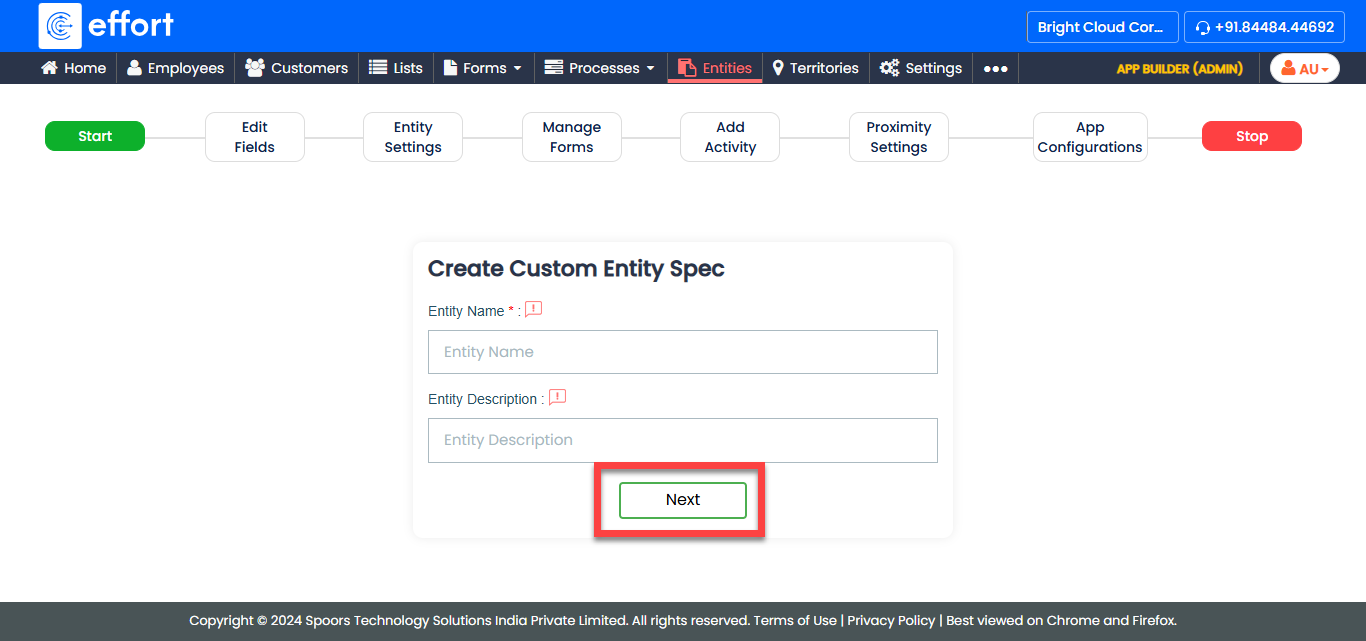
Field Description Entity Name Enter a name for the entity. Entity Description Enter a short description to summarize the purpose of the entity. -
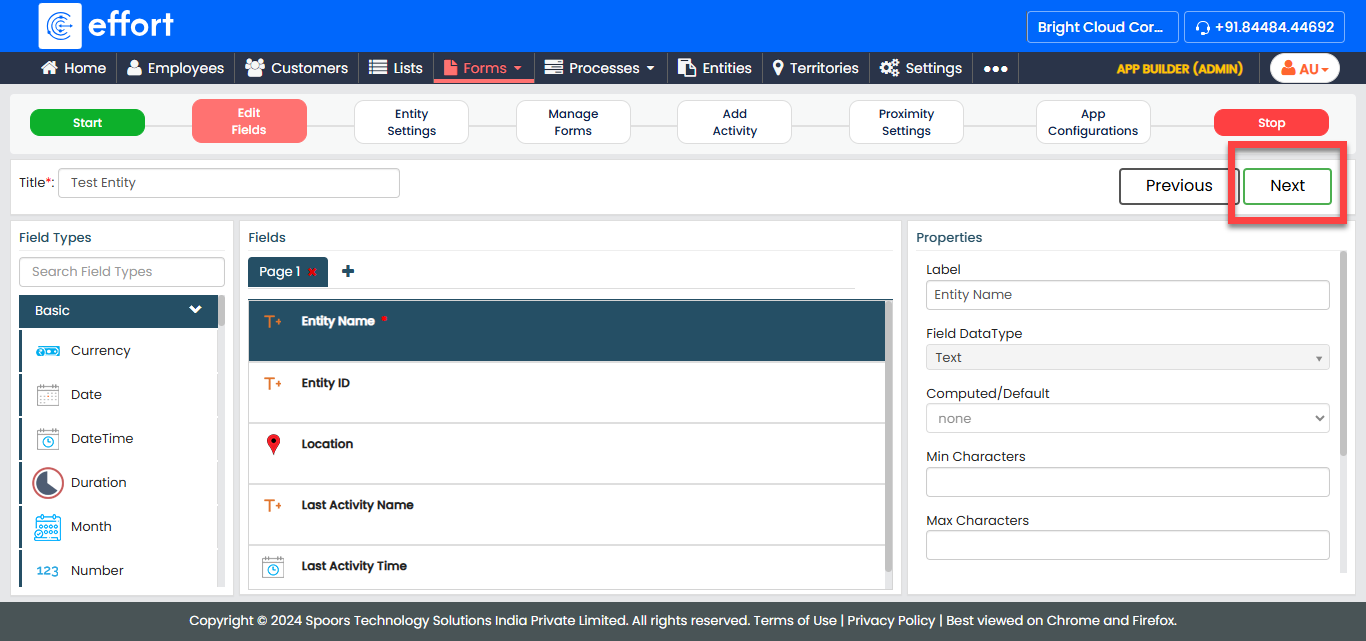
In the Edit Fields tab, do the following and click Next.
- Optional:
Review the default fields. You can edit them if needed.
-
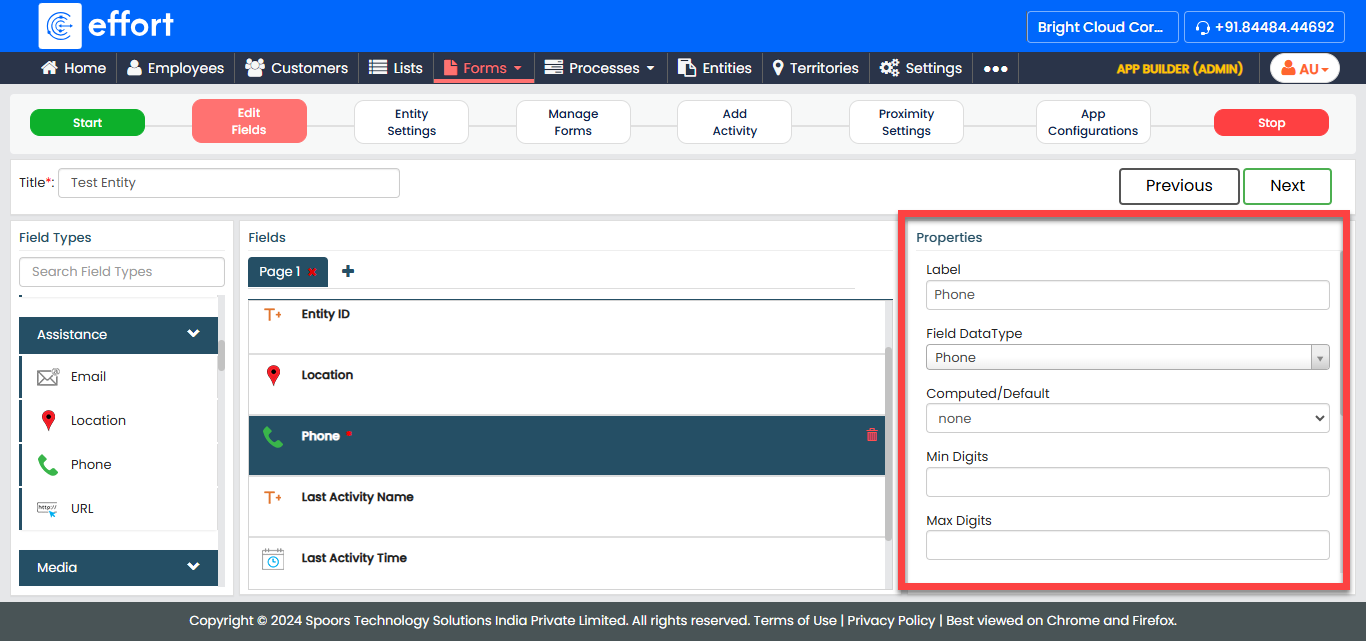
Under the Properties section, configure field settings such as
labels, visibility, and other options.
- Optional:
Review the default fields. You can edit them if needed.
-
In the Entity Settings tab, select the following options
according to your requirements and click Next.
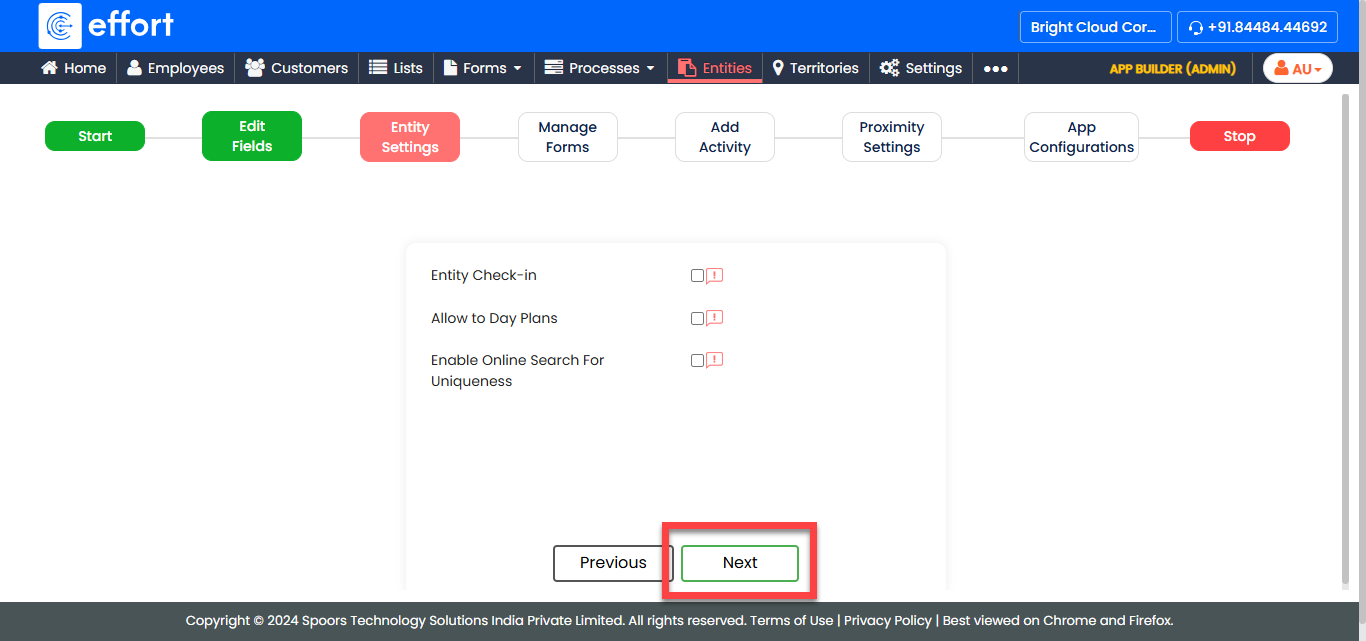
Field Description Entity Check-in
Select this checkbox to enable the check-in/check-out feature for this entity.
Allow to Day Plans
Select this checkbox to make this entity available for day plans.
Enable Online Search For Uniqueness
Select this checkbox to prevent duplicate entries by enabling online uniqueness checks.
-
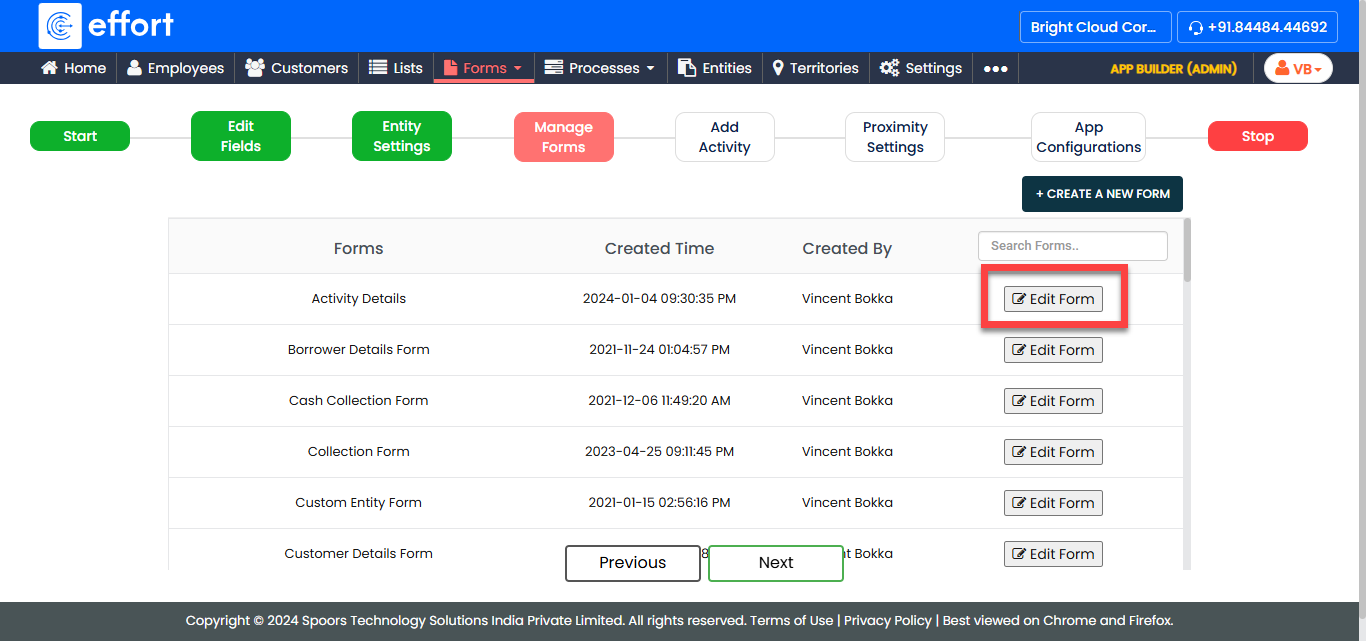
In the Manage Forms tab, you will find the forms created
in your account. Here, you can reference the current entity to your forms. To
reference an entity to a form, click Edit Form against
the desired form and peform the following steps:
-
In the Edit Form Template pop-up, drag and drop
the Custom Entity datatype on to the field
canvas.

-
Under the Properties section, enter the
Label and select the current entity from the
Custom Entity dropdown.
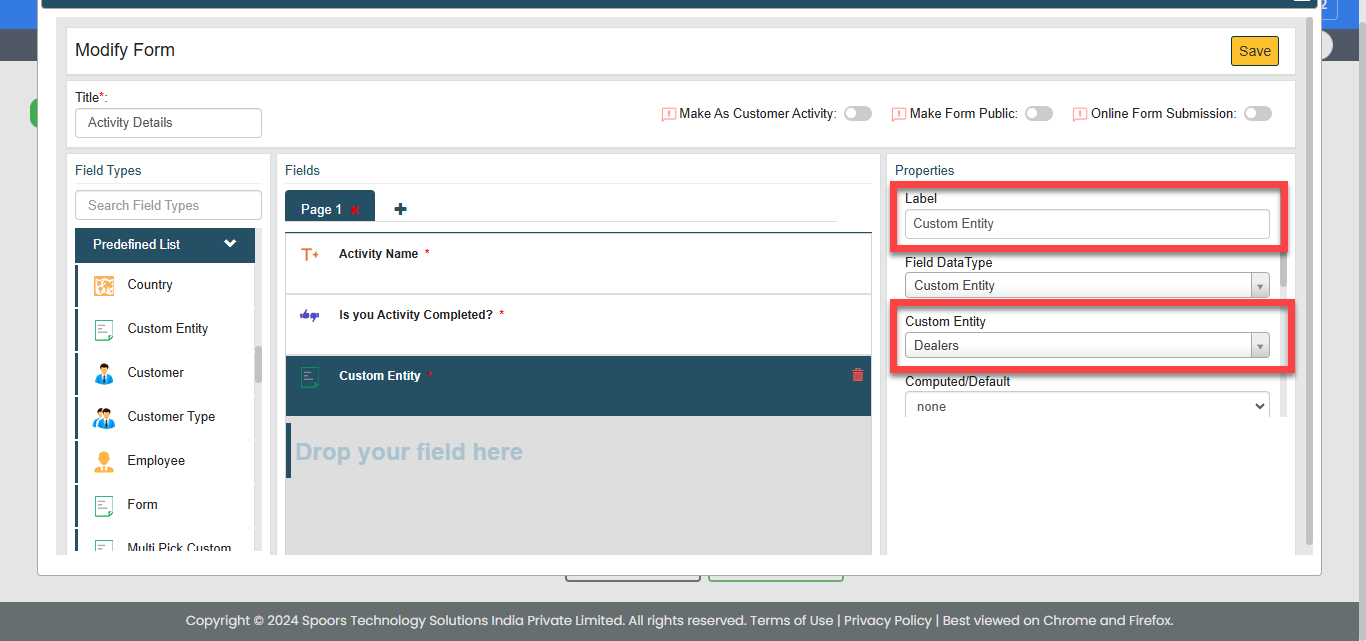
- Configure additional properties if needed and click Save.
-
In the Edit Form Template pop-up, drag and drop
the Custom Entity datatype on to the field
canvas.
-
In the Configure Activity tab, you can configure the
activities you want perform for this entity. In this tab, define the following
and click Next. Otherwise, click
Skip to avoid this configuration.
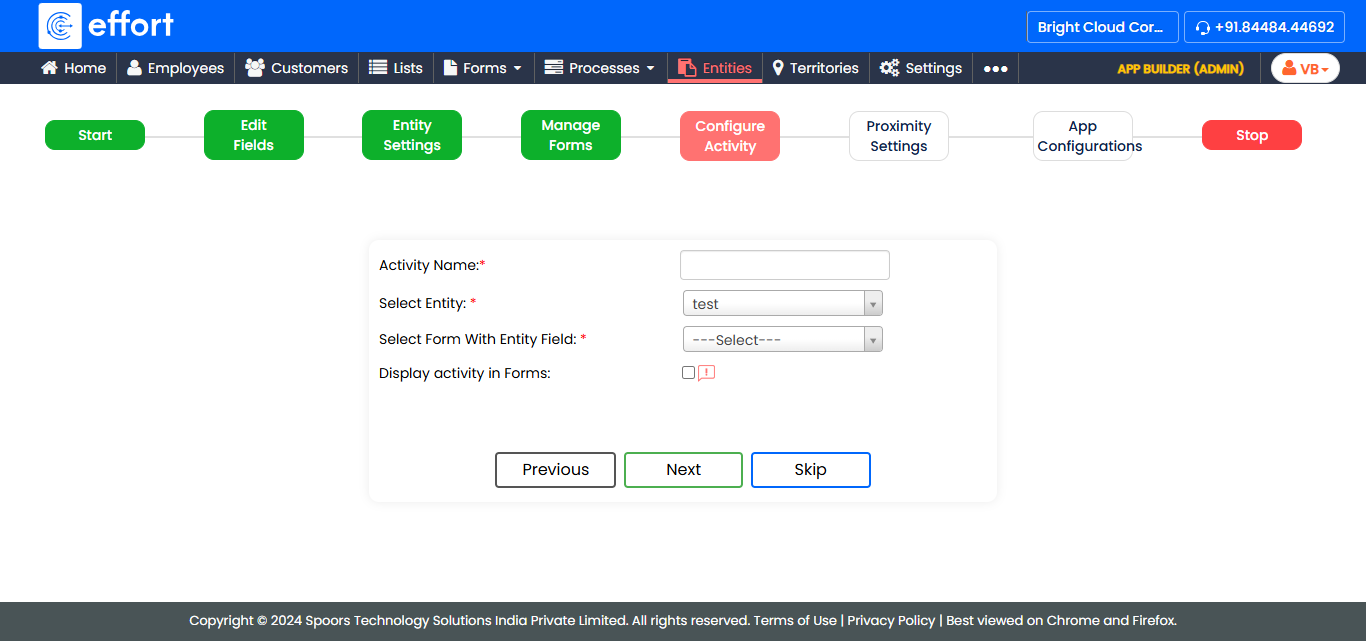
Field Description Activity Name Enter a name for the activity. Select Entity By default, the dropdown displays the current entity name. Select Form With Entity Field Select a form you want to configure as activity. Display activity in Forms When selected, the form you selected above will be available to users in the Forms module of the mobile app.
-
In the Proximity Settings tab, select the following
options according to your requirements and click
Next.
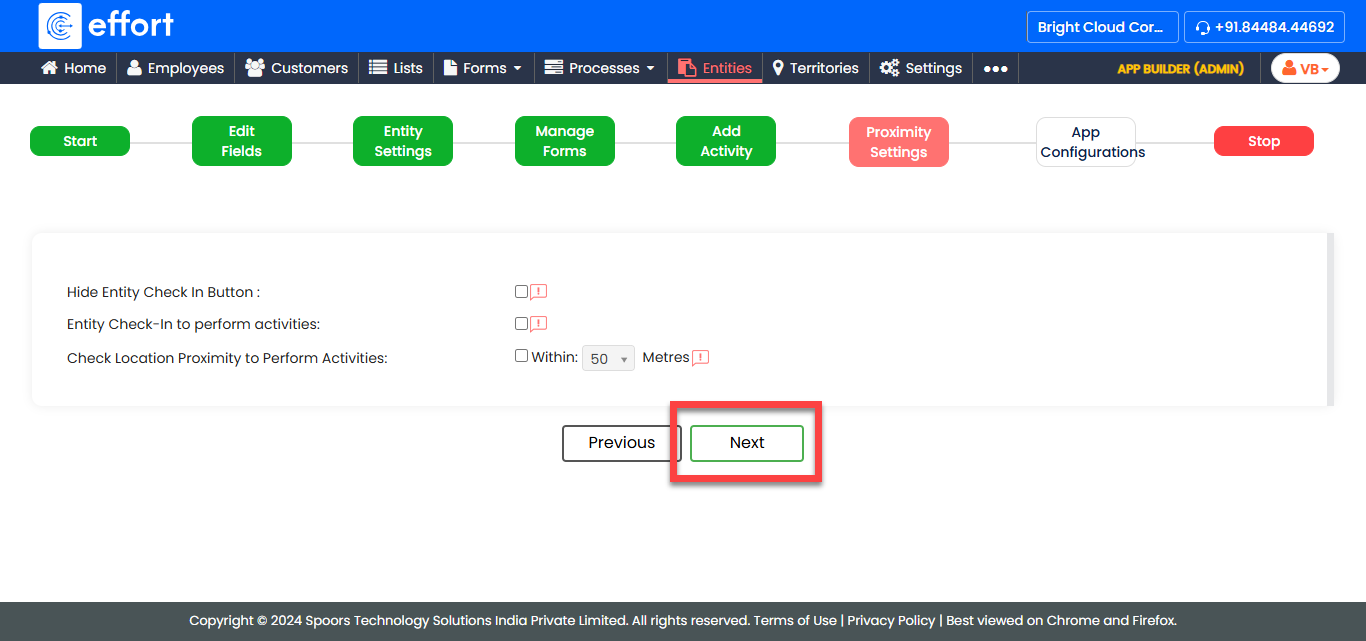
Field Description Hide Entity Check In Button Select this checkbox to disable the check-in functionality for the entity.
Entity Check-In to perform activities Select this checkbox to enforce check-in for the entity. It enforces users to check in before they can perform any activities.
Check Location Proximity to Perform Activities Select this checkbox to require users to be within a specified location proximity to perform activities for the entity. When selected, you need to configure the following options according to your requirements.- Entity Check-In: Require check-in at the entity’s location only.
- Entity Check-Out: Require check-out at the entity’s location only.
- Check-out only in Forces Check-In location: If check-in is enforced, check-out must occur at the same location.
- Activities: Require all activities to be performed at the check-in location.
- Allow activities only in Forces Check-In location: Enforce all activities at the same location when check-in is mandatory.
- Work: Enable work creation in the check-in location only.
-
In the App Configuration tab, you can configure the
entity visibility in both mobile and web apps. Select the options according to
your requirements and click Next.
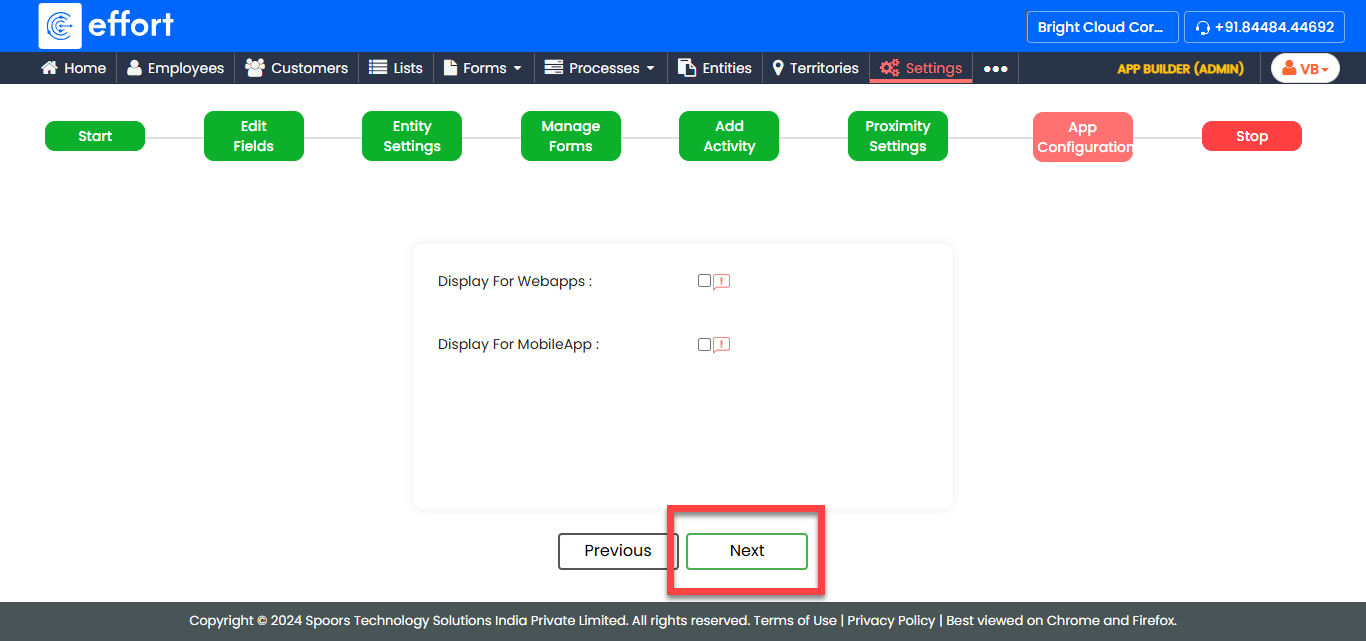
Field Description Display For Webapps Make the entity visible in web app. Display For MobileApp Make the entity visible in mobile app. The entity is created successfully! You can now use it across forms, workflows, and activities to meet your business needs.