
Create Employee Group Based Approval Process
Make sure that you have already created Employee Groups in the Employees module. To create employee groups, refer to the Add Employee Group.
-
Go to .
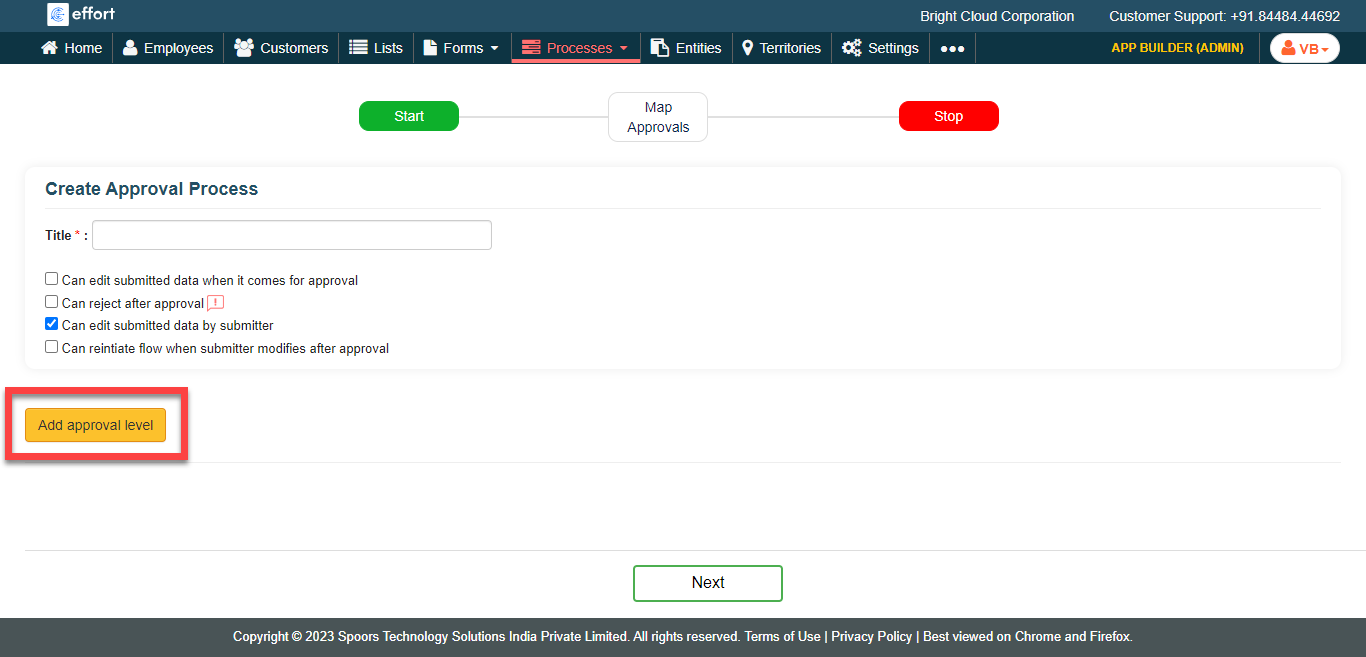
The Create Approval Processes page appears.
-
Specify a Title for the approval process.

- Optional:
Enable the checkboxes depending on your requirement.
- Can edit submitted data when it comes for approval: The approver gets permission to edit the submitted data in the form while approving.
- Can reject after approval: The approver gets permission to reject the form submission even if it is approved.
- Can edit submitted data by submitter: The submitter gets permission to edit the data that is already submitted for approval.
- Can reintiate flow when submitter modifies after approval: The approval flow will be reinitiated when the submitter modifies the already approved form submission.

-
Click the Add Approval Level button and do the
following.
-
Specify a name for the approval level in the Approval Level
Name textbox.

-
Select the Employee group based option from the
dropdown given under the Type column.

-
Select an employee group under the Available
Groups section and click arrow button to move the group
to Selected Groups section.
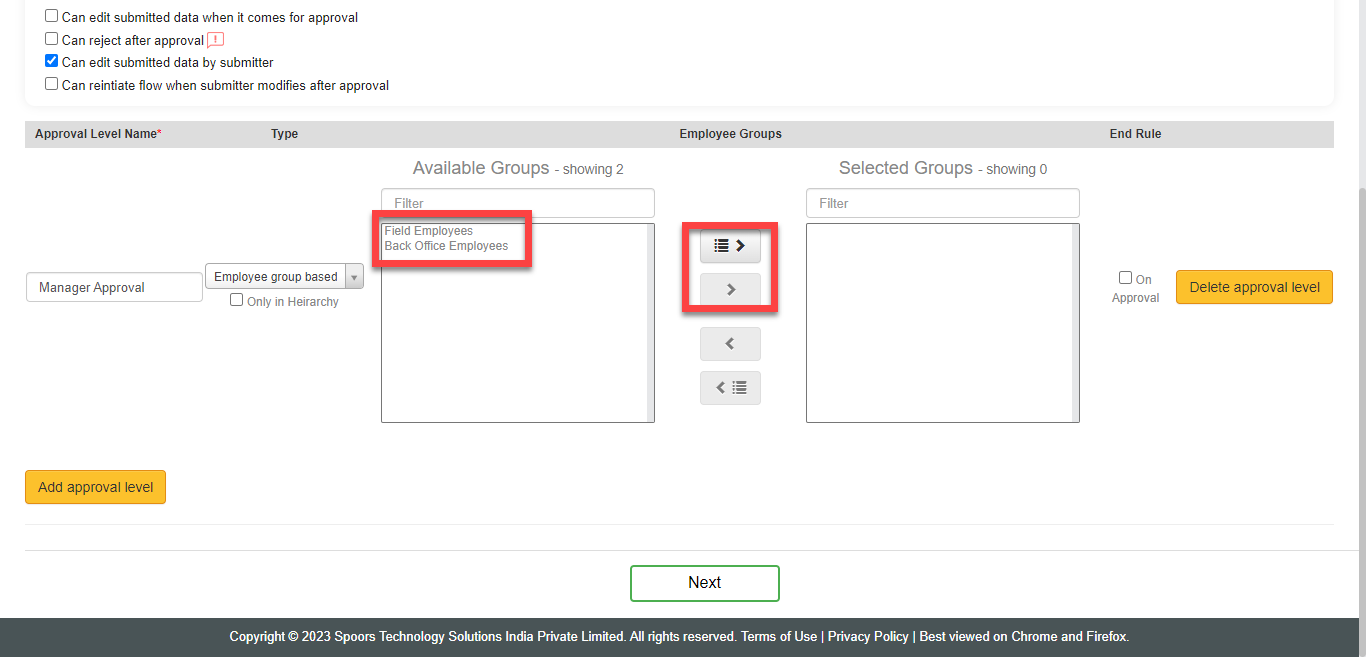
The employees in the Selected Group get the access to approve or reject the form submission. - Optional:
Click On Approval checkbox under the
End Rule column.

-
Specify a name for the approval level in the Approval Level
Name textbox.
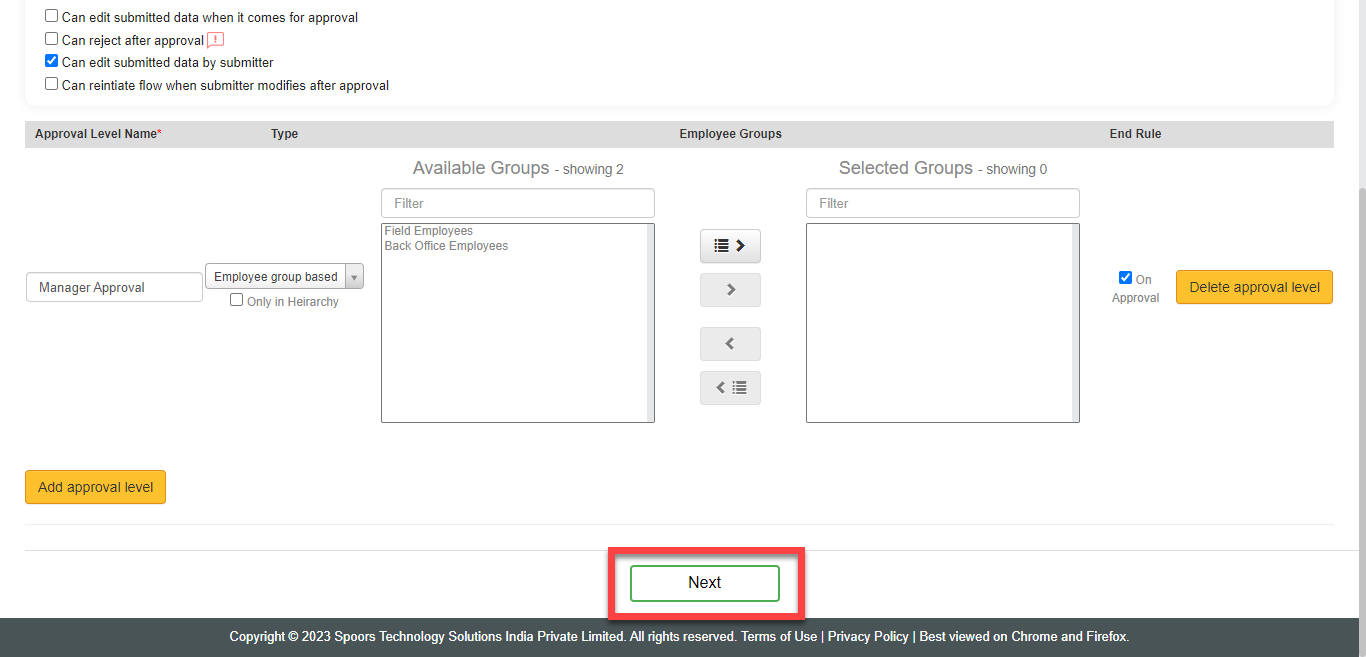
- Optional: Click the Add Approval Level button again if you want to add more approval levels.
-
Click the Next button to configure approval
mapping.
-
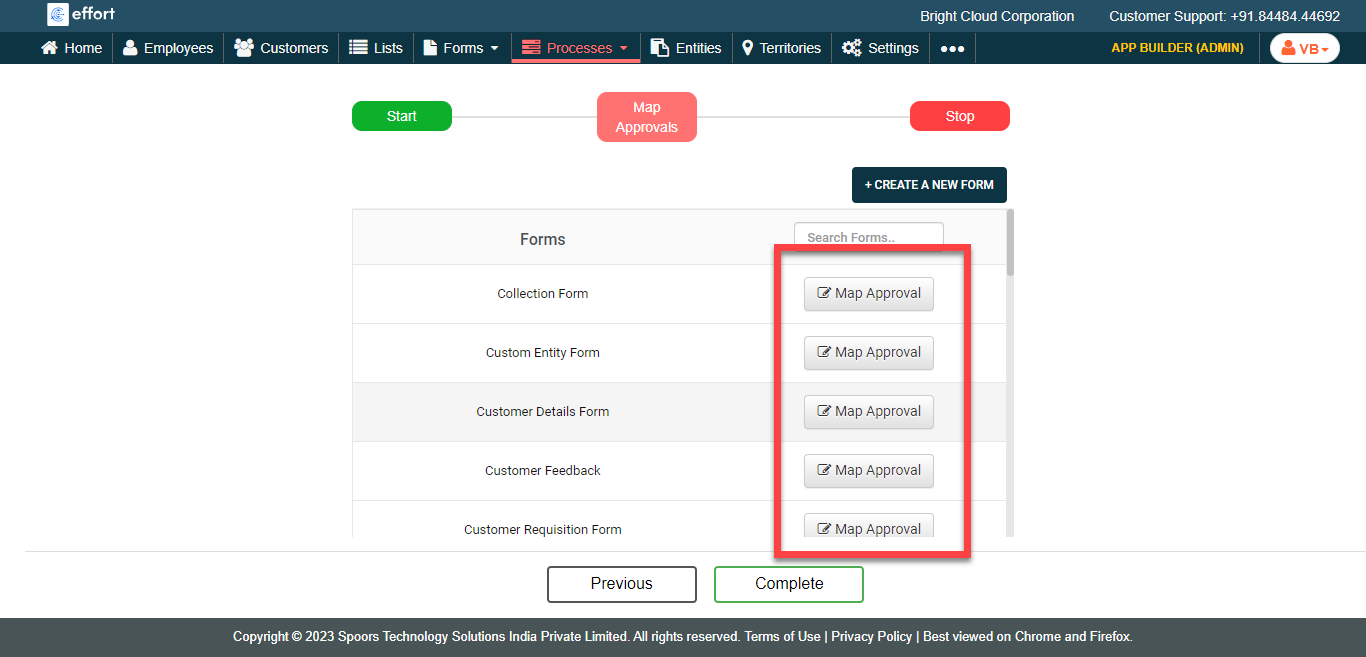
In the Map Approvals section, map the newly created
approval process to the existing form templates.
-
Click the Map Approval button against the
required form template.
-
In the Assign Approval Process pop-up window,
configure the approval process as per your requirement.
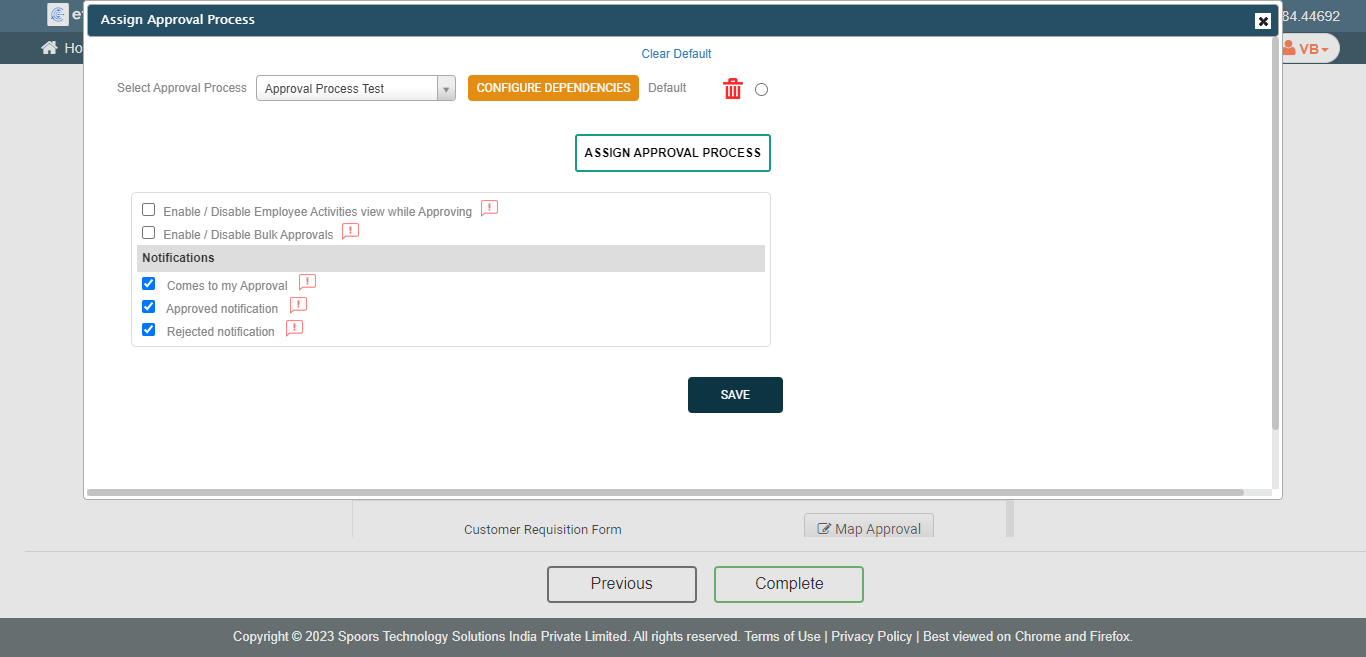
- Click Save.
-
Click the Map Approval button against the
required form template.
- Click Complete.